Getting Started with Arduino for under $30
Welcome! I'm glad that you are here. In this guide I will provide some of my recommendations and instructions to get started with Arduino for under $30 with a minimalist kit to get you started on your first Arduino project!
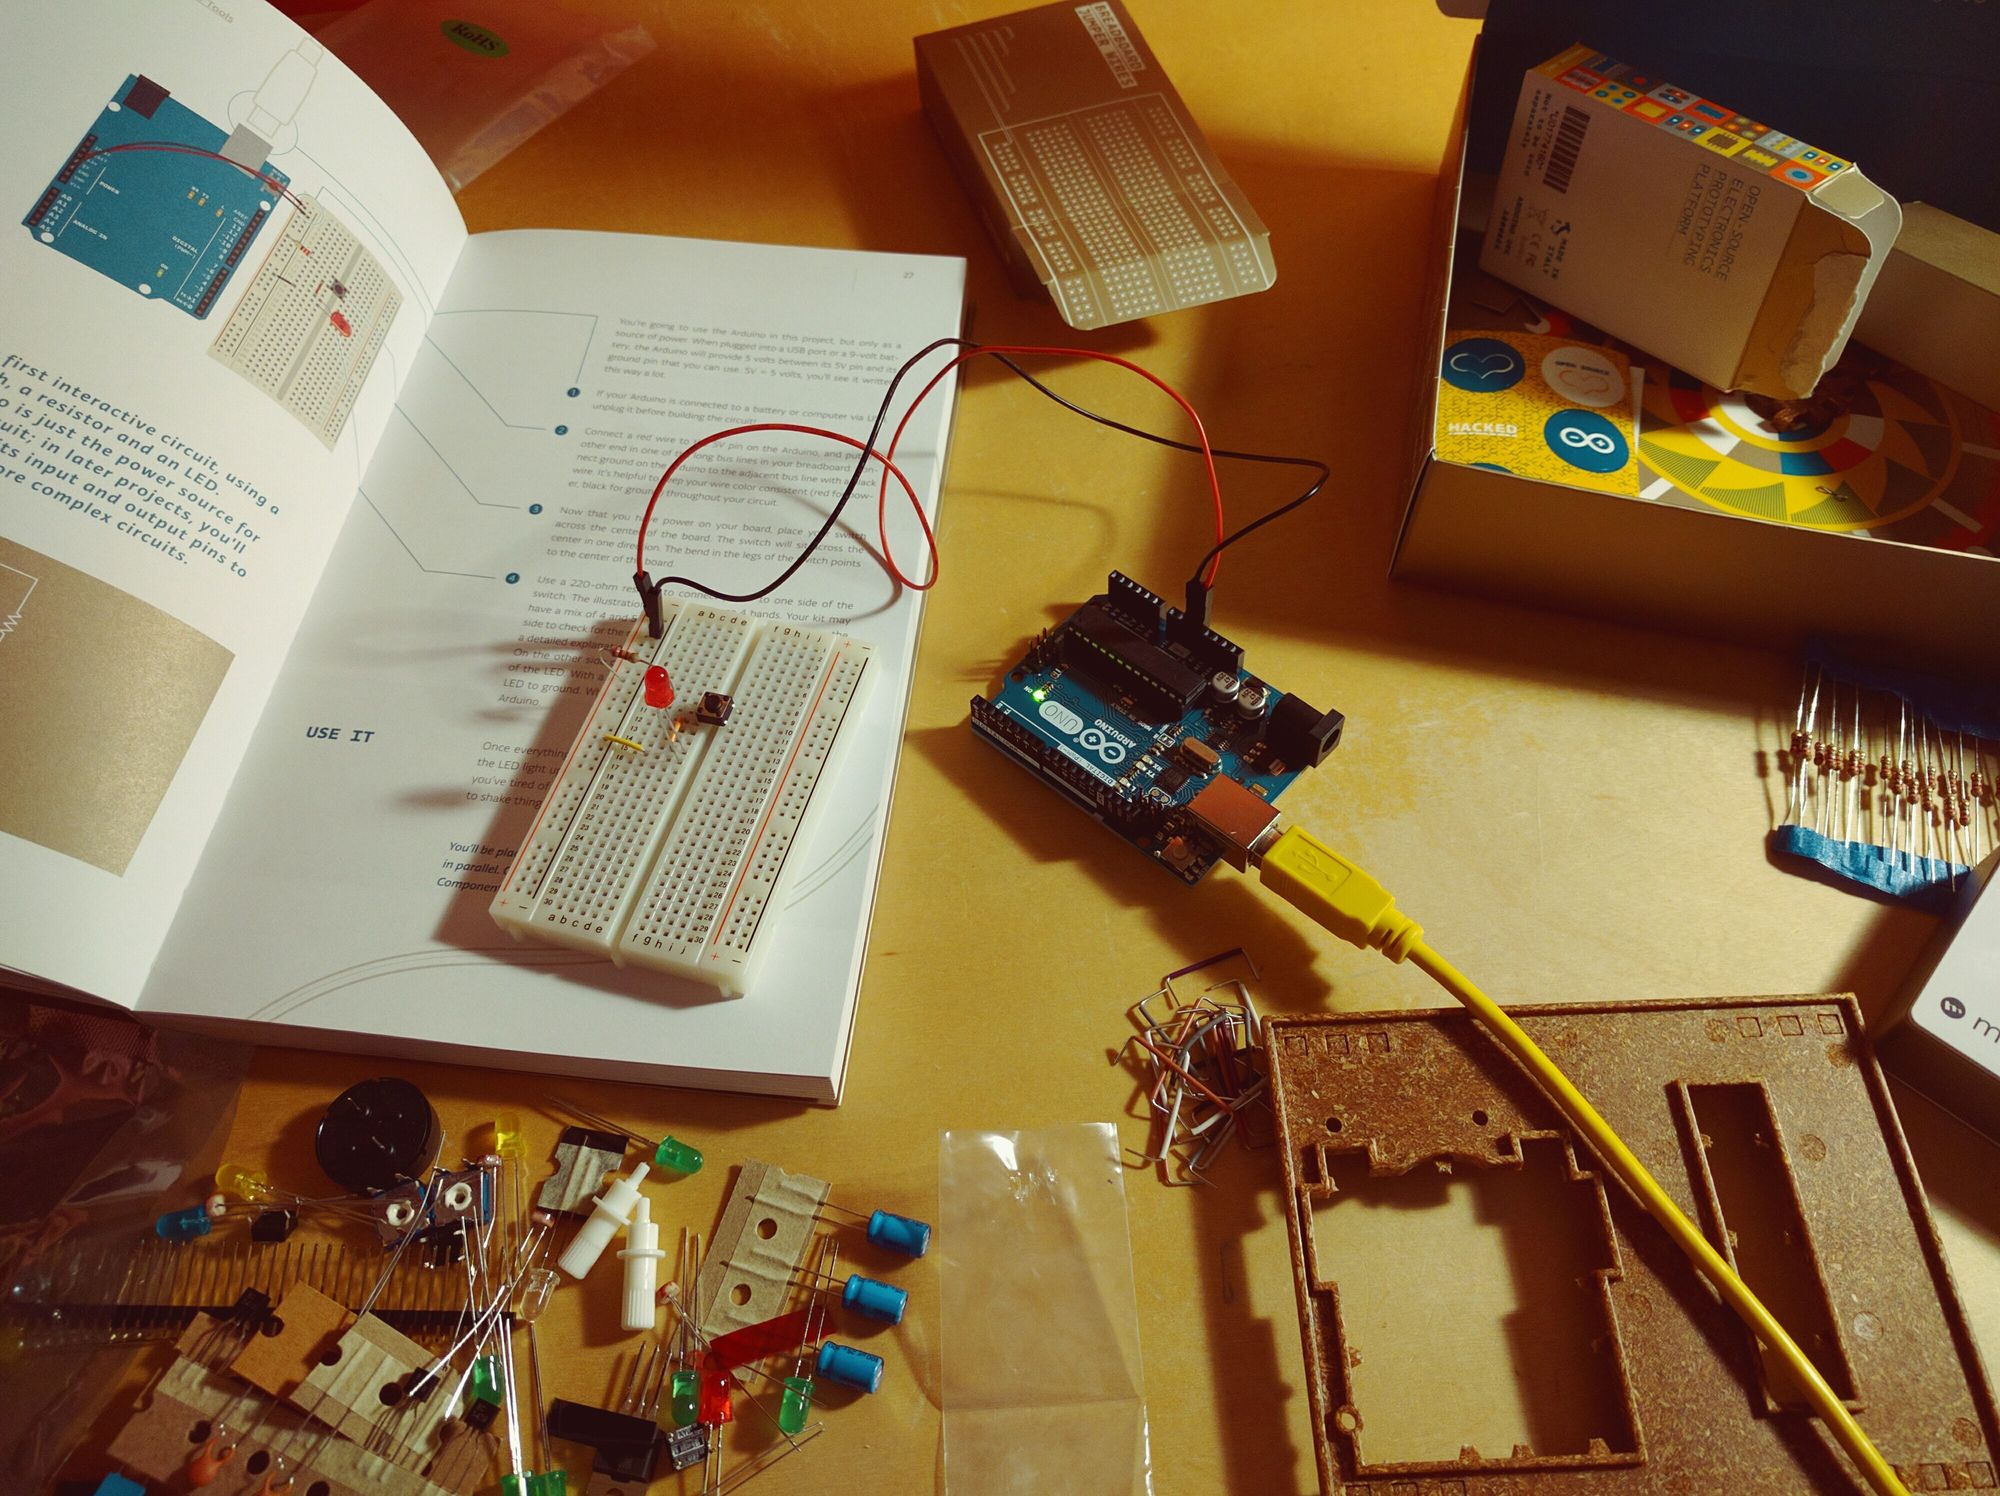
This is a guide to getting started with Arduino, what to buy and how to get started. This guide assumes that you start with nothing, and are looking for an introduction to Arduino and a sampling of what electronics and Arduino has to offer. It includes a bare minimum list to buy, and a Nightlight project for you to get started.
I have personally found that I like getting started guides to be fairly precise about the minimum that I should get. So no buying of modules that you'll never use and chuck away into the bottom drawer, never to be seen again. Just so you know, this guide recommends you to buy (for now and the project you will be making):
- A board
- An LED ring
Borrow or buy:
- Soldering iron/solder
- Wires/wire strippers
- Parchment paper/foldable translucent plastic.
So roughly about 5 parts.
With that in mind, this guide pares away any unnecessary parts and only recommends what I have found myself using most often, and what my students have found interesting.
The Board
Arduino UNO
So you've heard a lot about this Arduino thing and your google search turns up this:
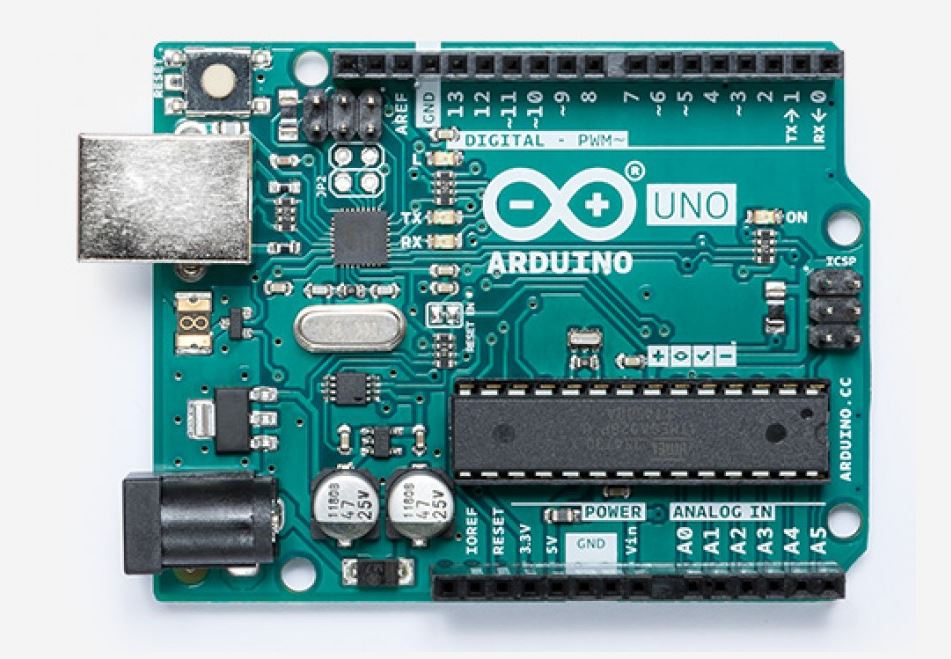
The Arduino UNO is one of the most popular choices for beginners, however, there are many other companies that currently have better offerings and either provide more functionality or lower cost.
Adafruit Metro 328
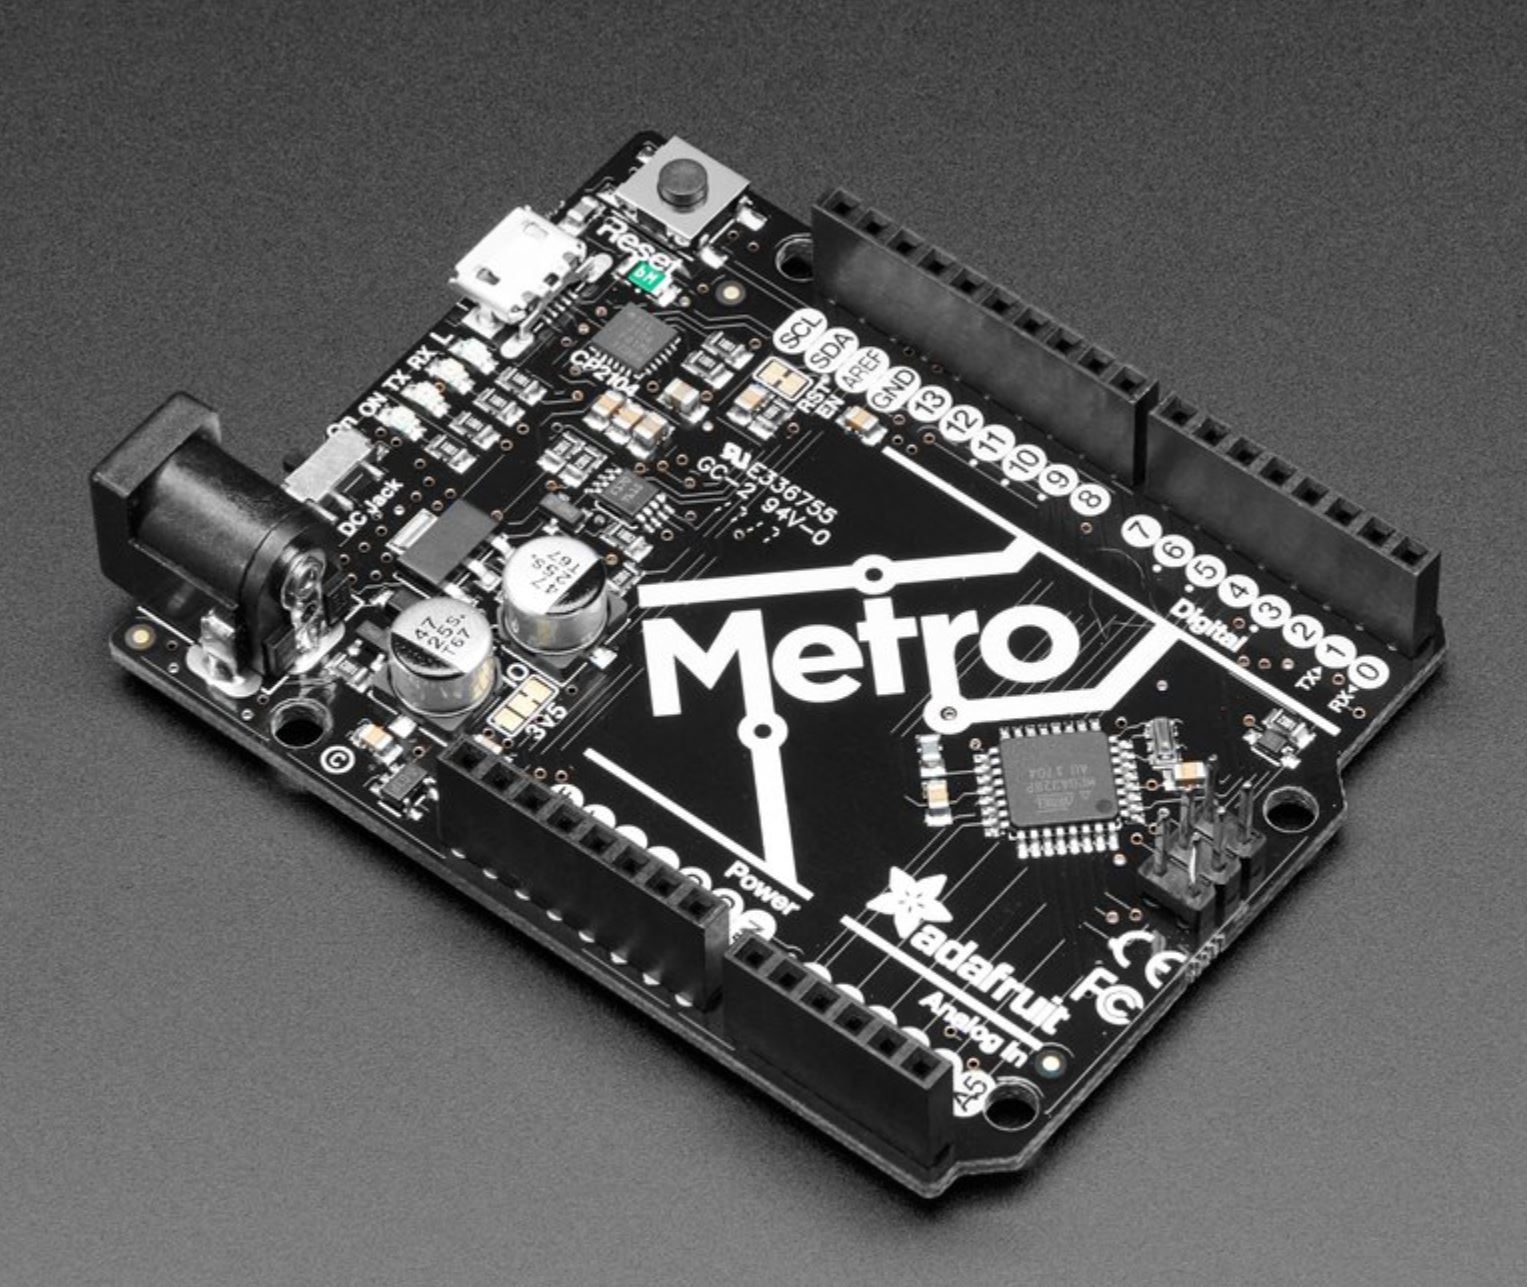
Adafruit also sells a board that they call the METRO 328 which is nearly identical to the Arduino UNO, except that it is cheaper, and they also use the microUSB connector. One reason why you might want to buy from Adafruit (one more!) is that they offer fantastic customer service and support for their products, so you'll also get official support for a popular product.
Seeeduino v4.2
EDIT: Unfortunately, the Seeeduino requires a driver install. Trying to process a refund/replacement for a non-working product also proved to be a complicated and drawn out process for SEEED, therefore, the Seeeduino V4.2 is not recommended at this time.
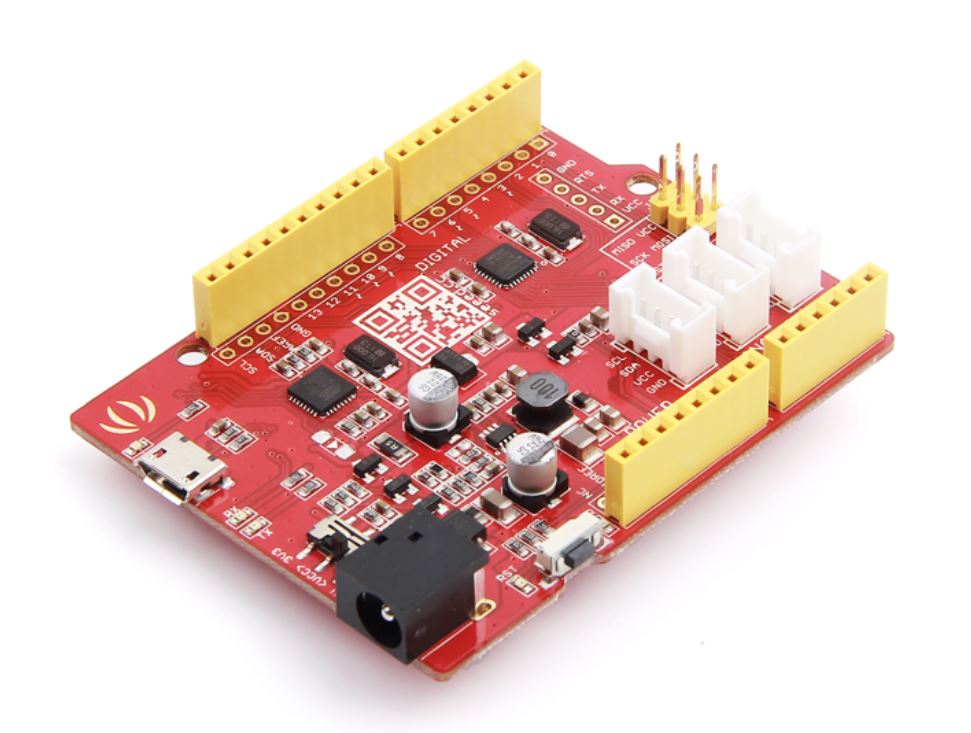
The Seeeduino V4.2 provides the same functionality as the Arduino UNO, and is completely compatible with the Arduino IDE. It has the added advantage of using a microUSB cable to connect to the computer instead of the increasingly rare 'printer cable' or USB-B cable. It further extends its capabilities by using Seeedstudio's Grove connectors, which allow you to quickly and easily hook up different sensors without bothering too much with wiring.
Chinese Clones
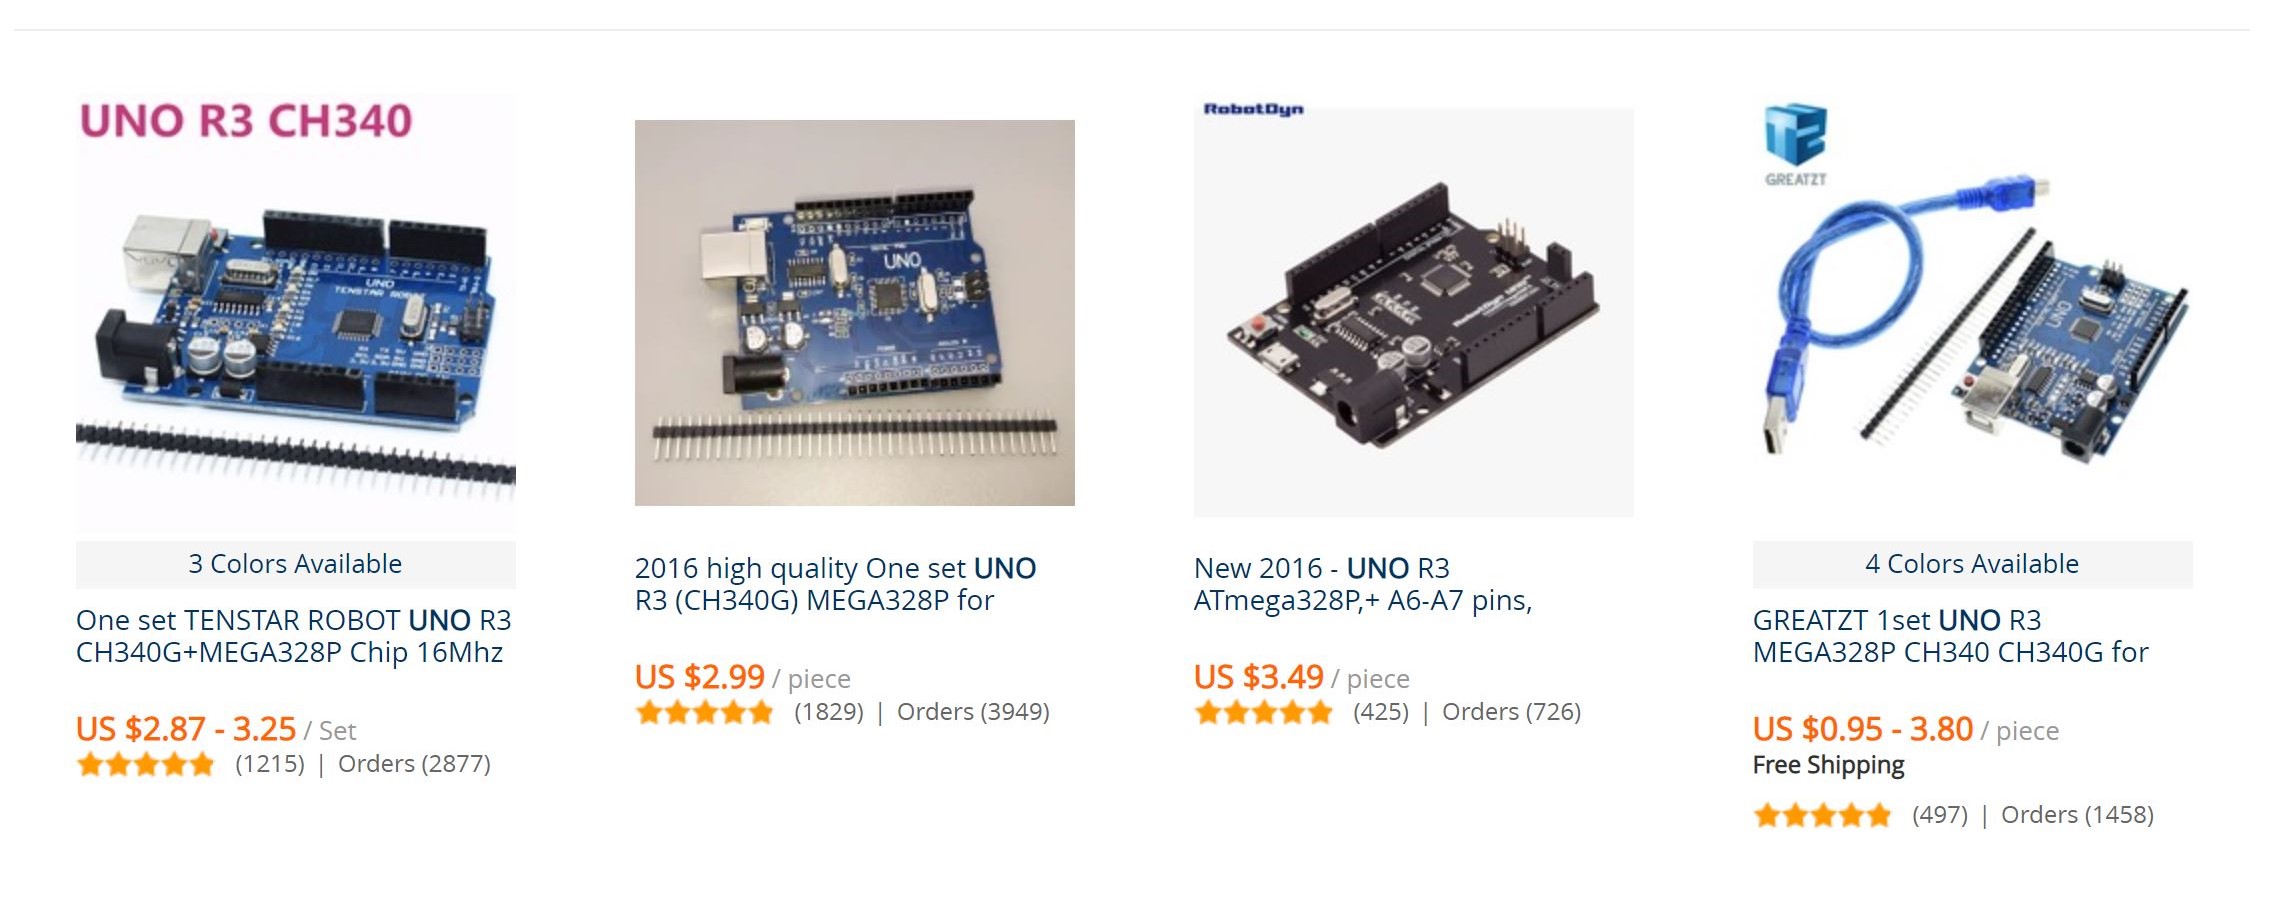
For those who are familiar with Taobao and Aliexpress, I recommend getting a chinese clone. Because the components used are the same, there is very little difference between a chinese clone and a Arduino UNO. In my experience of buying components and boards from Aliexpress, quality for widely made clones (such as the UNO or Nano V3) has never been an issue, and refunds are easily processed through the system which seems to heavily buyers.
The price difference is also very significant and more than enough to outweigh any reliability issues in my opinion. Each board costs at most $4. Searching Aliexpress with "Arduino UNO" yields the following results. Any of these vendors would be good. Remember that you will have to pick up a cable (USB Type B Male to USB Male). It is the same cable you would use for a printer.
Final Comments
I recommend going with either a chinese clone or an Adafruit board, but for reliability, I recommend going with Adafruit because the quality is always high, and they do have a cool design going for their board.
That's all you really need for the board! If you have a project in mind, you probably know what you want to buy. I recommend Adafruit and Sparkfun as primary sources, and if you are feeling slightly more adventurous you can try Aliexpress for cheaper options.
Your First Project: Nightlight
I feel that the Nightlight project is fun for most beginners as I find that people generally like pretty light displays, and even more so when they learn how to animate the patterns and effects themselves. At the end of this project, you will have a beautiful nightlight with LED effects that you have programmed.
Soldering kit comments
In this project, you will be doing some light soldering, however it isn't a big part, so any soldering setup will do. I recommend that you borrow the tools from someone who owns a kit, or a space that has one. All you need is a soldering iron, a stand, a helping hand, and solder.
If you want to buy a new set, any soldering kit on Amazon will do the trick. I have personally used the Elanco-TK1500 kit as my starter kit, but I do not recommend it. Instead, I currently use a setup that is very similar to ANBES soldering kit, which looks like a rebranded chinese kit. I am using the same iron that is featured in the photo. I find that it works well enough and I haven't found the need to buy an expensive temperature controlled soldering iron.
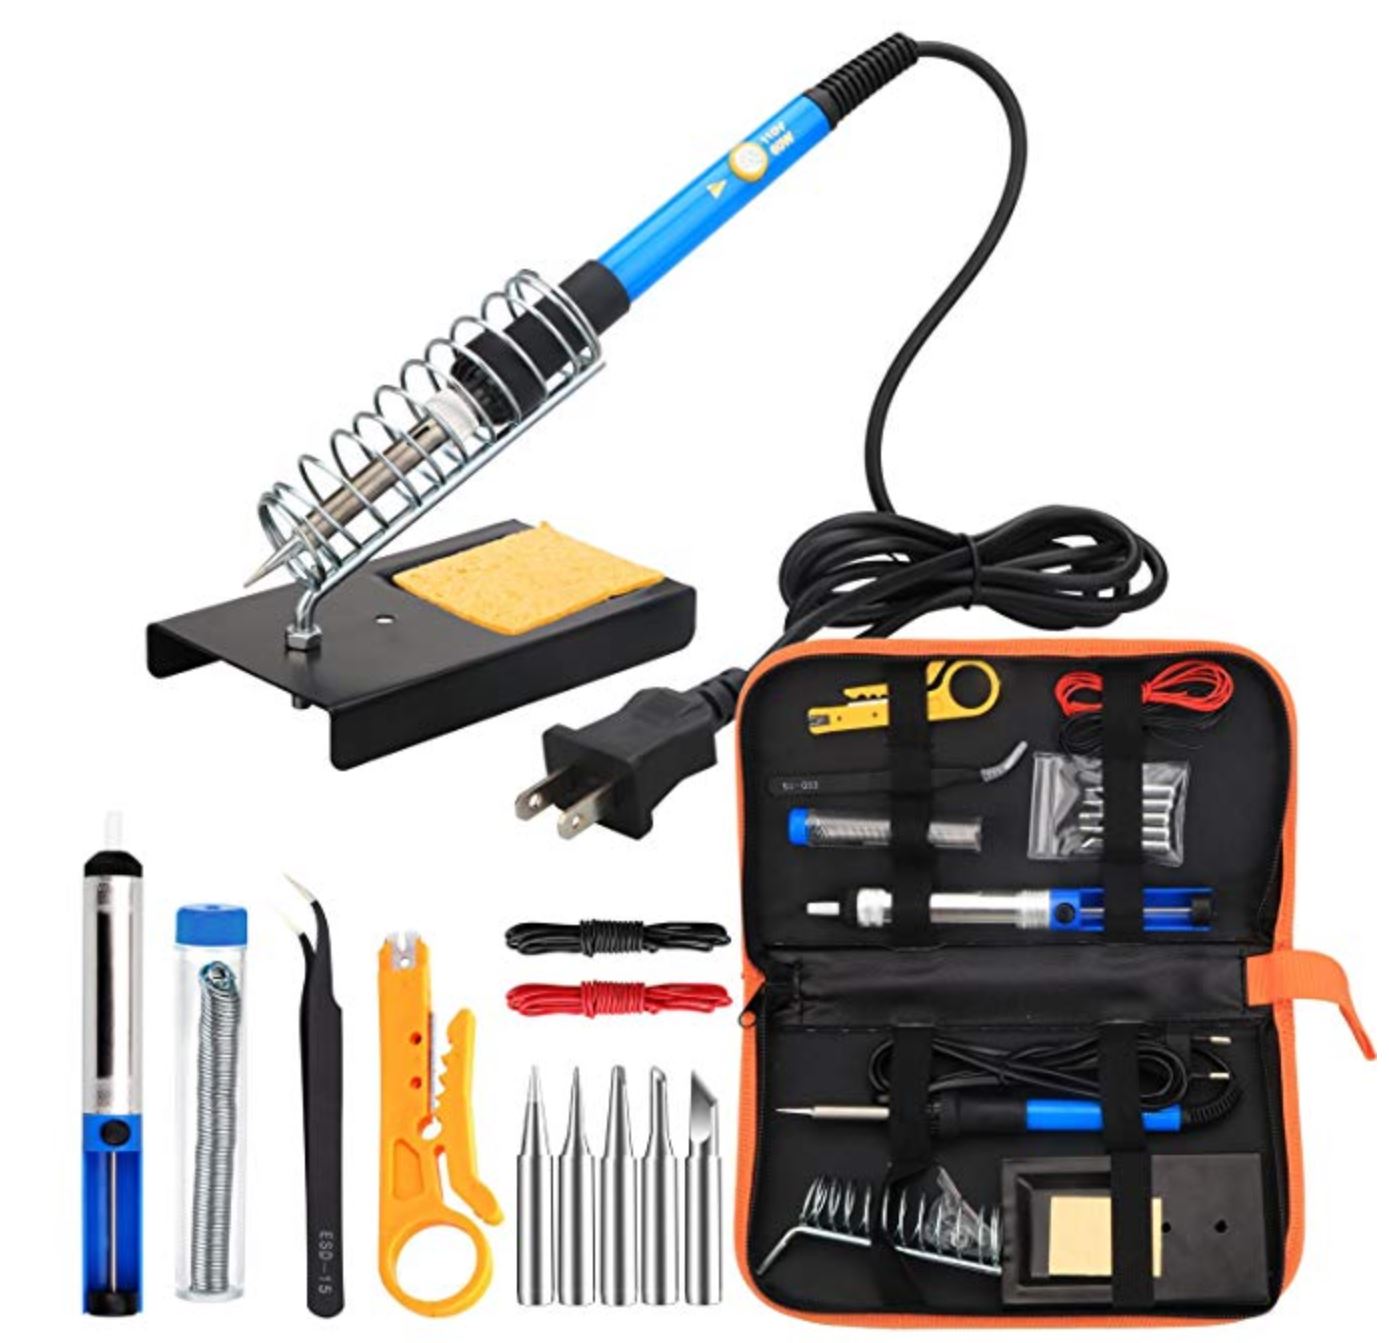
A kit like this or something similar will set you up pretty nicely for some light soldering work.
For solder, you will want to get leaded solder because it is far easier to work with than with unleaded solder. If you are concerned about the leaded solder, let me explain. This solder is safe to use, and the fumes you see when soldering is actually the flux in the solder that gives it some desirable flow properties. The fumes are non-toxic, and you will only get any significant amount of lead in your body if you eat the solder, so don't eat the solder. Jokes aside, even though it is non-toxic, it is highly recommended that you work in a well ventilated area or have a fume fan when you do soldering.
Down the line, some upgrades you might want to consider are some nicer tips, a pound of Kester solder, and a heavier stand.
Wire and wire strippers
Again, these don't have to be special, if you can get wires for free at your hackerspace/school lab/box of old electronics, do so. Note that we want solid core wires here, and not stranded. The difference is that is far harder to use stranded wires as jumpers because the strands tend to fray and spread out. Check by bending the wire. If it doesn't have any stiffness, or very little stiffness to it, it is most likely stranded. If you bend a solid core wire, it will retain the shape.

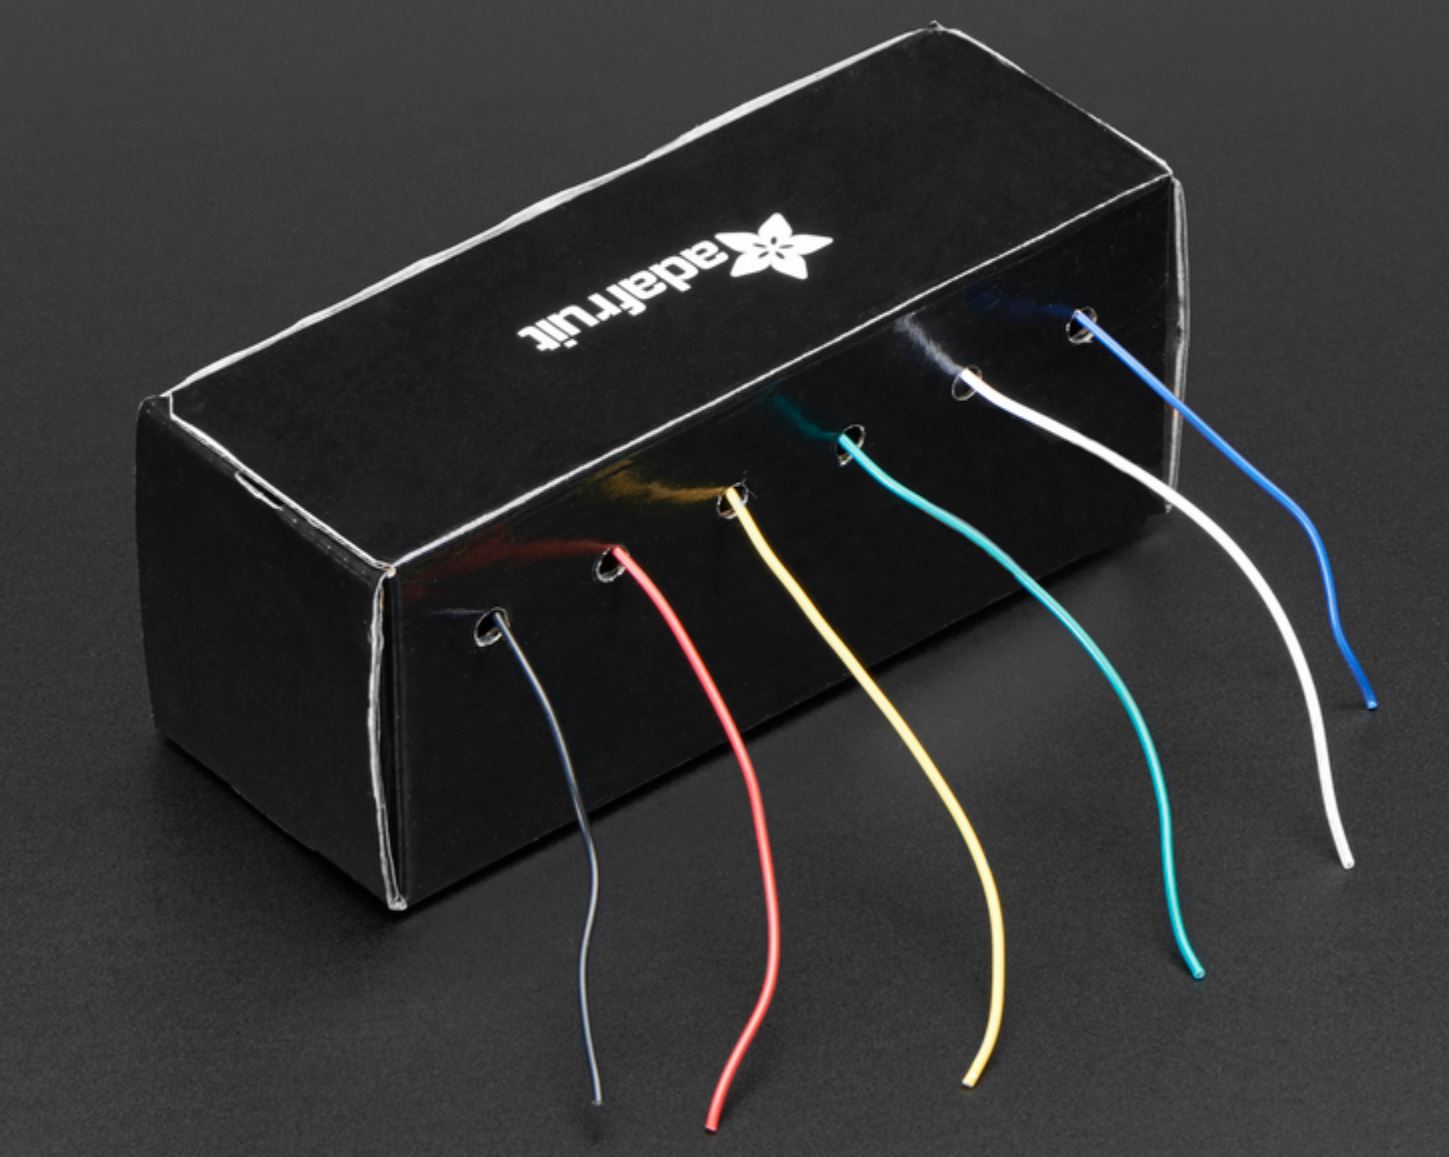
If you can't find any, McMaster Carr sells wires at a very reasonable price, either 24 or 26 Gauge multipurpose hookup wire is suitable. Adafruit also sells a hookup wire spool set (or you can buy each color individually). You will want at least red, black, and one other color of your choice.
For wire strippers, any will do, as long as they are not badly dented.
If you have only stranded wire, you can tin the ends by applying solder to the ends of the wires and snipping them to fit into the female headers of the board that you have purchased.
In the future, some nice additions will be needle nose pliers, and flush cutters.
Neopixel Ring
This is really the only other electronics component you need for this part of the project. Neopixels are RGB (Red Green Blue) LEDs that not only need just one wire to specify the colors, but also are individually addressible. This means that the colors of each pixel is not tied to its neighbouring pixels.
Adafruit has branded these types of LEDs as Neopixels, and they can be found in many formats. I prefer the ring format, and in this project, we will be using the Adafruit ring with 12 pixels.
![]()
The technical name for these LEDs are WS2812b LEDs, and if you search Aliexpress, you can also find similar offerings for perhaps a cheaper price. They both work using the same code. I recommend going with Adafruit option because the quality is better.
Other
Because the neopixel is really bright, we want to diffuse it. You can use either parchment paper or transparent plastic that can be folded.
Nightlight
Welcome to your first project! Excited? Let's start!
Note: see the EDI Bootcamp for an animated depiction of what to do with regards to soldering and wire stripping.
Cut about 8 cm (3 in) of wire for 3 colors. Typically Red, Black, and one other color, however, if you are using a common space/supply, you might find that Red and Black are in short supply. Try using yellow and blue as substitutes. I find that these are not commonly used so you will have plenty of wire for your power and ground.
Strip about 0.5 cm (1/4 in) from the ends, the lengths don't have to be precise, but they do have to be long enough to be pushed into the headers of the board.
Solder red/yellow to power (PWR), black/blue to ground (GND), and the last wire to the signal (IN). There is another pin (OUT) that you can use to join up more Neopixel rings.
Connect power to 5V, ground to ground, and signal to D5. That's all the connections required!
Installing Arduino
Installing Arduino is pretty easy! Head over to Arduino and download the latest IDE. Note that you will want to download the IDE instead of using the web interface.
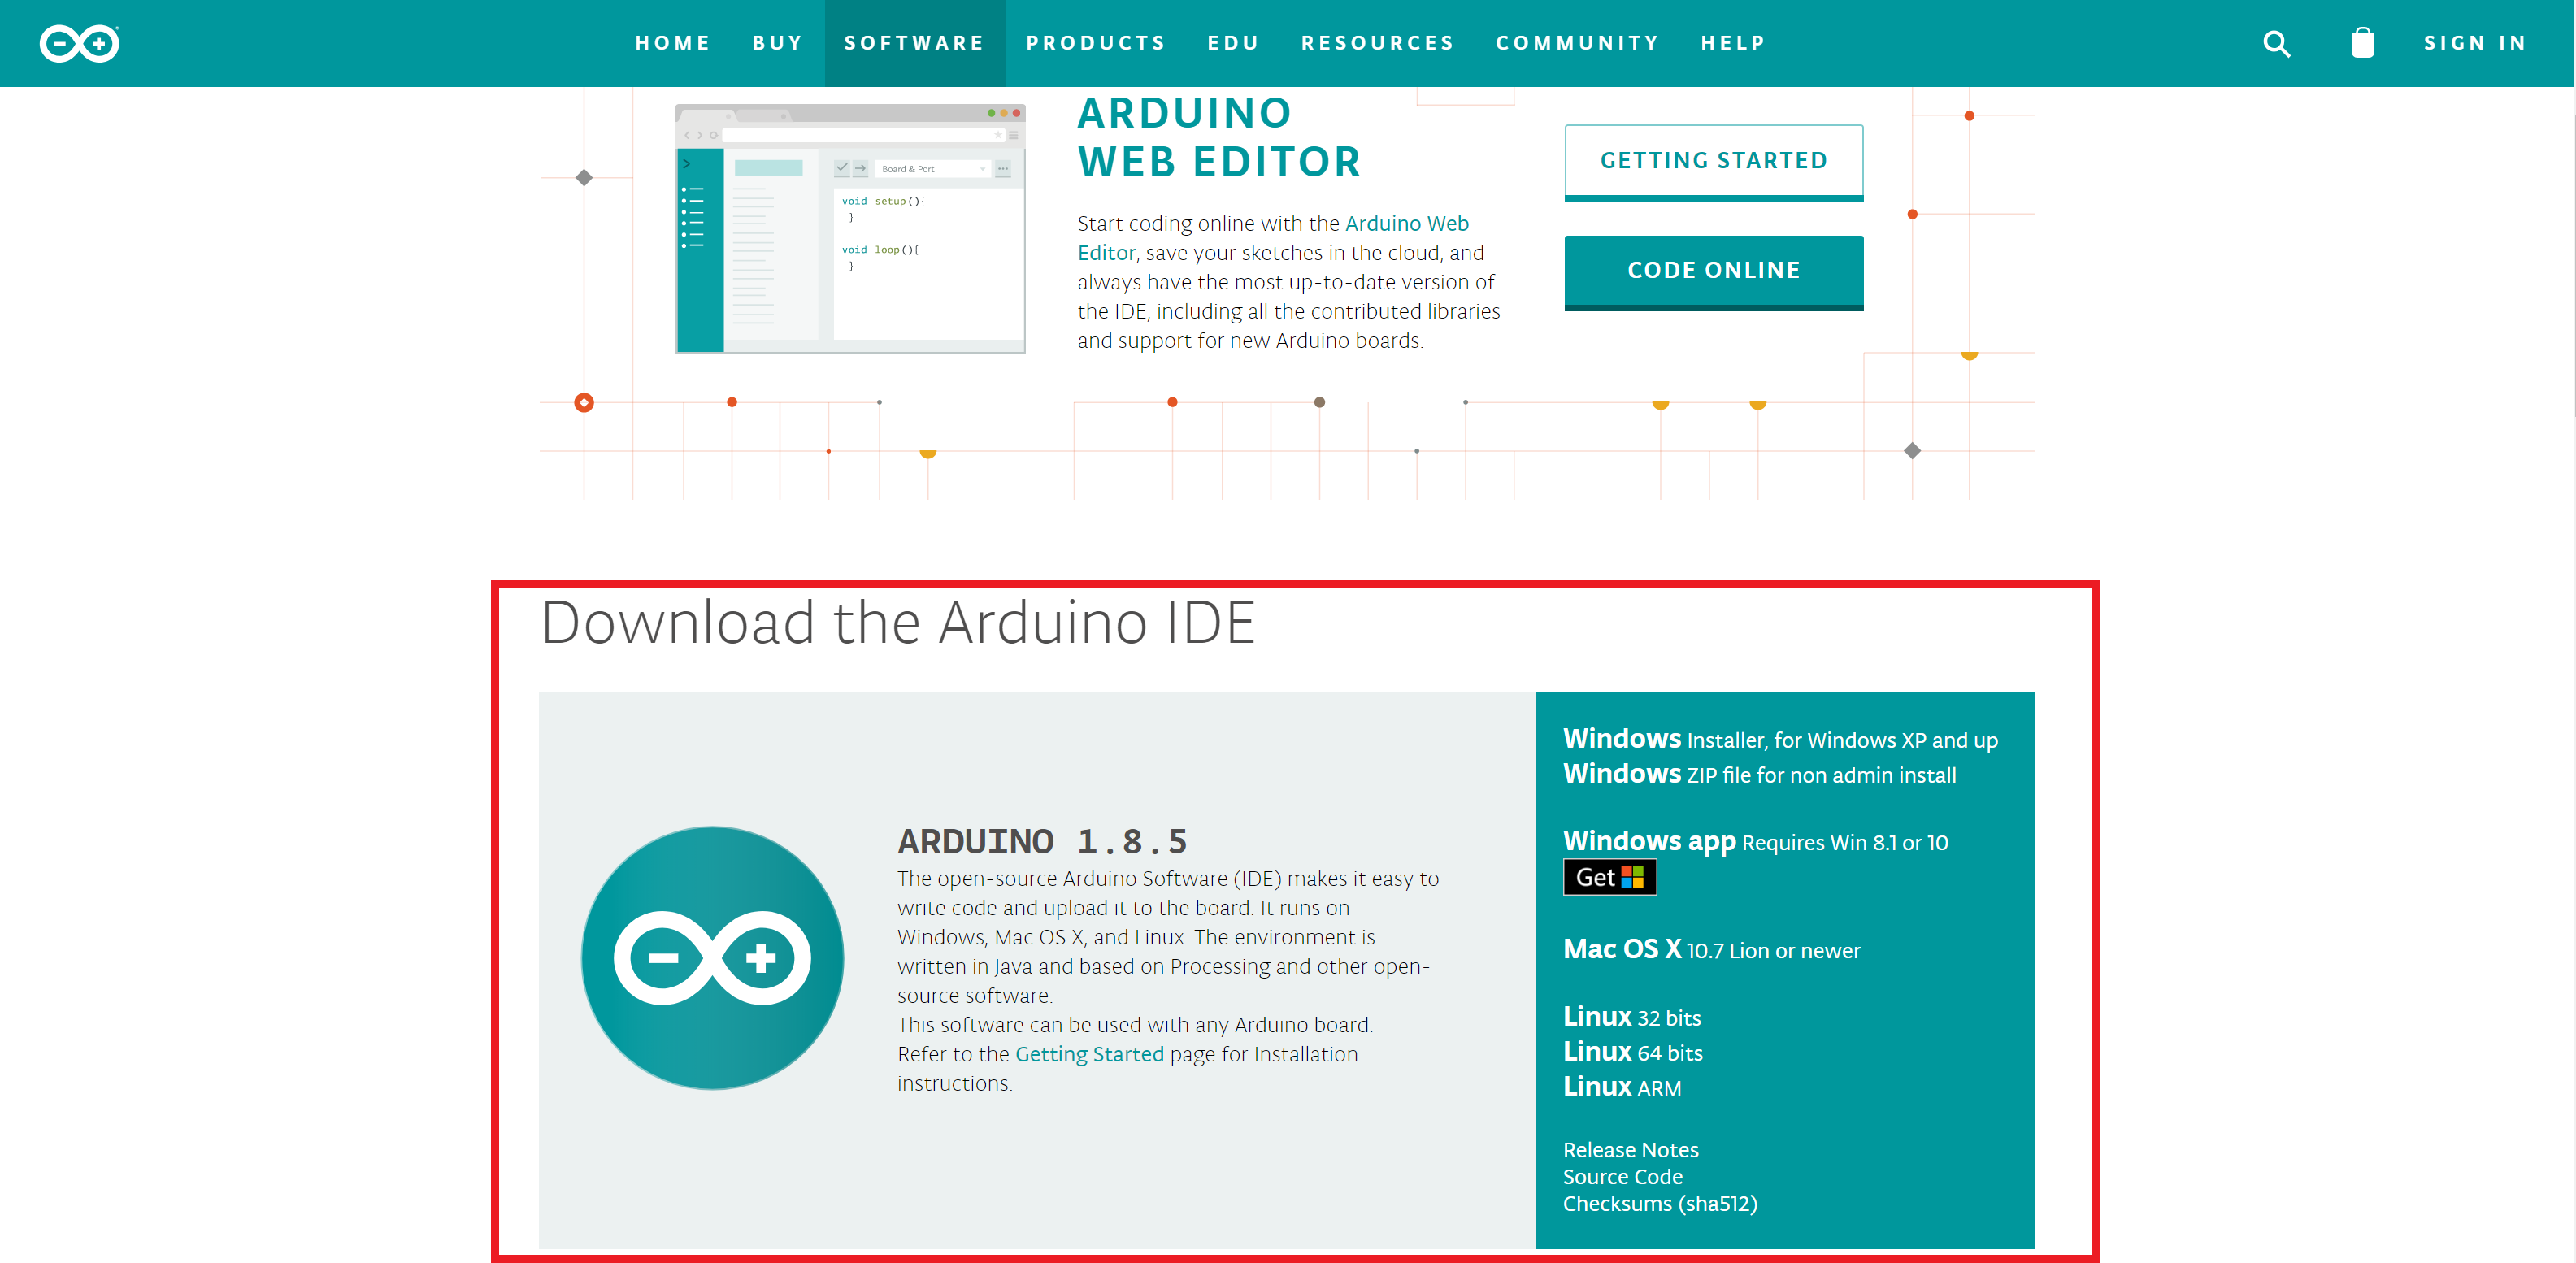
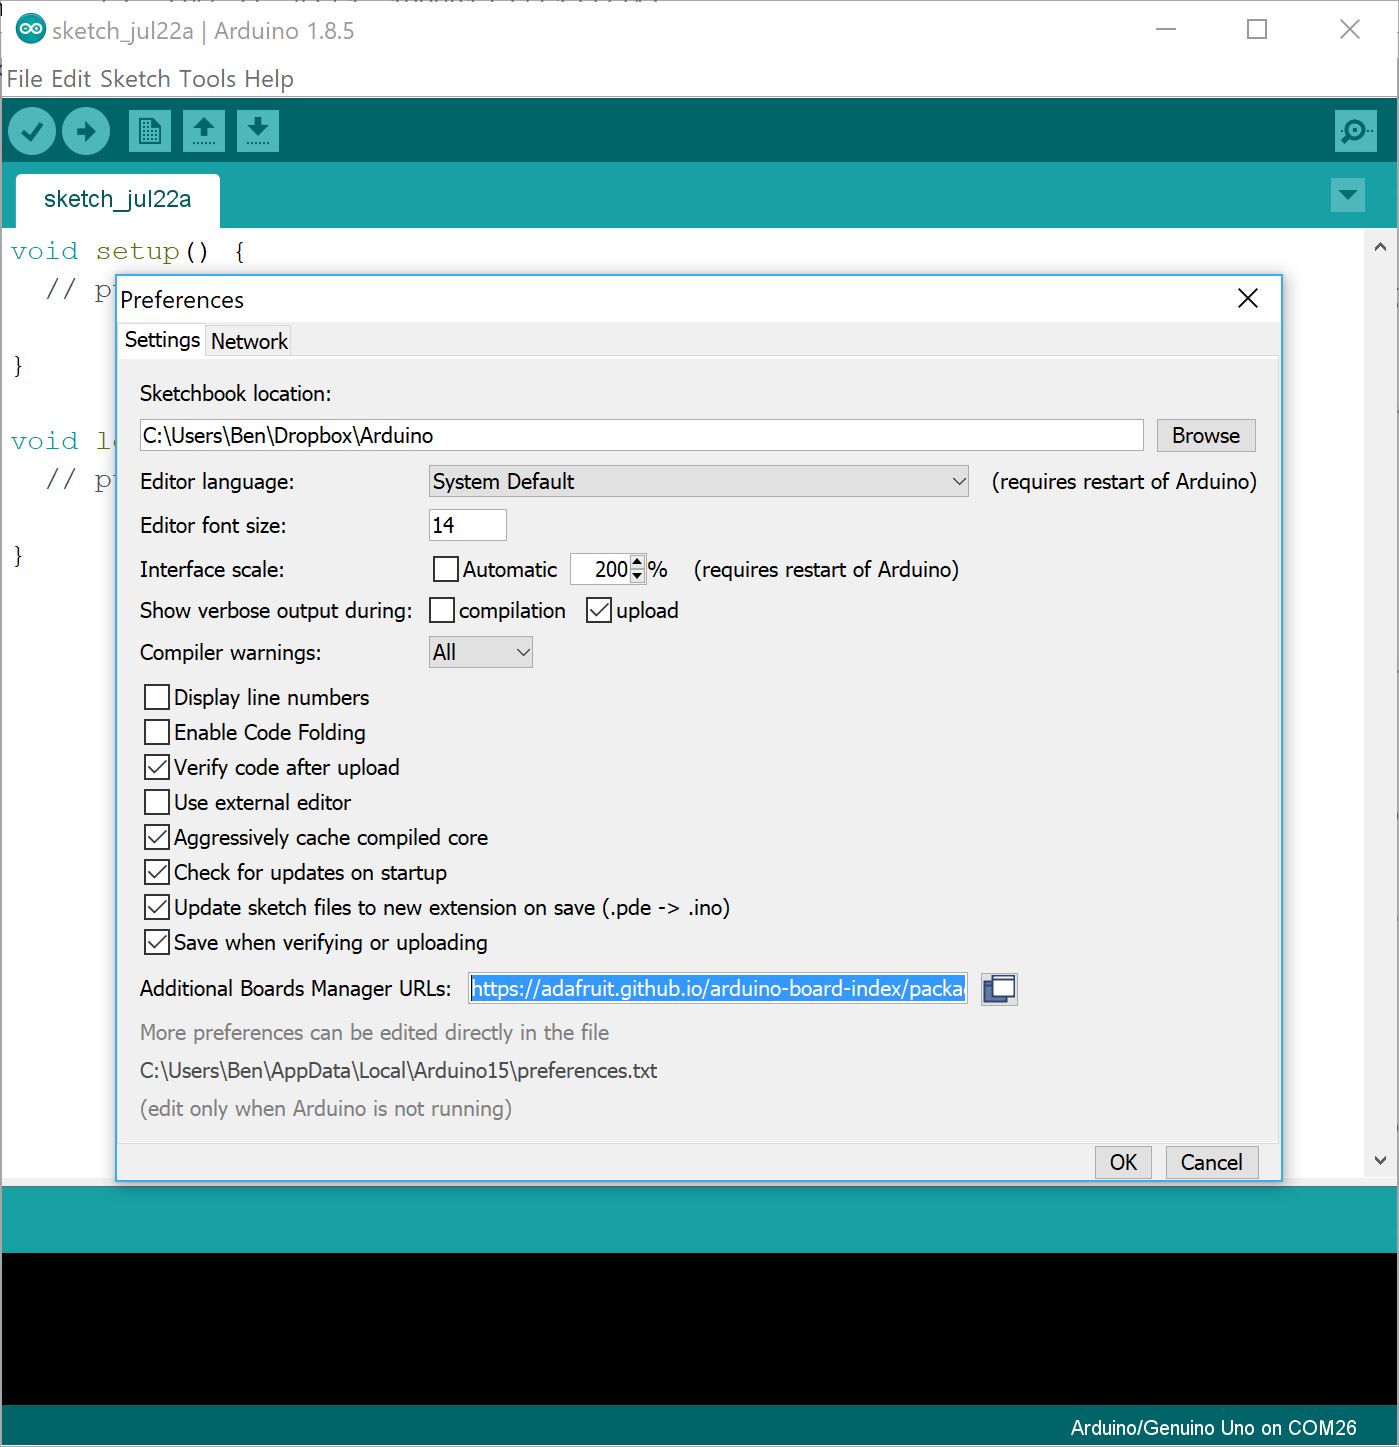
Once you have installed Arduino, when you first start Arduino, you will face a page like this:

In order to use the Neopixel, we will need to use a library. A library is a collection of code that someone has written for a particular chip or sensor that allows us to read or use the sensor easily instead of having to write this code ourselves from scratch. Arduino has a very useful library manager that takes care of the download and installation for us!
We will be using Adafruit's Neopixel library. However, we have to first add Adafruit's database to our Arduino installation. Go to File > Preferences, then under Additional Boards Manager URLs:, add https://adafruit.github.io/arduino-board-index/package_adafruit_index.json. Click Ok when you are done.
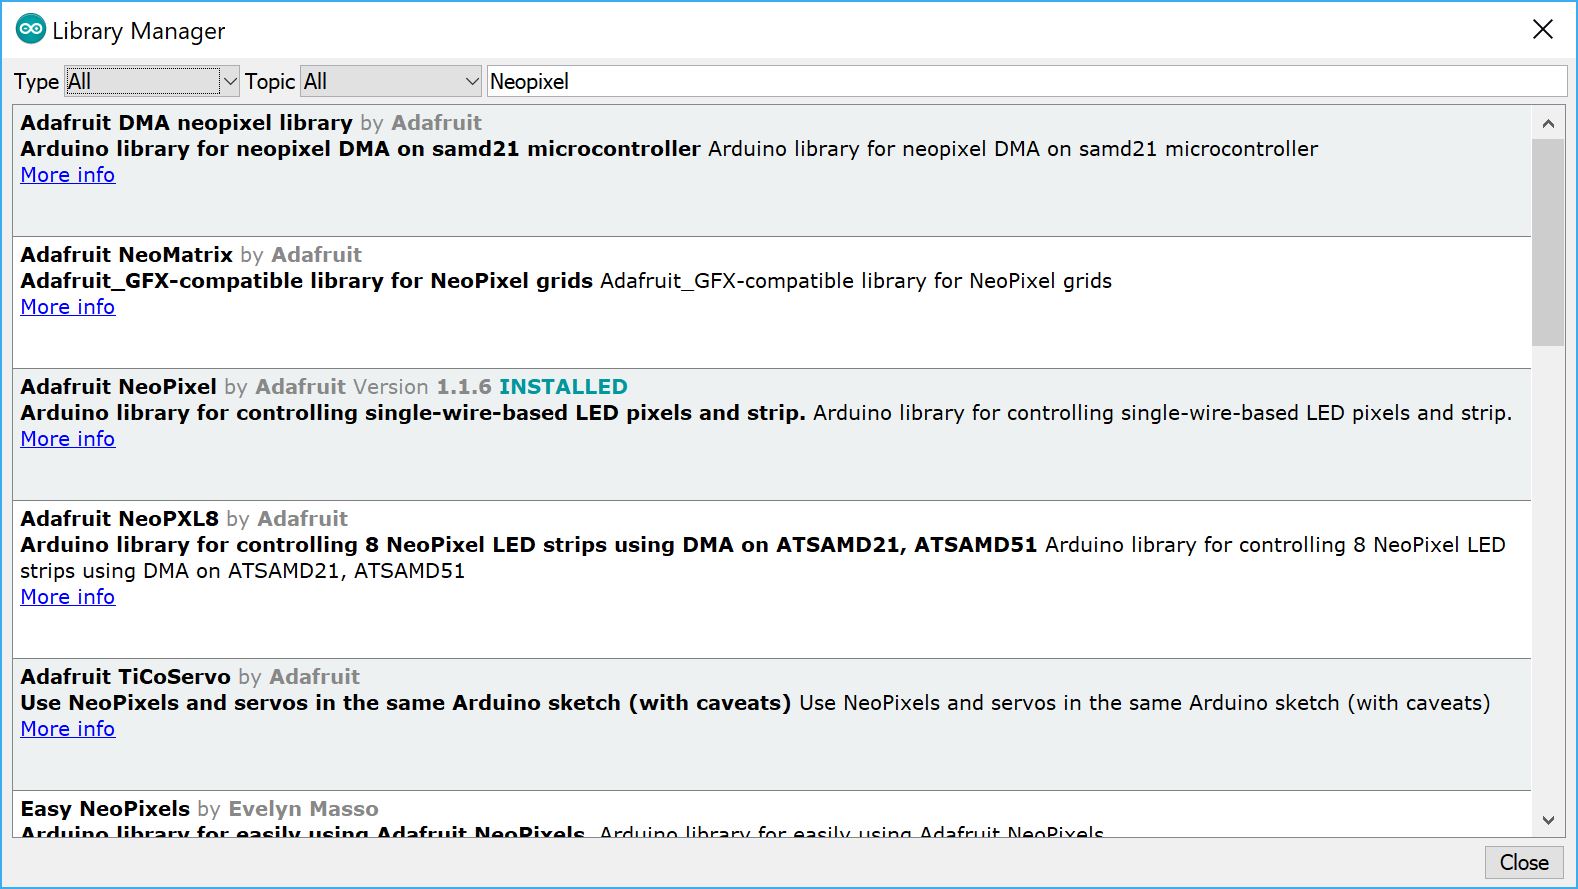
Now we can install the library. Go to Sketch > Include Library > Manage Libraries..., under the search bar, type Neopixel, and locate the entry titled Adafruit Neopixel by Adafruit. Click on the entry, then click Install.
Light it up!
To light up the Neopixel ring, we can look at some example code to get started. Go to File > Examples > Adafruit Neopixel and open simple. I will go over the code in detail.
#include <Adafruit_NeoPixel.h>
We have to tell the code that we are using the library. This is necessary for any library you chose. If you are unsure of how you should include the library, check out the example code! Each library comes with some example code to get you started.
// Which pin on the Arduino is connected to the NeoPixels?
// On a Trinket or Gemma we suggest changing this to 1
#define PIN            6

// How many NeoPixels are attached to the Arduino?
#define NUMPIXELS      16
Next we have to tell the code which pin we are using to control the Neopixel ring, and the number of pixels in the ring. The #define (keyword) (replacement) tells Arduino, look, I am going to replace (keyword) with (replacement) in the code when I upload it. This is useful when you want to make your code as flexible as possible. So instead of changing 6 to 7 everywhere in the code, now I have to just use PIN wherever I want to use 6, and if I want to change it to 7, I just have to do so at one conveninent location.
// When we setup the NeoPixel library, we tell it how many pixels, and which pin to use to send signals.
// Note that for older NeoPixel strips you might need to change the third parameter--see the strandtest
// example for more information on possible values.
Adafruit_NeoPixel pixels = Adafruit_NeoPixel(NUMPIXELS, PIN, NEO_GRB + NEO_KHZ800);
Next we have to create an object. Objects are a little too complicated to cover here, but you can essentially think of them as modular blocks of code that take in a simplified set of inputs.
int delayval = 500; // delay for half a second
This is a variable. int variables hold numbers. Here, the variable delayval is being used in milliseconds, so it is set to 500 for 0.5 seconds.
void setup() {
  // This is for Trinket 5V 16MHz, you can remove these three lines if you are not using a Trinket
#if defined (__AVR_ATtiny85__)
  if (F_CPU == 16000000) clock_prescale_set(clock_div_1);
#endif
  // End of trinket special code

  pixels.begin(); // This initializes the NeoPixel library.
}
setup() is where all the code is set up. Here we have to call pixels.begin() to start the code for the Neopixels. Nothing is happening right now because we haven't yet programmed how we want the Neopixels to light up.
void loop() {

  // For a set of NeoPixels the first NeoPixel is 0, second is 1, all the way up to the count of pixels minus one.

  ...

}
loop() is where all the magic occurs. The code executes sequentially in this loop until the microcontroller is powered down or reset. When it reaches the end of the loop, it starts at the top again.
for(int i=0;i<NUMPIXELS;i++){
    ...
}
A for loop has the syntax: for( variable; condition; increment). A for loop executes as long as the condition is true, in this case the number of pixels that we declared earlier. Each time the loop reaches the end, it increments the variable and checks it against the condition. This way we can use the loop to do a lot of useful things, such as counting up or down to a certain condition.
pixels.setPixelColor(i, pixels.Color(0,150,0)); // Moderately bright green color.

pixels.show(); // This sends the updated pixel color to the hardware.
Here we set the colors, but the way the Neopixel library operates is that it assembles the colors first. It only updates the ring when you call pixels.show(). You can essentially keep changing the color of the same pixel, but if you don't call pixels.show(), nothing will happen.
delay(delayval); // Delay for a period of time (in milliseconds).
At delay(num), the code pauses for a certain amount of time in milliseconds specified by num. However, this is not very accurate over long time periods (think about an hour), and delay is blocking, which means that you can't do anything else while you are in 'delay'.
Now armed with the basics of an Arduino program, try writing out your own animation by varying the delay and for loops!
For more ideas, check out File > Examples > 01.Basics. These are some basic programs that will help you in understanding various programming structures.
Other Programming Techniques
After having gone through all of that, now let me introduce you to Arduino Strip Effects. Hans Luijten has written a series of sketches that animate some of the more complicated effects, such as a falling meteor. These sketches are mainly aimed at strips of LEDs, but with a little bit of tweaking, you can also use it on the ring with quite good effects.
Folding the diffuser
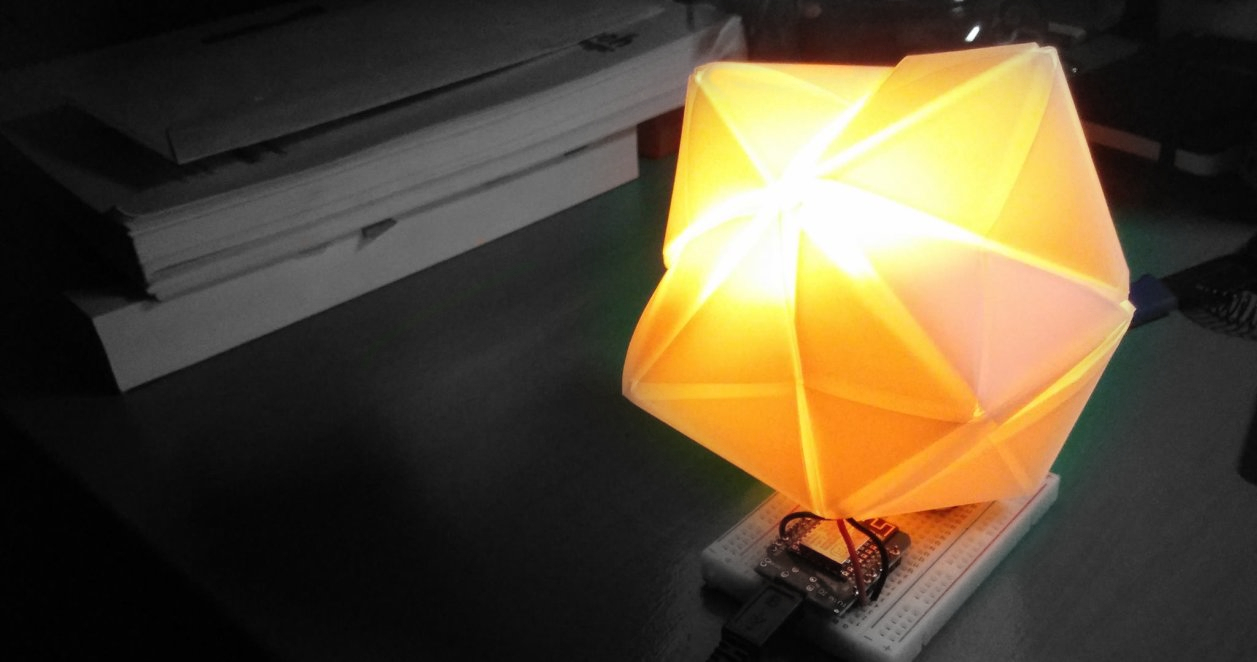
Because the LEDs are rather bright, enclosing it in a diffuser allows the colors to be softer. After experimenting for a bit, I realised that the most commonly avaliable diffuser would be to make one from origami. In particular, I like sonobe modular units because you can make very nice geometric shapes with it, and the edges get highlighted quite beautifully when lit from within. Here are a few examples:
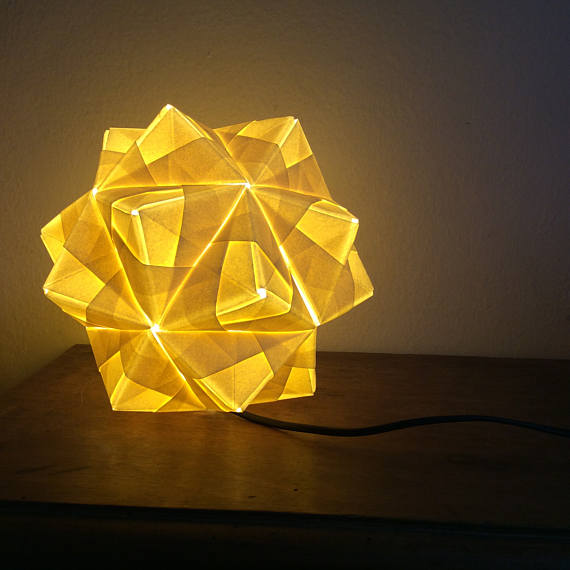
This is one that I made myself:
Here is a video that I found really useful to get started with!
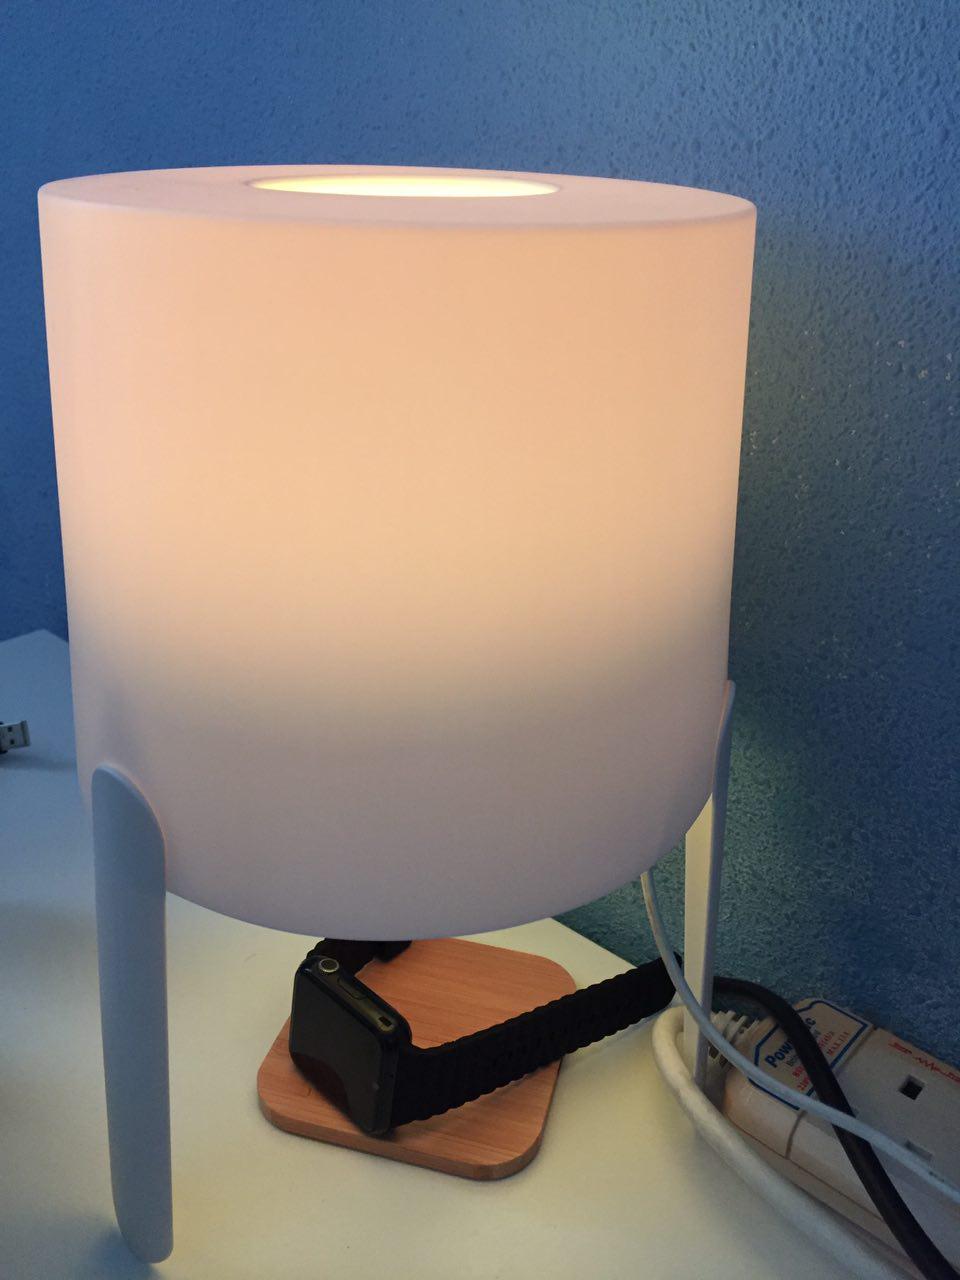
Of course you can also use any other method to diffuse the light, including reusing a desk lamp from IKEA:
Other projects
Interested in building other projects? Here are a few other projects for you to sink your teeth into:
Rationale
This is a list of reasons of why I chose this method.
-
Are there any cheaper options?
Yes. But I didn't recommend them because of the plain frustration and difficulty for a newcomer to get them set up. For example, the WeMos Mini is a tiny, fully Arduino compatible board with WiFi capabilities that sells for $5. The only problem is that it doesn't always work with Apple computers and requires some driver downloads. The Arduino Nano v3 is a very popular chinese clone that fits on a breadboard and cost $3. However, the clone doesn't always work for everyone and this can be very frustrating for a newcomer. -
What about kits?
Kits are wonderful to get started with! However, the problem is that they offer a generic set of components, and more often than not, people want to explore the hobby but they don't have a project in mind. They would often blink their first LED, get bored, and put the kit away. This happened to me many times, even now. However, as a source of spare parts, a kit is invaluable. My recommendation is to get a kit early on as you are getting into electronics. -
Why Neopixels?
Having taught Arduino before, what I find that people get really engaged when I get to the part about programming the Neopixel. I can usually leave my class to fiddle around happily with the Neopixel for 30 minutes to an hour. -
Really, it's two parts
Well, yes. I wanted to use as little as possible with this guide, so that even if you don't want to persue hobby electronics, you will not have a bunch of unused tools lying around the house collecting dust. I recommended borrowing tools as much as possible with that in mind, though I have also made recommendations for future purchases if you do decide that you are interested.