Getting started in Electronics
A guide to getting started in hobby electronics in 2018.

A guide to getting started in hobby electronics in 2018.
Motivation
For some time now I've been thinking about how they should get started in electronics. It is easy to point them to Arduino and say, start there, and that is what many guides do. But beyond blinking an LED, it is sometimes hard to suss out what to do next.
I think that it quickly turns people off if they aren't able to building something interesting. I certainly understand wanting to get results quickly. A lot of electronics that I play with is just for hobby and fun, so if I'm going to spend my precious leisure time on something, it shouldn't take a week to bear fruit on my first project.
Do note that this is advice from a beginner to another beginner, and really a wish list of what I would have advised myself when I was starting out.
Getting interested
Reading
I spend as much time watching electronics videos and reading reviews as I spend on my projects. They often give me inspiration for the next project. I highly recommend reading Make Magazine for ideas, Hackaday (both the IO and .COM versions) for curated electronics content around the web, as well as the Adafruit Blog for interesting projects. Sparkfun does not push out content as often as Adafruit, but it is worth checking out once in awhile.
Instructables has various interesting handmade projects to browse around for ideas.
Videos
For watching, Mick Make has a good channel on YouTube where he goes through new products every week, and produces videos on a variety of topics. Another channel I like to watch is I Like To Make Stuff, which is very instructional for building larger projects. Big Clive Dot Com does teardowns with electronics that can be quite entertaining to go through.
AvE creates fantastic videos on machining stuff in his channel.
Kits
Buying and assembling kits is also a fun way to get started with electronics and soldering in particular.
Getting stuff
Getting stymied on a single part is the single worst part of a project for me. I find that when I get the momentum to do something, I can suddenly lose it all when I realise that I don't have a part, which can be as simple as a resistor or button. Having to stay at another location for a prolonged period of time opened my eyes to how much of the 'stuff' is actually useful in making sure a project goes smoothly.
There are two ways to do this: ensure you have everything you need before starting, or having a lot of spare parts. The reason why almost everyone who works with electronics has boxes and boxes of stuff is that the second method works far better than the first. Things happen, and you might be missing a part. Or you realise that you can change your design as you are building it, but you don't have the parts, or maybe you want to build something on the spur of the moment, but no! You don't have the parts.
The trick is to order three times more than you actually need. One is for use, the other is when you inevitably short it, and the last one is for future projects. For more common components like jellybean parts (i.e. resistors, capacitors, transistors), having a wide variety is always good.
Arduino
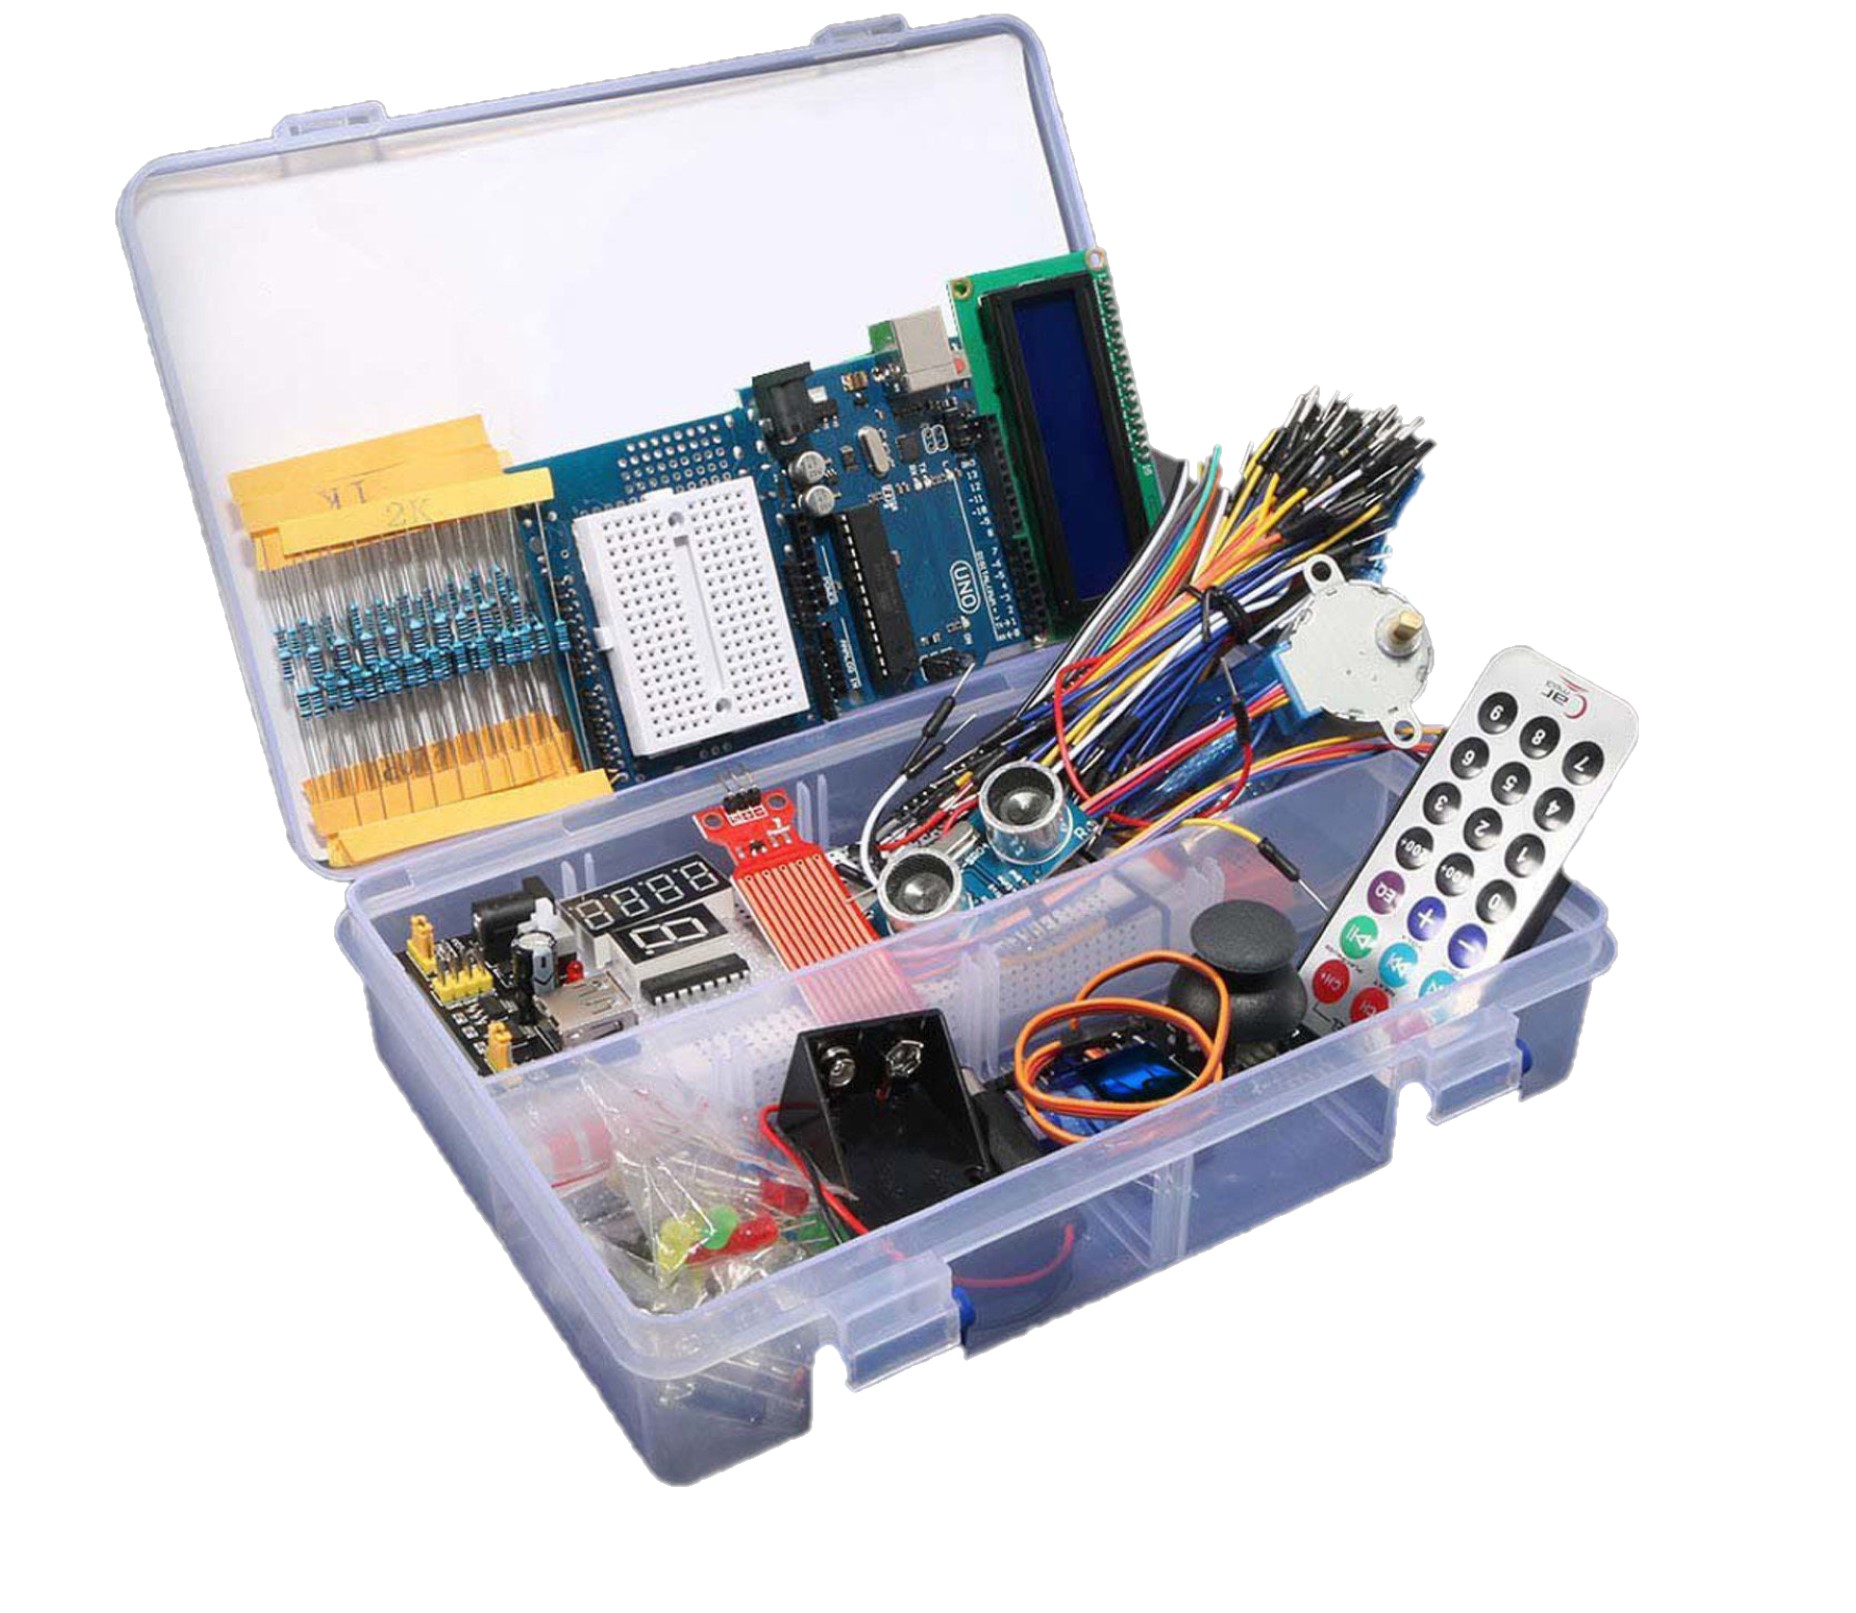
For someone who is just starting out, buying an Arduino kit from China is a good idea. These kits can run from $30 to $45 but I can count on more than one hand those moments when I found the part that I needed in one of those kits.
Soldering
A soldering kit is also necessary for putting together all those spare parts. A cheap soldering kit is more than enough to do the trick. I used an Elanco kit until I decided that I wanted to invest, whereupon I purchased a temperature-controlled iron as well as a rework station.
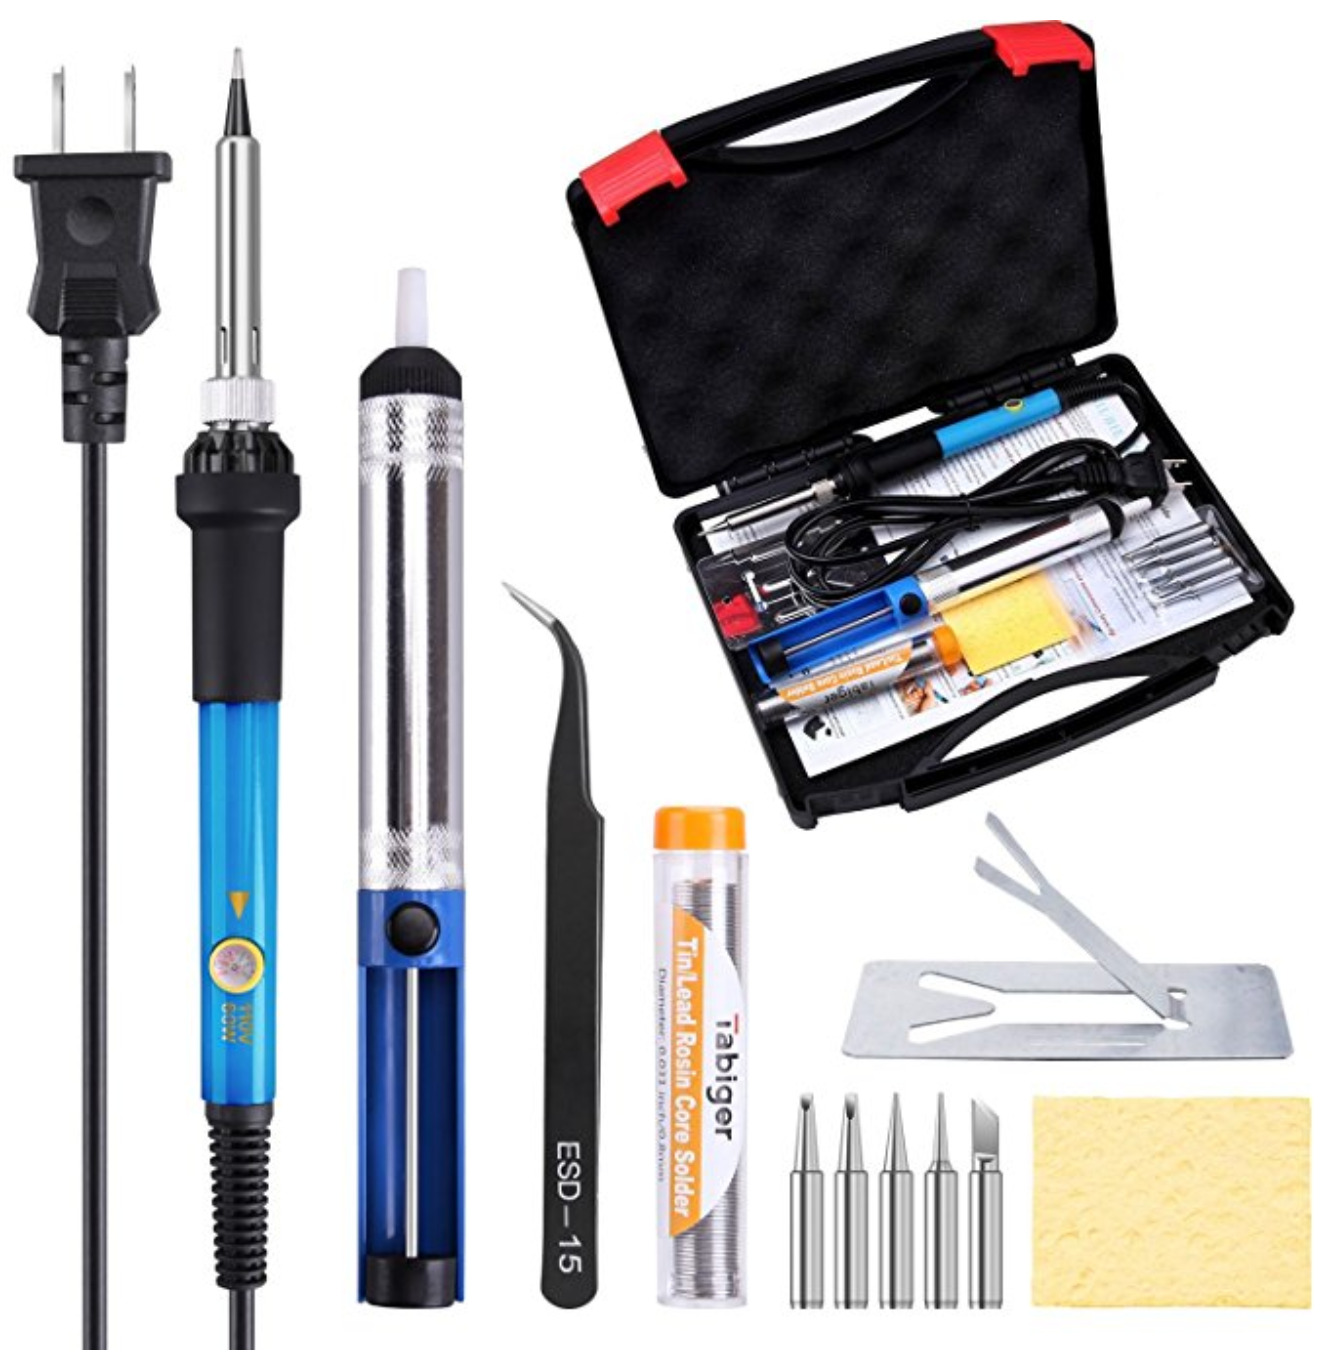
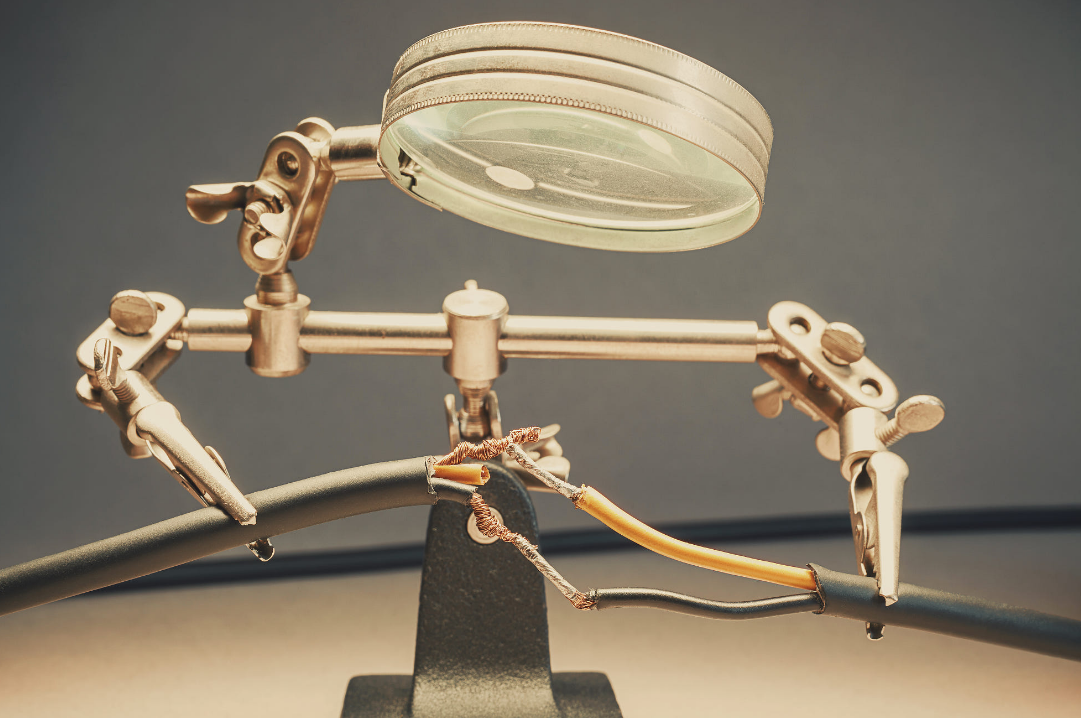
I would advise against spending too much money on a branded iron if you are just starting out. Most soldering irons do just as well. Other items that may be worth better consideration are solder wicks and a pound of solder of the leaded type. A soldering stand for the iron, and a Helping Hands Stand to hold the electronics while you are soldering it will reduce the chances of getting burnt.
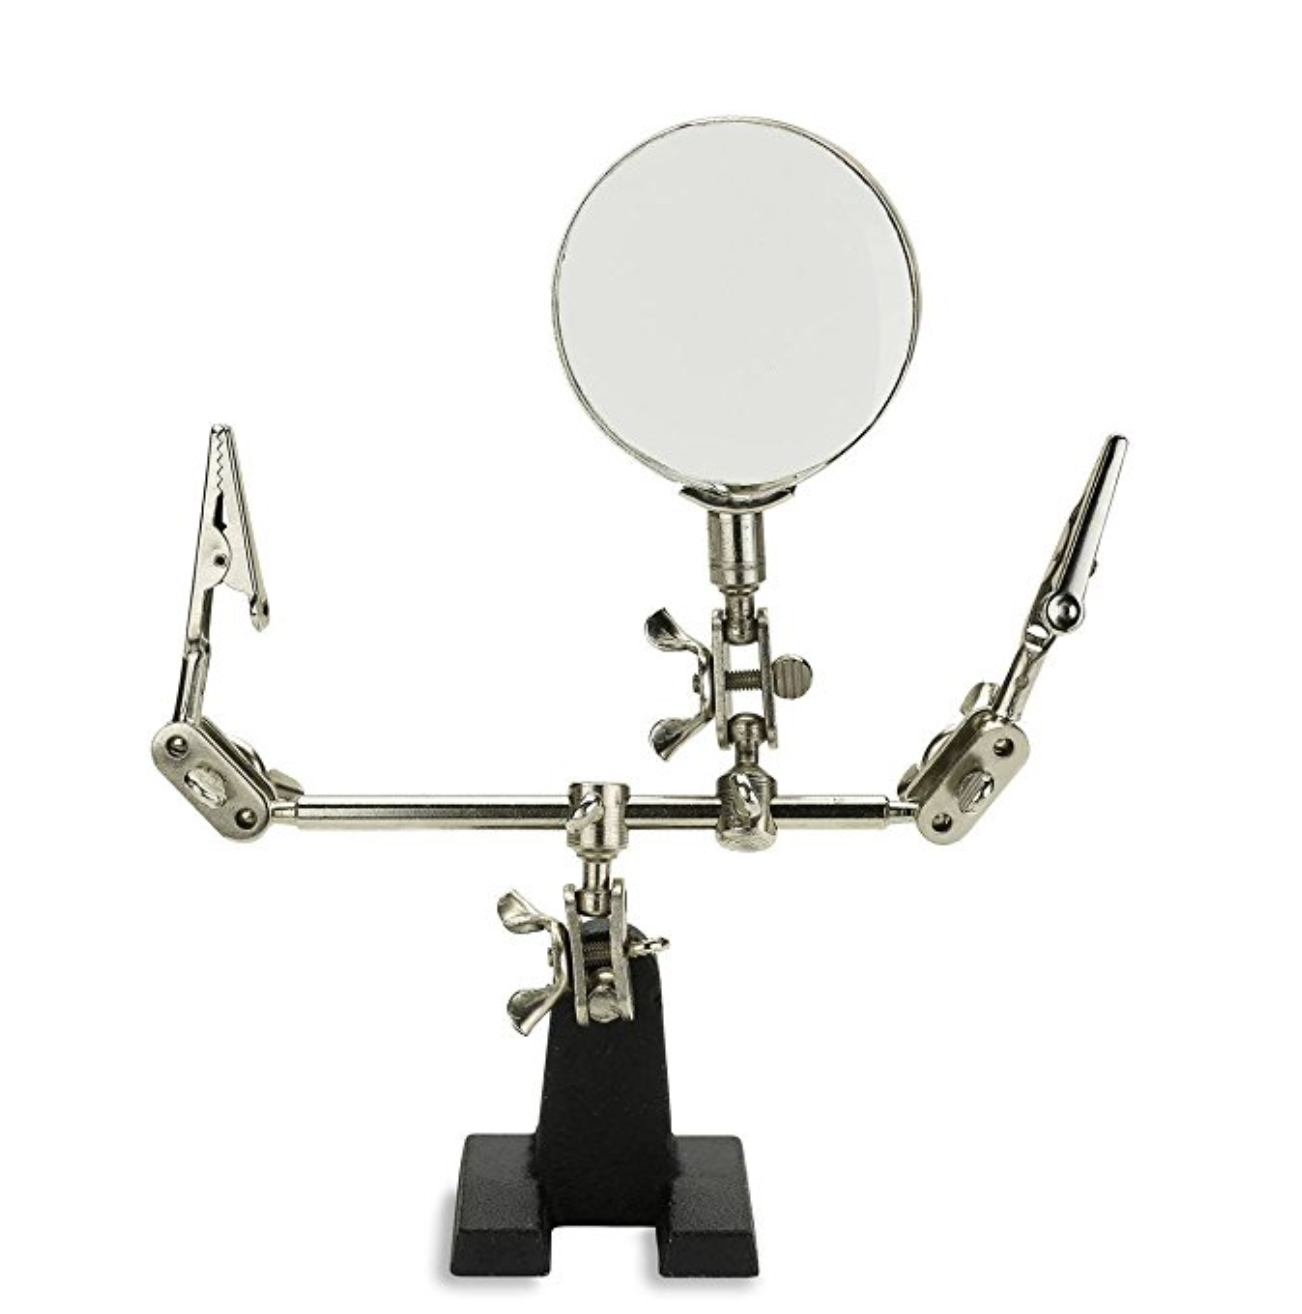
One quick upgrade you can do to the Helping Hands stand is to add heat shrink to the clips. This prevents your electronics from being scratched and provides more grip. If you can afford it, the next step up is the Panavice Jr., which clamps your board securely on in a vice that has grooves for boards.

Places to get stuff
Sparkfun and Adafruit are good places to shop for breakout boards. Arrow, Digikey, and Mouser are electronics distributors that stock more generic parts. For the cheapest versions, look to AliExpress and Ebay. One nice thing about Adafruit is that they also stock at other distributors, so if you are adverse to paying the shipping which starts at $8, you can look for their products at other distributors which might offer free shipping at various times.
One note about AliExpress is that you generally want to opt for the Epacket option if you have it. Waiting 30 to 50 days just for free shipping is just not worth the money saved, by which time you might have abandoned or forgotten about the project.
For more generic components like unshrouded male headers, Jameco provides an easy to browse selection with a reasonable shipping rate. I cannot overstate 'easy to browse' enough. Oftentimes searching for really generic components at other distributors can be looking for a needle in a haystack: you need to know the exact search terms or you might not find what you are looking for. Jameco also provide other electronics related items like knobs, dials and switches, that are sometimes hard to source from distributors.
Storing Stuff
Don't throw away those boxes! Even for small components, most companies ship them in boxes that can be tremendously useful for storing parts. I personally like reusing shipping boxes as containers, and I label the outside with the general characteristics of the parts within. It took me an embarassingly long time to learn that I had to organise my stuff.
General Project advice
This section contains general advice as you embark on your first few projects!
Commit!
Don't be afraid to embed your microcontroller board in your awesome project. It not only makes it more permanent and less likely to fail, it also is generally less messy and easier to store and install than using a breadboard. For the longest time I had my Sunrise Alarm on a breadboard, and each time I had to install it in a new location, I would inevitably pull a few wires out and had to go through the entire process of figuring out where each wire went in the tangle jumper wires. Eventually I wised up and installed an ATTiny85 as the brains of the project.
Use a cheaper micro!
Almost contridicting my last point, usually it is not the best idea to install your breakout board or Arduino Uno as the brains of the project as there is usually a cheaper board and smaller microcontroller that does exactly what you need.
ATTiny85s are popular and good for simple tasks like blinking LEDs, talking to a sensor or two over I2C, and small timing-based projects. Many clones of the Digispark board exist. These boards are made to program directly from the Arduino IDE through a USB cable and can sometimes be had for less than the cost of the microcontroller itself, ie, about a dollar.