Spring Projects, 2018

Spring! A great time to get started on new projects, now that I won't actually freeze the moment I step outside, I can also start embarking on outdoors projects.
Tiva TM4C123
The Tiva TM4C123 is a very capable chip! We started using this in class and I really like how well documented Texas Instruments is. Datasheets and official examples work amazingly well. The only quibble I have is that searching through the examples to find a right one can be a hassle, especially if I just want to simply reference an example of how to toggle a pin. I really started to appreciate good documentation when I picked up the Beaglebone Pocket and tried to look up the software reference to program in C, there simply wasn't any! All that was provided was a simple copy-and-paste example to blink an LED. The material didn't point to any progression, or other examples, which I found kind of surprising. Documentation is sparse, and relies on third parties to write "unofficial" guides. I guess maybe that's why Arduino/Raspberry Pi parings are so common instead of the Beaglebone.
Specs
The TM4C123 goes up to 80Mhz and boasts 2 Quadrature Encoder Interfaces (QEI). QEI modules are very useful when you are trying to control a DC motor with an encoder because they take the load off the microcontroller. Without the QEI, the microcontroller has to count each time the encoder rotates, which means that it is constantly being interrupted fromt the tasks that it was doing. With a dedicated QEI module, there is other hardware that counts instead, and this means that the microcontroller can focus on doing other tasks. It has an onboard floating point unit, which makes it faster at doing floating point calculations, and it has the standard array of PWM, SPI, I2C, CAN interfaces, which makes it an excellent general-purpose motor controller.

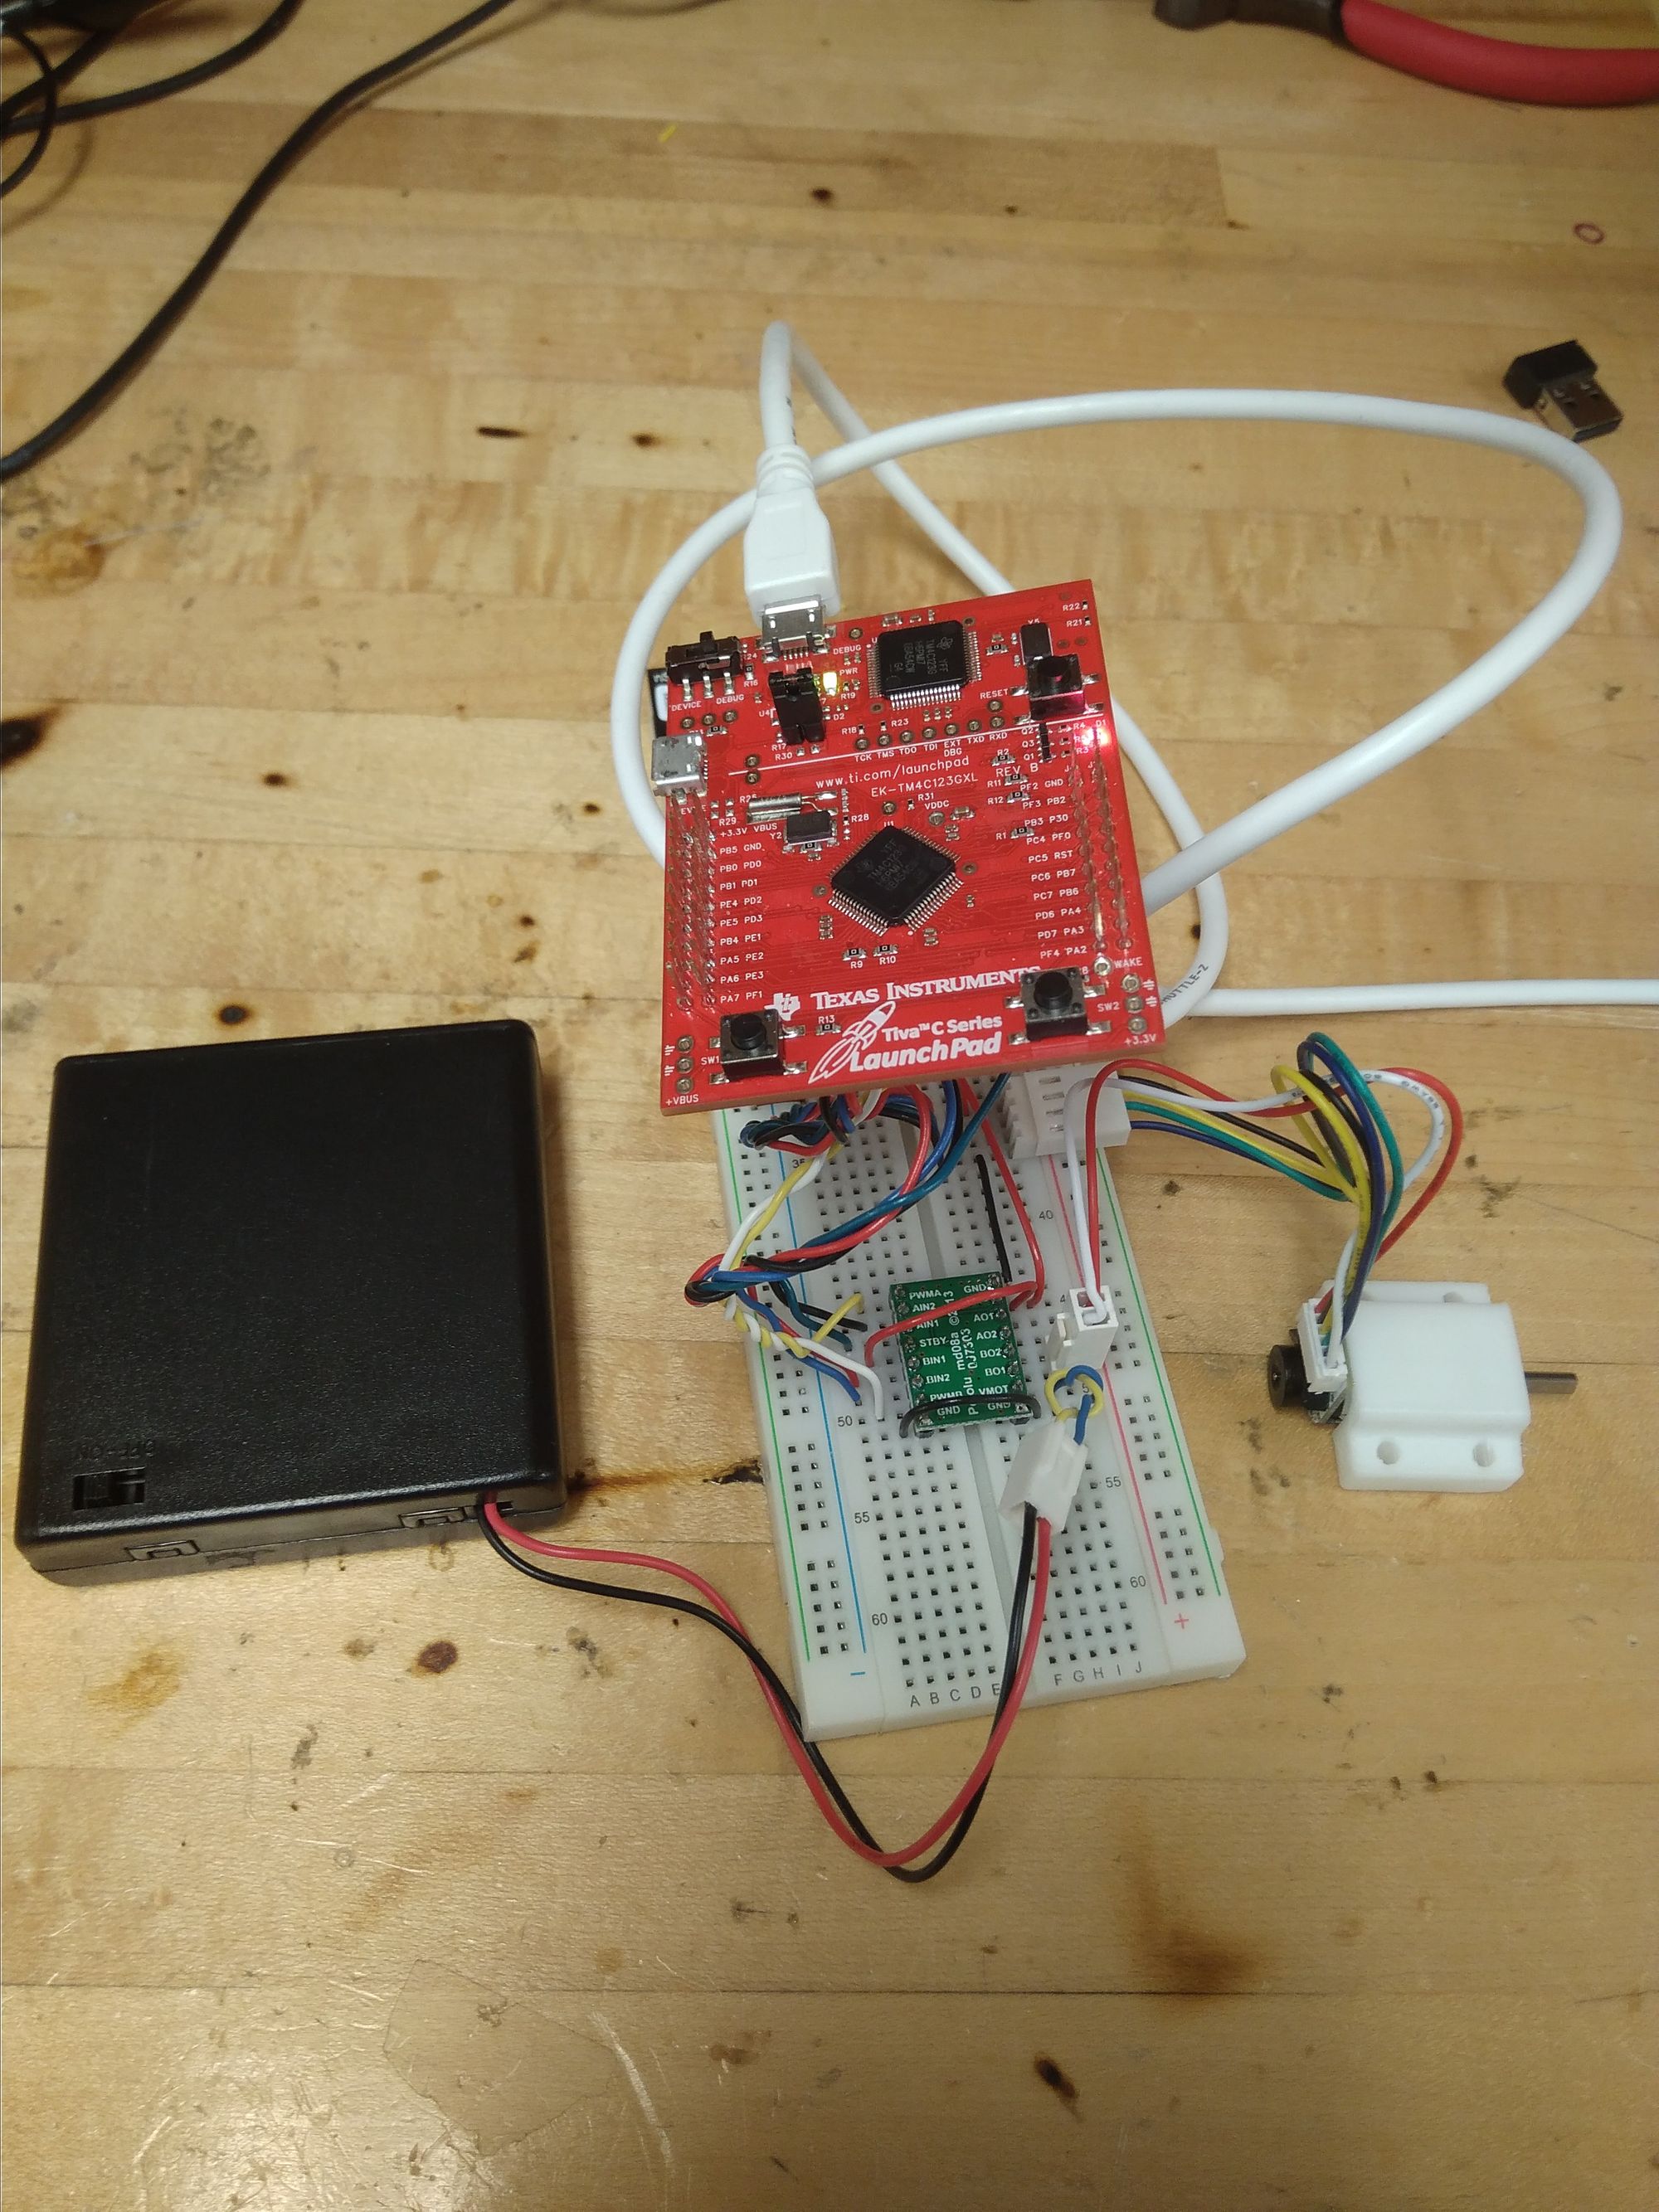
Here it is pictured with a Micro Metal Gearmotor from Pololu and the TB6612FNG Dual Motor Driver Carrier. I like the Micro Metal Gearmotor because it comes in several standard sizes and configurations, and it is so tiny! It comes with a magnetic encoder that can be used to detect the angle of rotation. So with PID control, I can set the position of the motor to about 1 degree. With the gearbox there is about 1 degree of backlash, so this makes the accuracy of the system to about 2 degrees, which is pretty good I think! One thing I must note is that below a certain PWM value, the motor does not turn, so the mapping should be from that PWM value to the maximum instead of 0 to maximum.
Now that I have tested the main parts of what I am trying to put together, I made a board that breaks out the essential parts of the motor control from the chip, and integrated the motor driver. This board I'm calling the NomadStep and the project is also hosted on Hackaday.io!
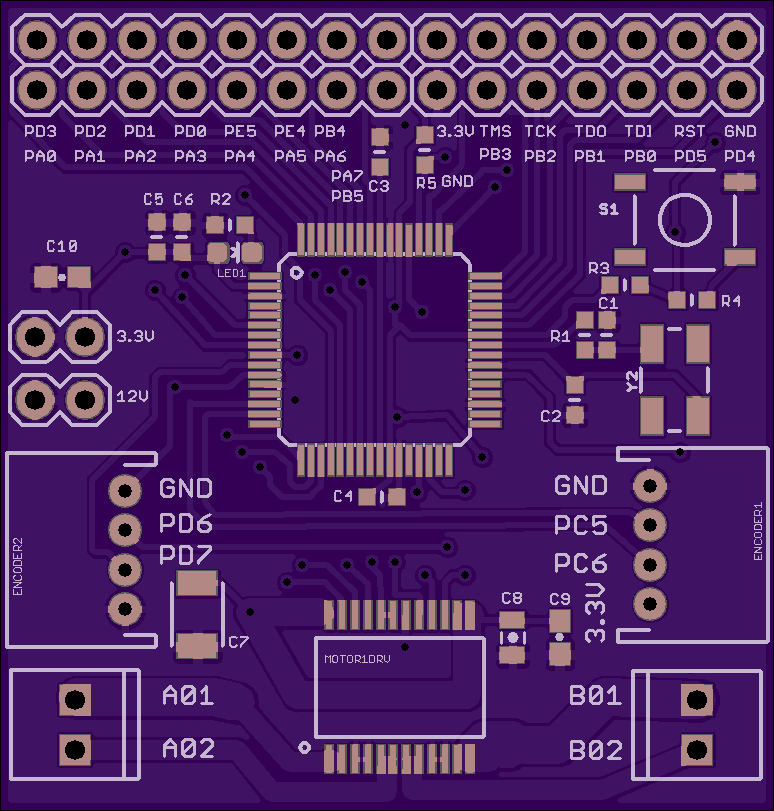
They are currently being made with OSHPark!
To test the interface, I am using a Raspberry Pi as an external computer which will attempt to control the the board over SPI/UART. Getting the Raspeberry Pi to work as a UART took a little time to figure out. I am using the wiringPi library, and as it turns out, I had to use /dev/ttyS0 instead of the default /dev/AMA0, otherwise I would just get the error that prints out -> -1 when using the example code.
Autonomous Robot Car
I never owned an RC vehicle before, and I finally bought one when Amazon had a 50% off on an RC car I was eying. It is a cheap vehicle, nothing too fancy, I was pretty lucky though, the electronics were easily accessible, and with a little bit of poking around I found that the forwards, backwards, and turning of the car was mainly a 3.3V PWM. This means that if I tap the same line and send my own PWM signals, without having to build a new power board for the car, I would be able to gain some control over the movement. The benefit is that I still retain the remote control, and I can still drive it manually.
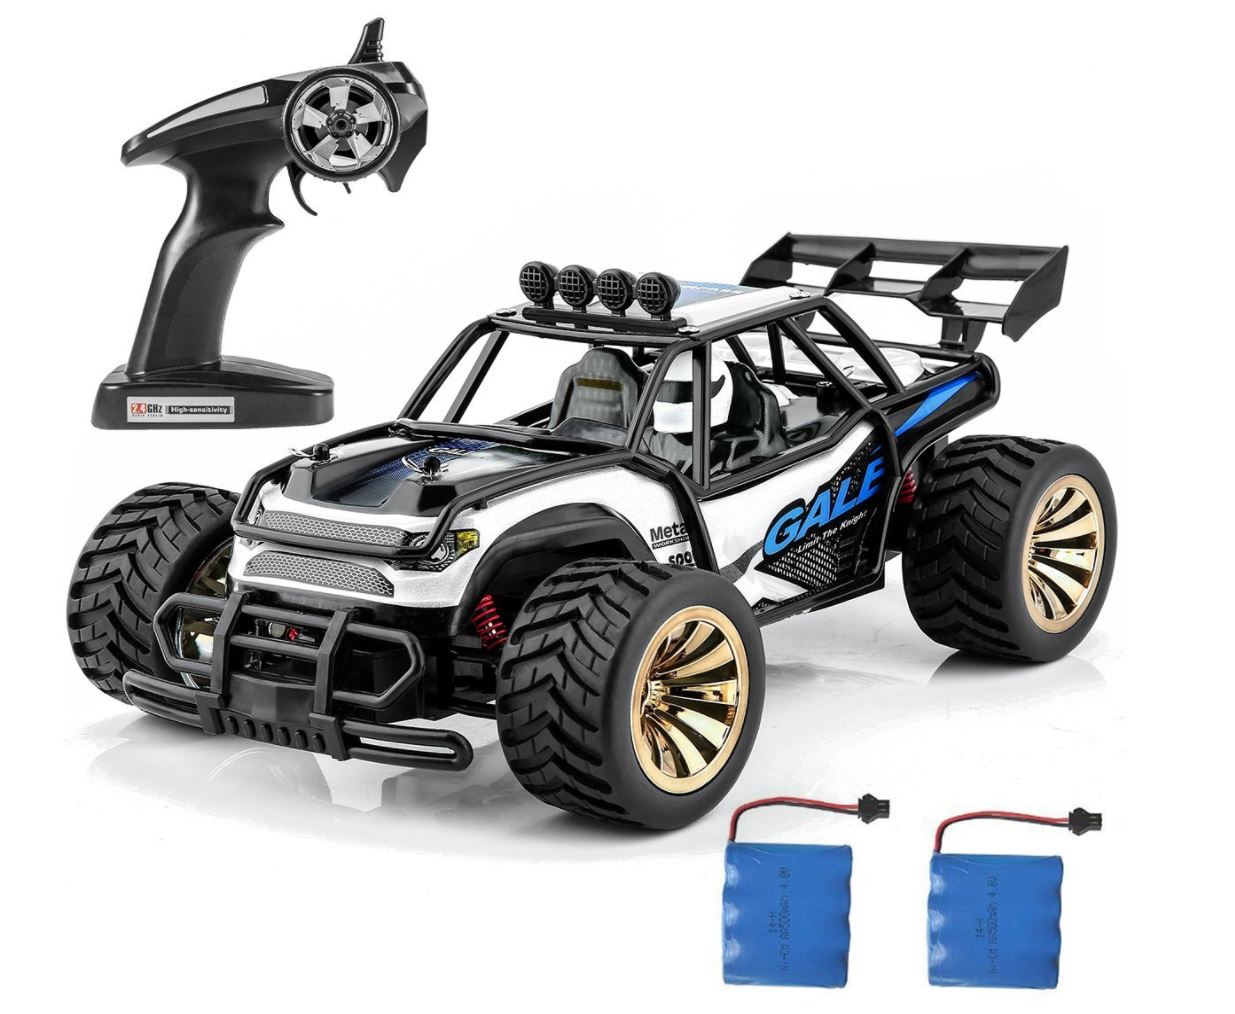
Currently I have stripped off the top of the car and soldered wires to the identified lines. There are 4 poles that are just about the size of a full sized breadboard, so I 3D printed a few mounts and fitted the breadboard on top of the RC car for prototyping. The next steps are to fit lights so that it will be visible, and slowly test autonomous control as well as order a GPS and a orientation sensor.
It is set up on my table with two cups lifting it off the surface so that I can prototype the controls without having to worry that it will run away from me.
One problem with these cheap RC cars is that they don't have a differential drive or any feedback with regards to the angle the front wheels are pointing. They are typically slammed left or right until the motor stalls.
Design Competition
In the same vein, Design Competition for Northwestern is next quarter, so we are currently prototyping our robot. Nothing much to say there. Robots are pretty stadard. Wheels, base, a microcontroller and probably some sensors to detect position.