SMD soldering techniques
Learn how to solder SMD parts!

SMD soldering can be pretty intimidating! After almost about a year of soldering SMD components, I think I finally managed to nail down the best method for hand soldering SMD components.
You will need:
- A rework station
- A soldering iron with a sharp tip and a beveled tip
- Flux
- Thin solder (0.5mm)
- Solder paste
- Desoldering wire/braid
Resistors and Capacitors
For capacitors and resistors, a blob of solder paste on the board covering the pads usually does the trick. Because of surface tension, your solder paste can even cover both pads and it will still work. However, a drawback is that there will be tiny beads of solder left behind. You can try to push the beads towards the pads with a tweezer or clean it up later.
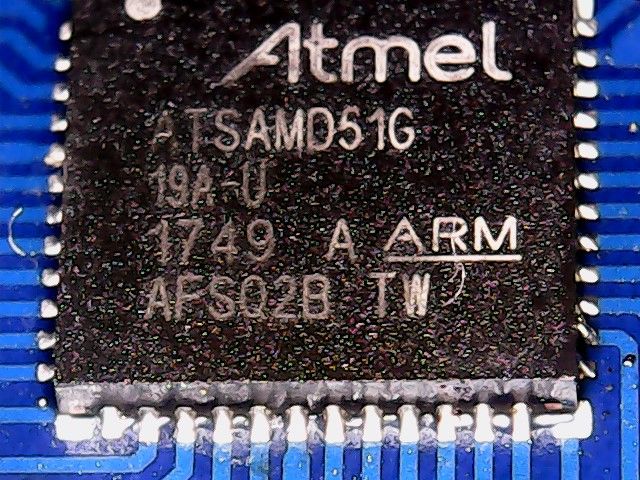
TQFP
Drag soldering techniques work really well here. What I like to do is to take a bevelled tip, melt a blob of solder onto the bevel and touch one side of the TQFP package first. It doesn't matter if it bridges, because I just want to make an anchor to position the package.
Once the package is positioned I now want to drag a blob of solder on the other side of the anchor, making sure that each pin has some solder on it. I repeat the drag soldering technique for all four sides and I ignore any bridged pins for now
Next, I apply flux to each side and heat it with the soldering iron. The flux will remove the bridges, and if that does not work, use a desoldering wire/braid to remove the excess solder. Test each pin with a multimeter to ensure that there are no bridges.
QFN
QFN packages require a little more finesse. First we want to tin the pads by applying solder to all the pads. Next, apply flux to break up any bridges. Place the IC on top and use hot air to melt the solder to the pads.
You are not done yet! Next we will use a fine tip to apply heat at each pin/pad to ensure a good connection. If necessary, we will apply more solder with the thin solder wire and clear away any excess using flux. The hot iron will draw away any excess solder as long as it is clean so remember to clean your iron.
If you are using an LQFN package like the BNO055, then the process is a little different as all the pads are under the IC. After tinning the pads on the board, we will also tin the pads on the IC by using our soldering iron and running over the pads with a small bead of solder. Place the IC on top of the tinned pads and apply hot air. Remember to tap lightly on top of the IC to ensure that the solder on the IC bonds to the solder on the board. Since we don't have an X-ray to determine how good the joint is, the next step is to test the IC itself. If it doesn't seem to be working, usually the only recourse is to resolder it with hot air.
Conclusion
That's really about it for it for SMD soldering!