Projects, Summer 2018
All my projects for the Summer 2018! Featuring miniatures, more SAMD chips, and 3D printers, crochet and woodworking.
Projects! Yay!
SAMD51 Breakout
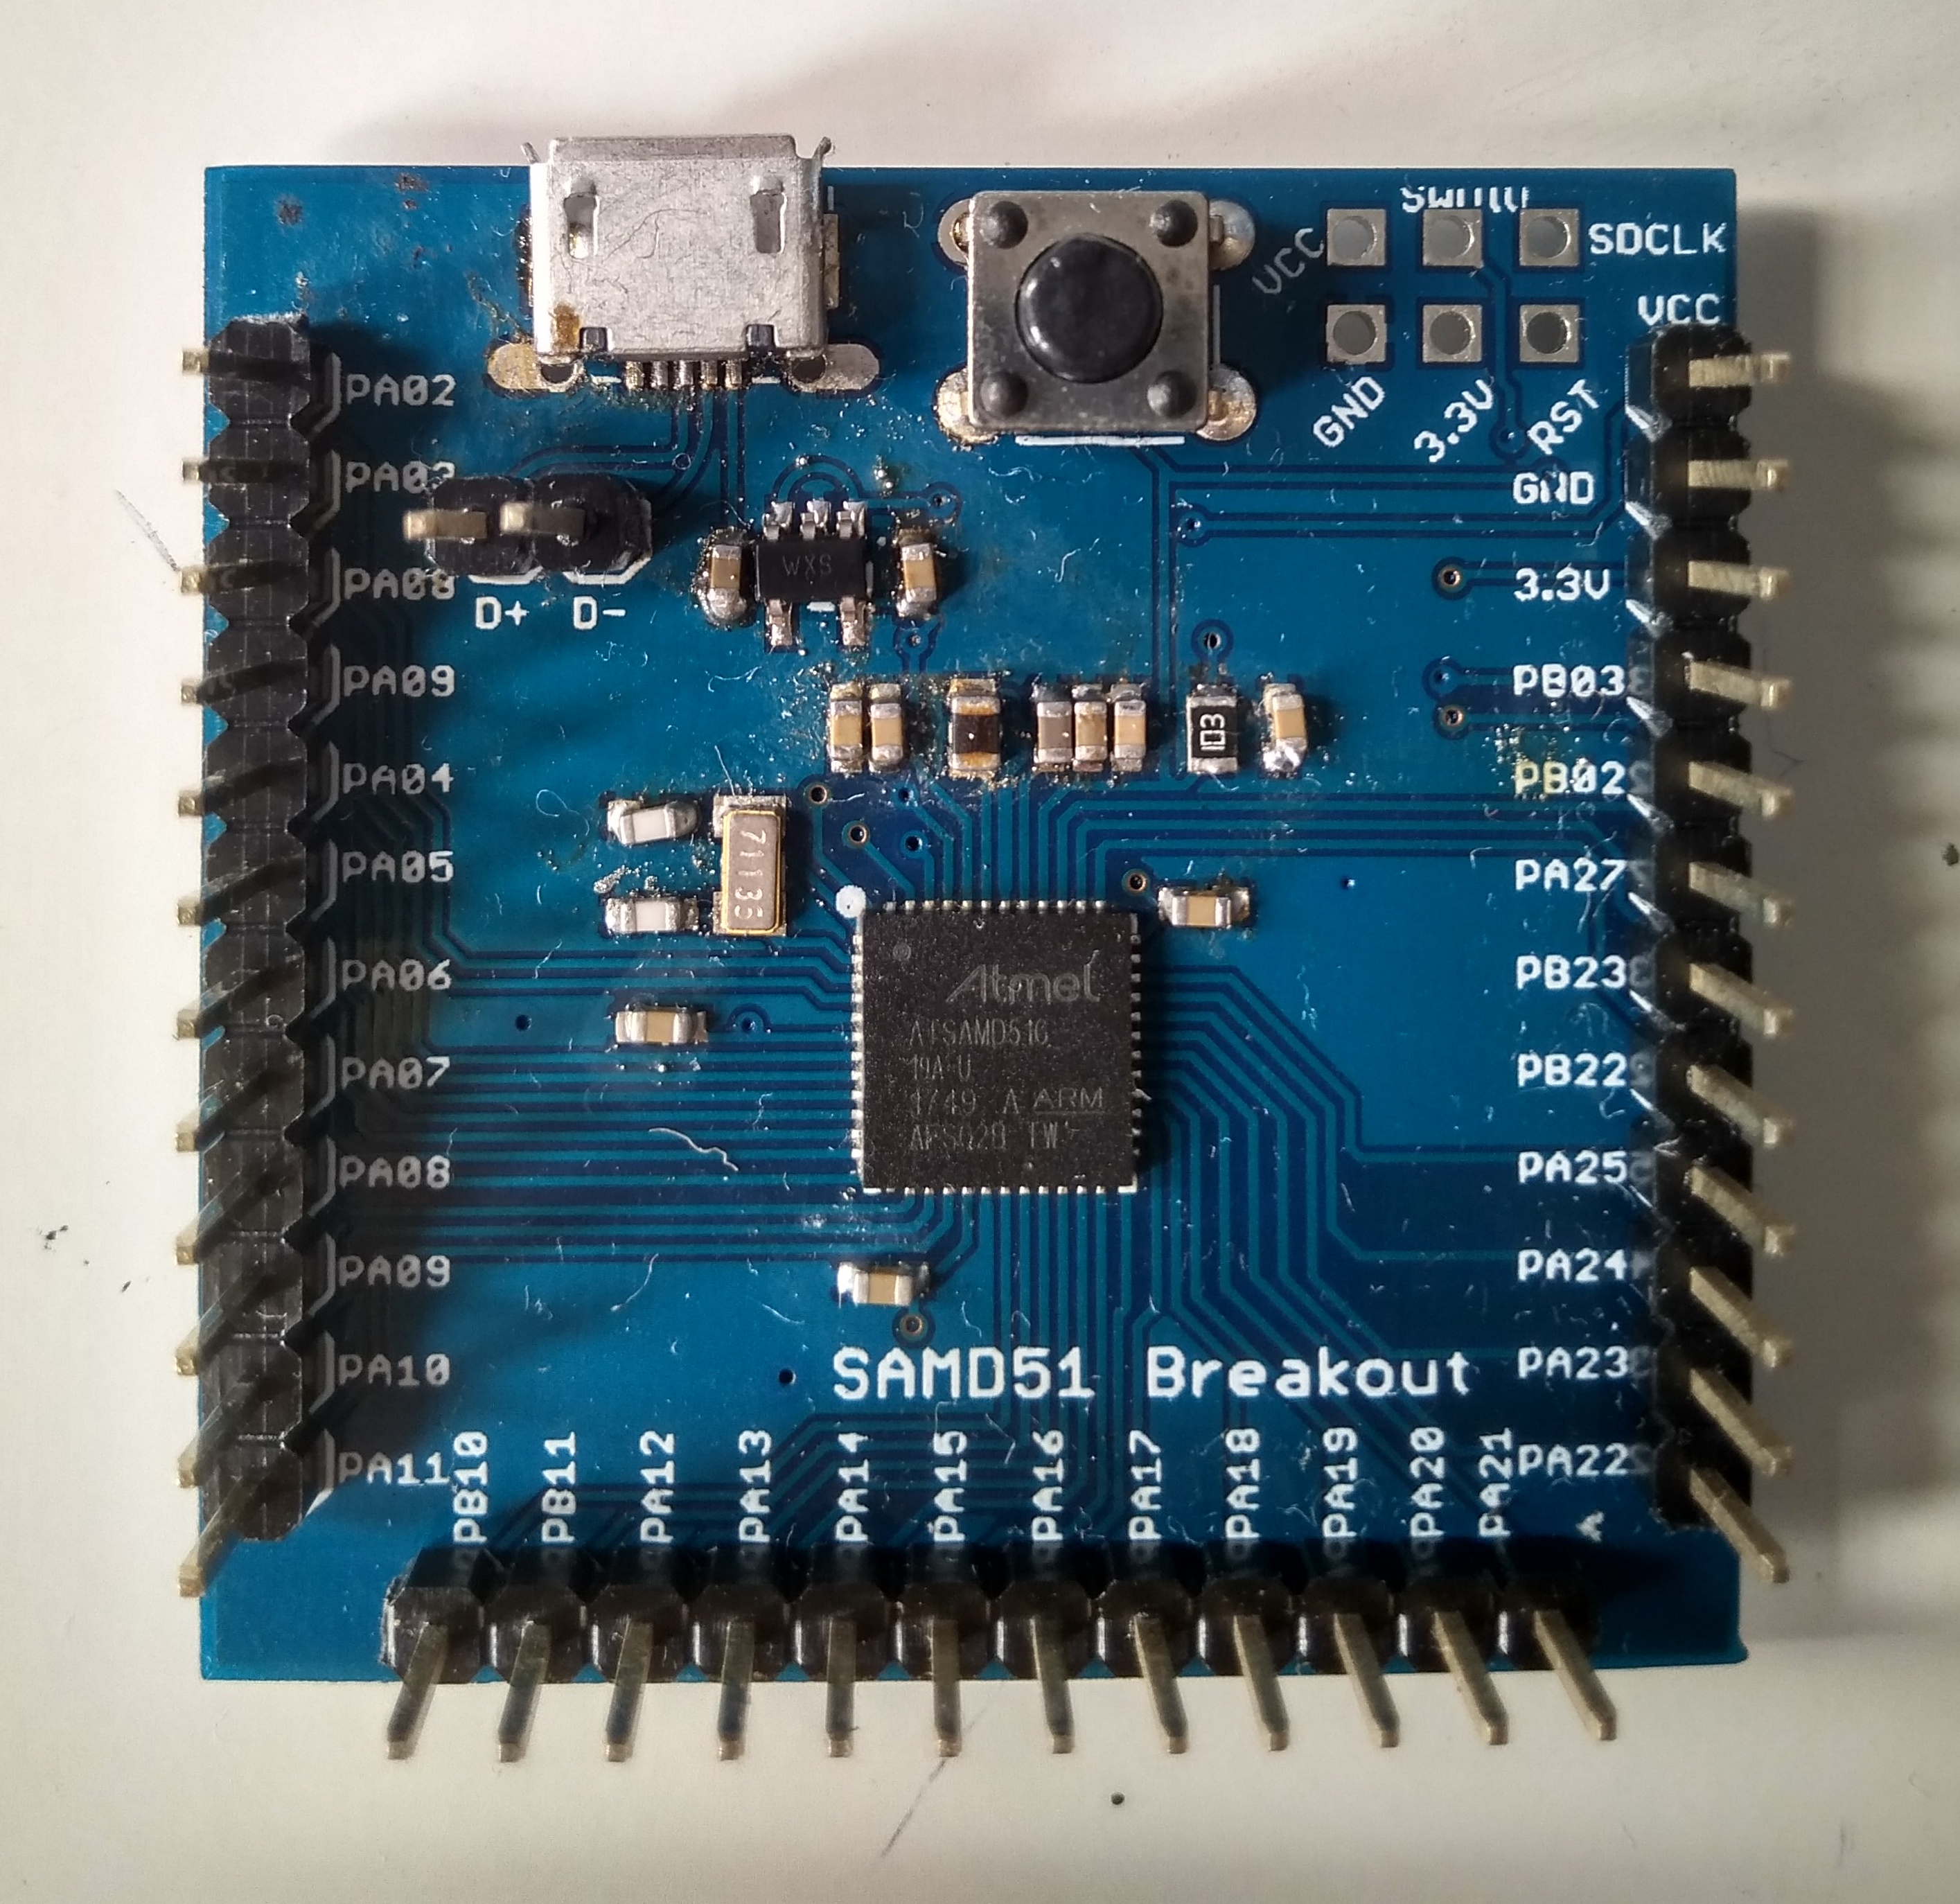
Since Microchip has not yet released a breakout board for the SAMD51 or an Xplained Board, I decided to build my own as well as brush up on my QFN soldering skills.
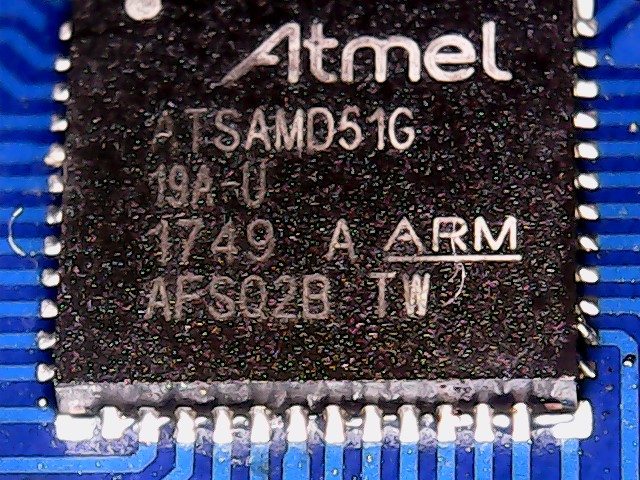
Not too bad a job if I do say so myself!
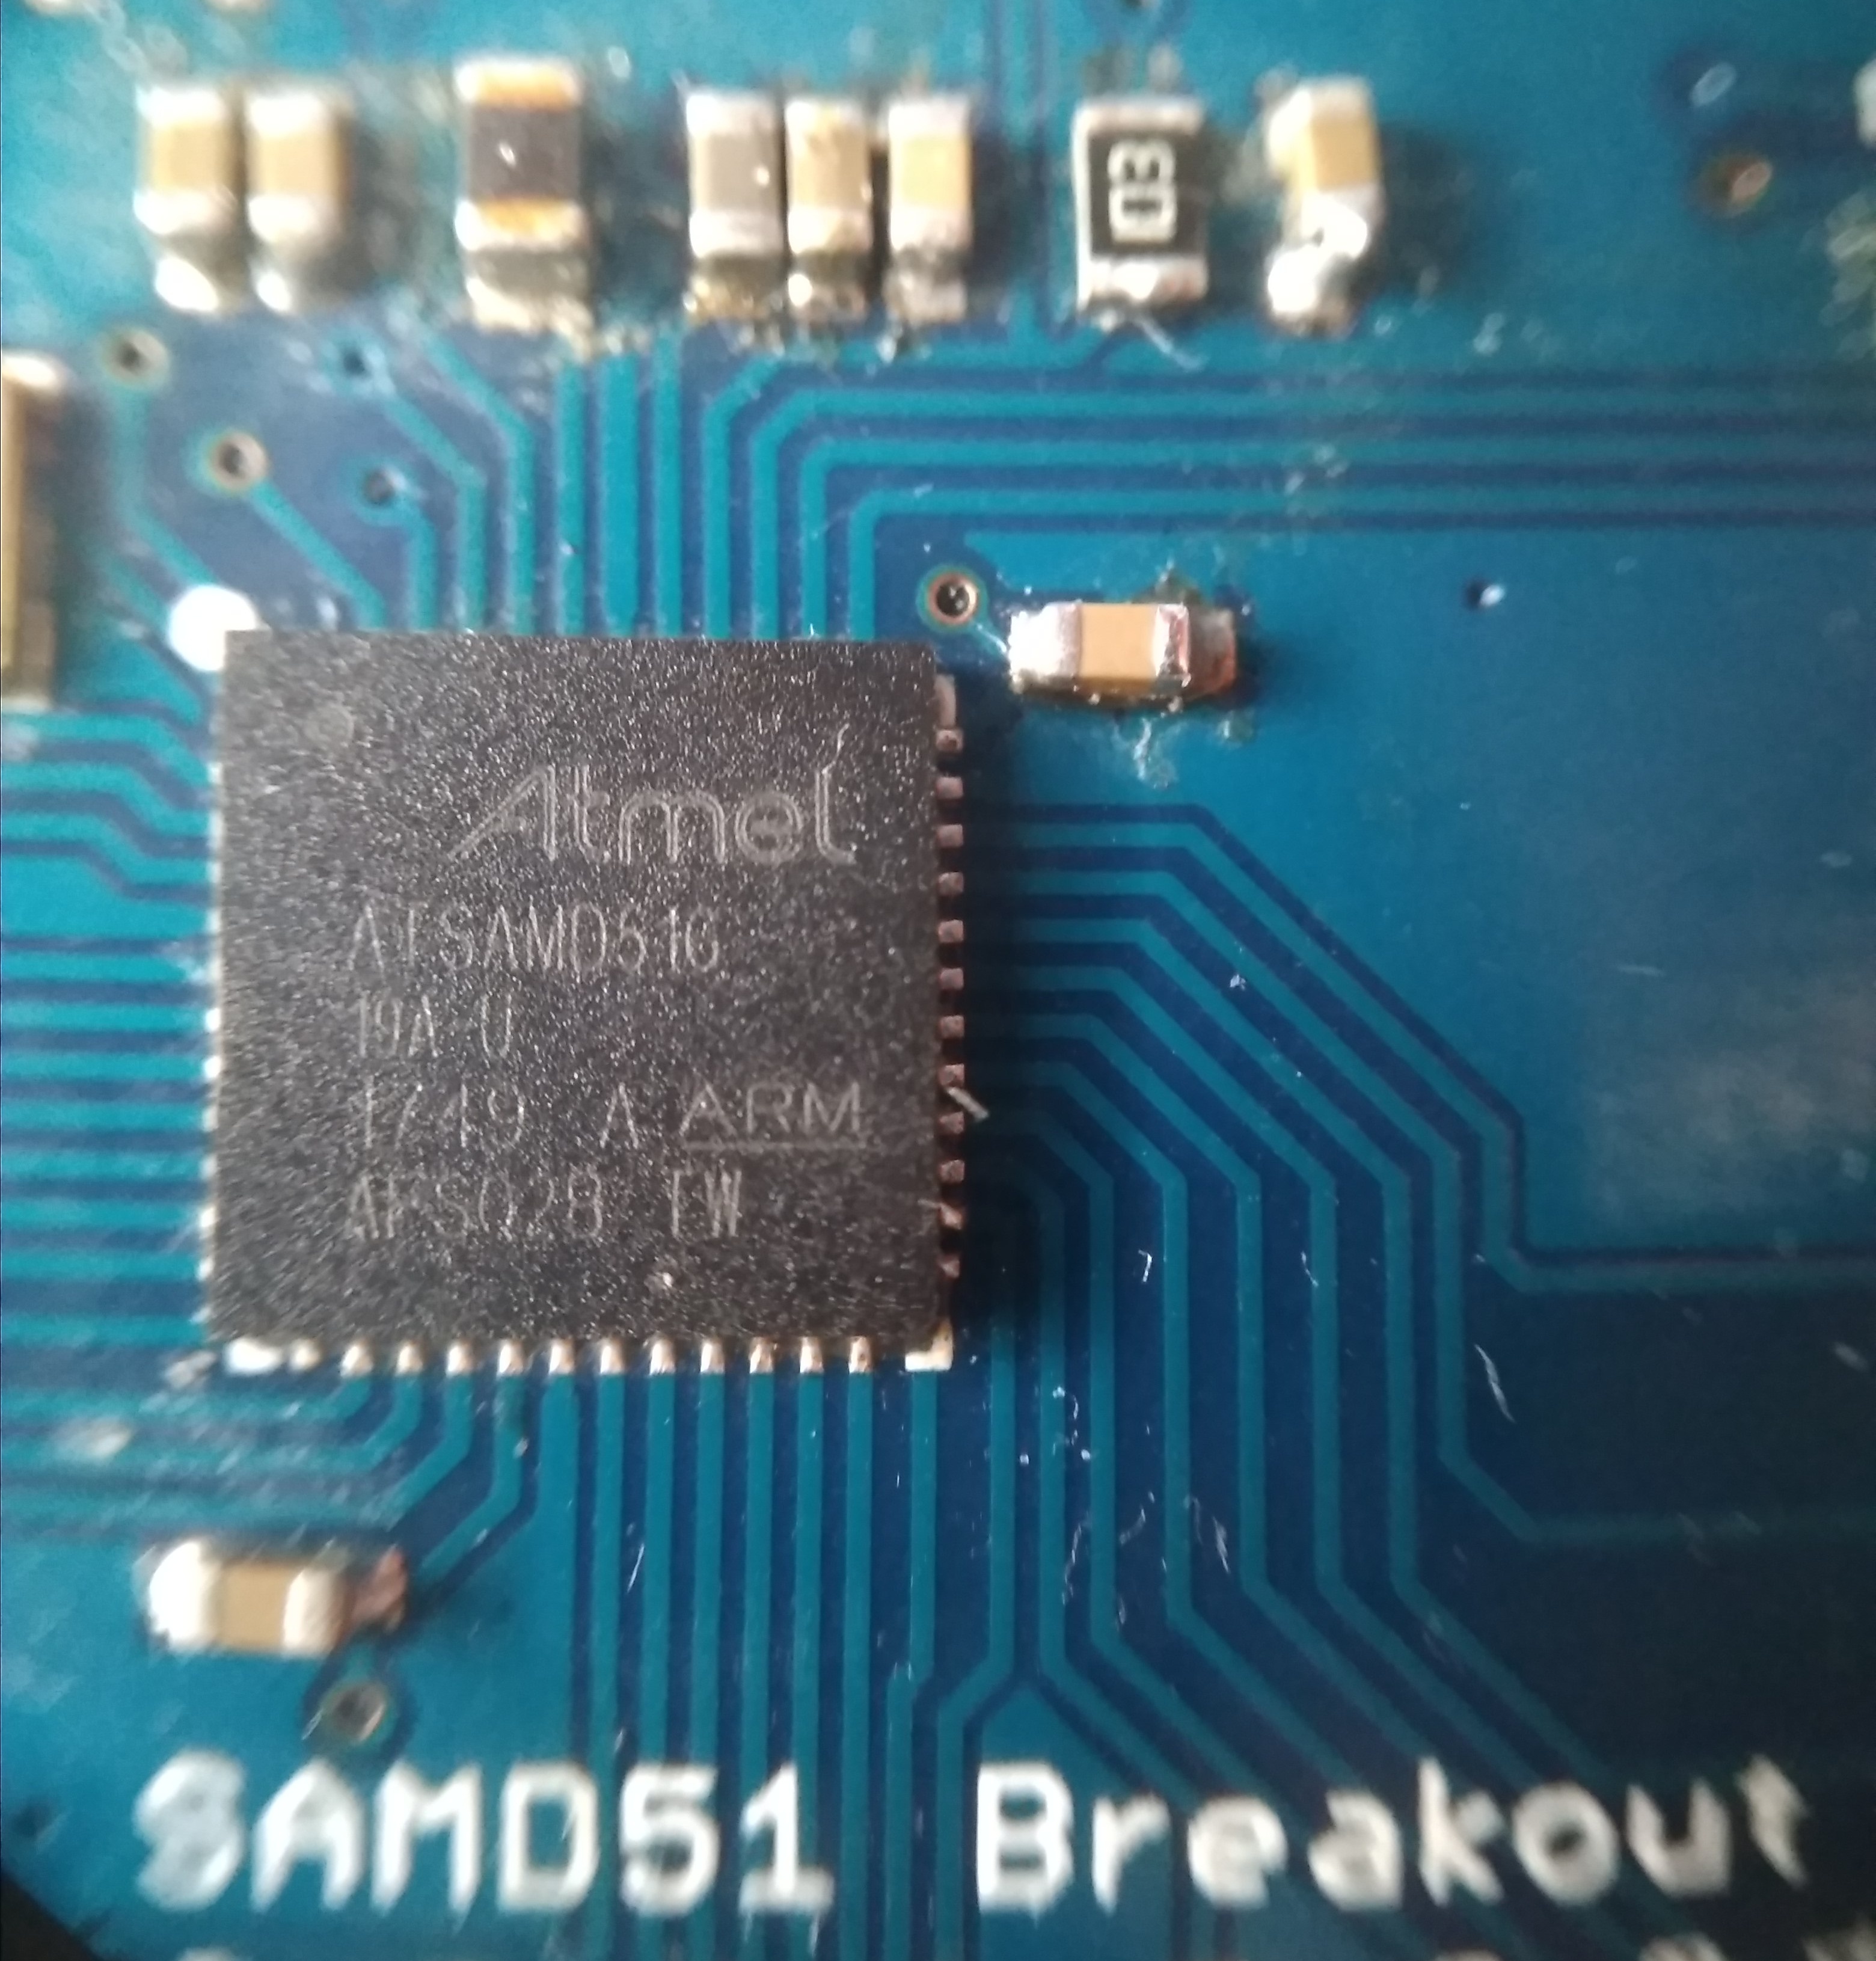
A closeup:
Rocketry Altimeter Project
I wanted to build an altimeter for my own rocket, so I embarked on this project. The hardest part I think is the soldering of the BNO055 IC which is both expensive and incredibly difficult to solder, with all its pads hidden under the IC, so there is no visual way of inspecting the solder connection. The best I can do is to ensure that ther are no shorts between the pins that I have broken out. However, my first attempt has been rather successful.
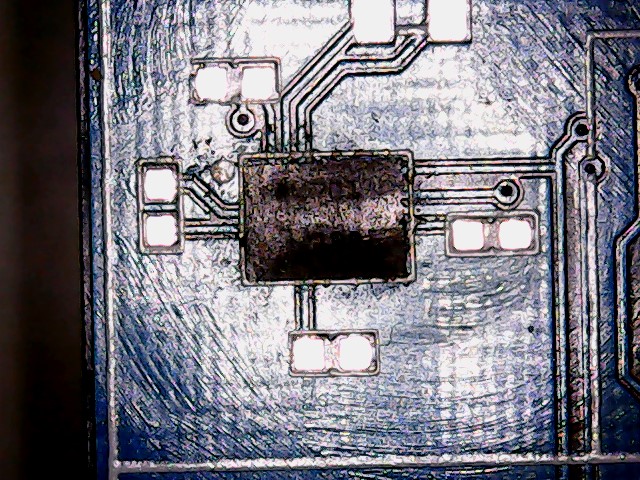
This version is on a much larger board in order to ensure that any wiring issues are easy to fix and the components are easy to solder.
SAMD10 Adventures
The Neopixel controller board is coming together quite nicely! I am implementing UART to control the animation and colors, as well as EEPROM to store the last saved state. For version 0.2, I removed the power button to the MCU because I realised that shutting power off to the MCU does nothing to the LED strip: it maintains it's last state. Finding a switch for a high current circuit is also not a very good idea because it would make my solution bulkier.
![]()
I replaced the power button with another button connected to the MCU so that I could change the color and the animation separately.
3D Printer Kit
After deliberating for quite a bit, I decided to buy a 3D printer for my home. Reading around online, I decided on the Anet A8 which seemed to be the most popular cheap printer kit that people are buying. Some factors in my consideration was the community support and age of the printer, because due to the nature of assembling it at home, I did not expect it to work outright, and having some reference was going to be pretty helpful in getting it to work. It doesn't hurt too that the printer has quite a large print bed.
Everything went smoothly during the assembly. It took awhile to screw everything in, but it wasn't a horrendously long time for me. After awhile you get into the swing of things and everything progresses much more smoothly.
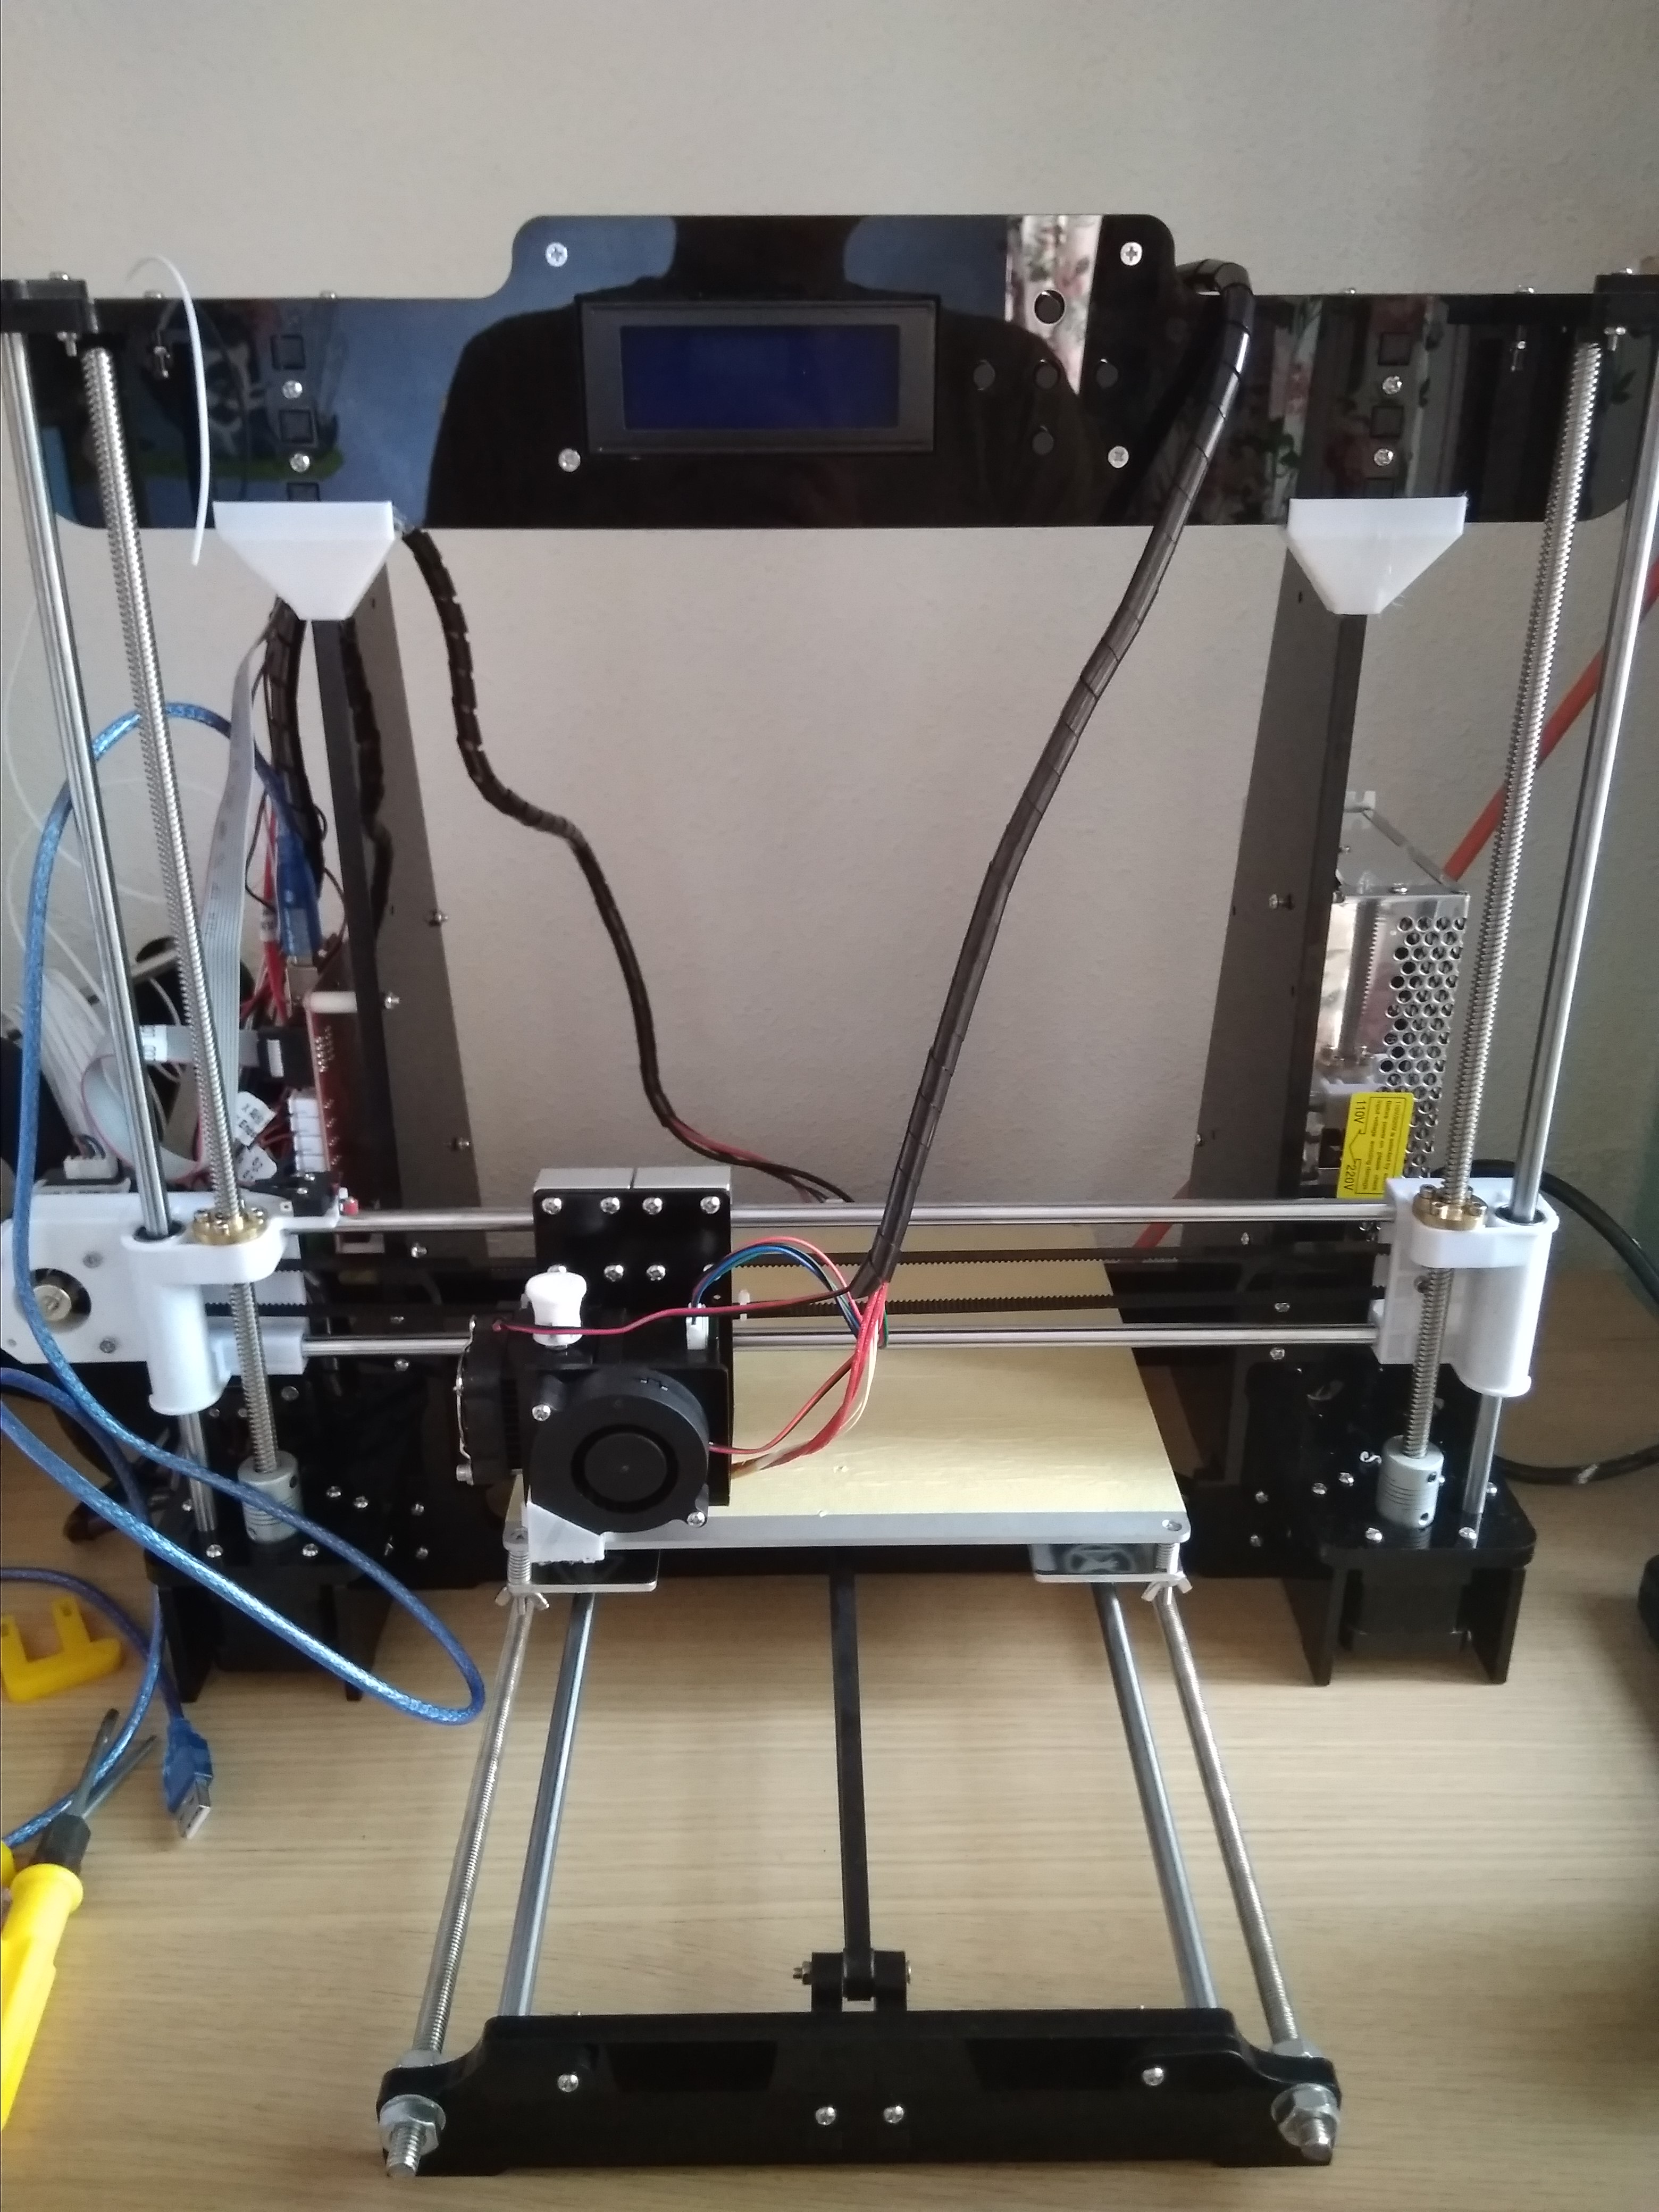
I ran into a rebooting issue during the debugging steps where the printer would reset upon preheating the bed. I believe that this might be a power supply issue. Fortunately I contacted Gearbest and they offered me a partial refund which went to buying a new power supply.
After about a month of use I am happy to report that the basic kit has been working without problems. I have not upgraded my 3D printer other than adding a fan duct. While there are some jitters in the print, most of my prints have been structural rather than detailed, and they have held up to the use. I note that I have also successfully printed threads that look good and work pretty well. In all, I'm pretty satisfied with the printer for what I am using it for: prototype cases and supports.
Miniature terrain
I finally had the opportunity and tools to start making miniature terrain. I was first inspired by Boulder Creek Railroad and then later by Black Magic Crafts.
It was surprisingly easy to gather up the materials, especially in Singapore where one doesn't expect to have access to specialist hobby materials. Singapore Railways stocks quite an amazing collection of hobby trains and miniature scenery. The owner, Thomas, runs it from an industrial building where he keeps his stocks. That place is massive and packed all the way to the ceiling! The prices were quite reasonable as well. For two bags of foilage, it was about $8. I was able to get the requisite acrylic paint and insulation foam at Art Friend, which even stocks Mod Podge, something that I definitely did not expect.
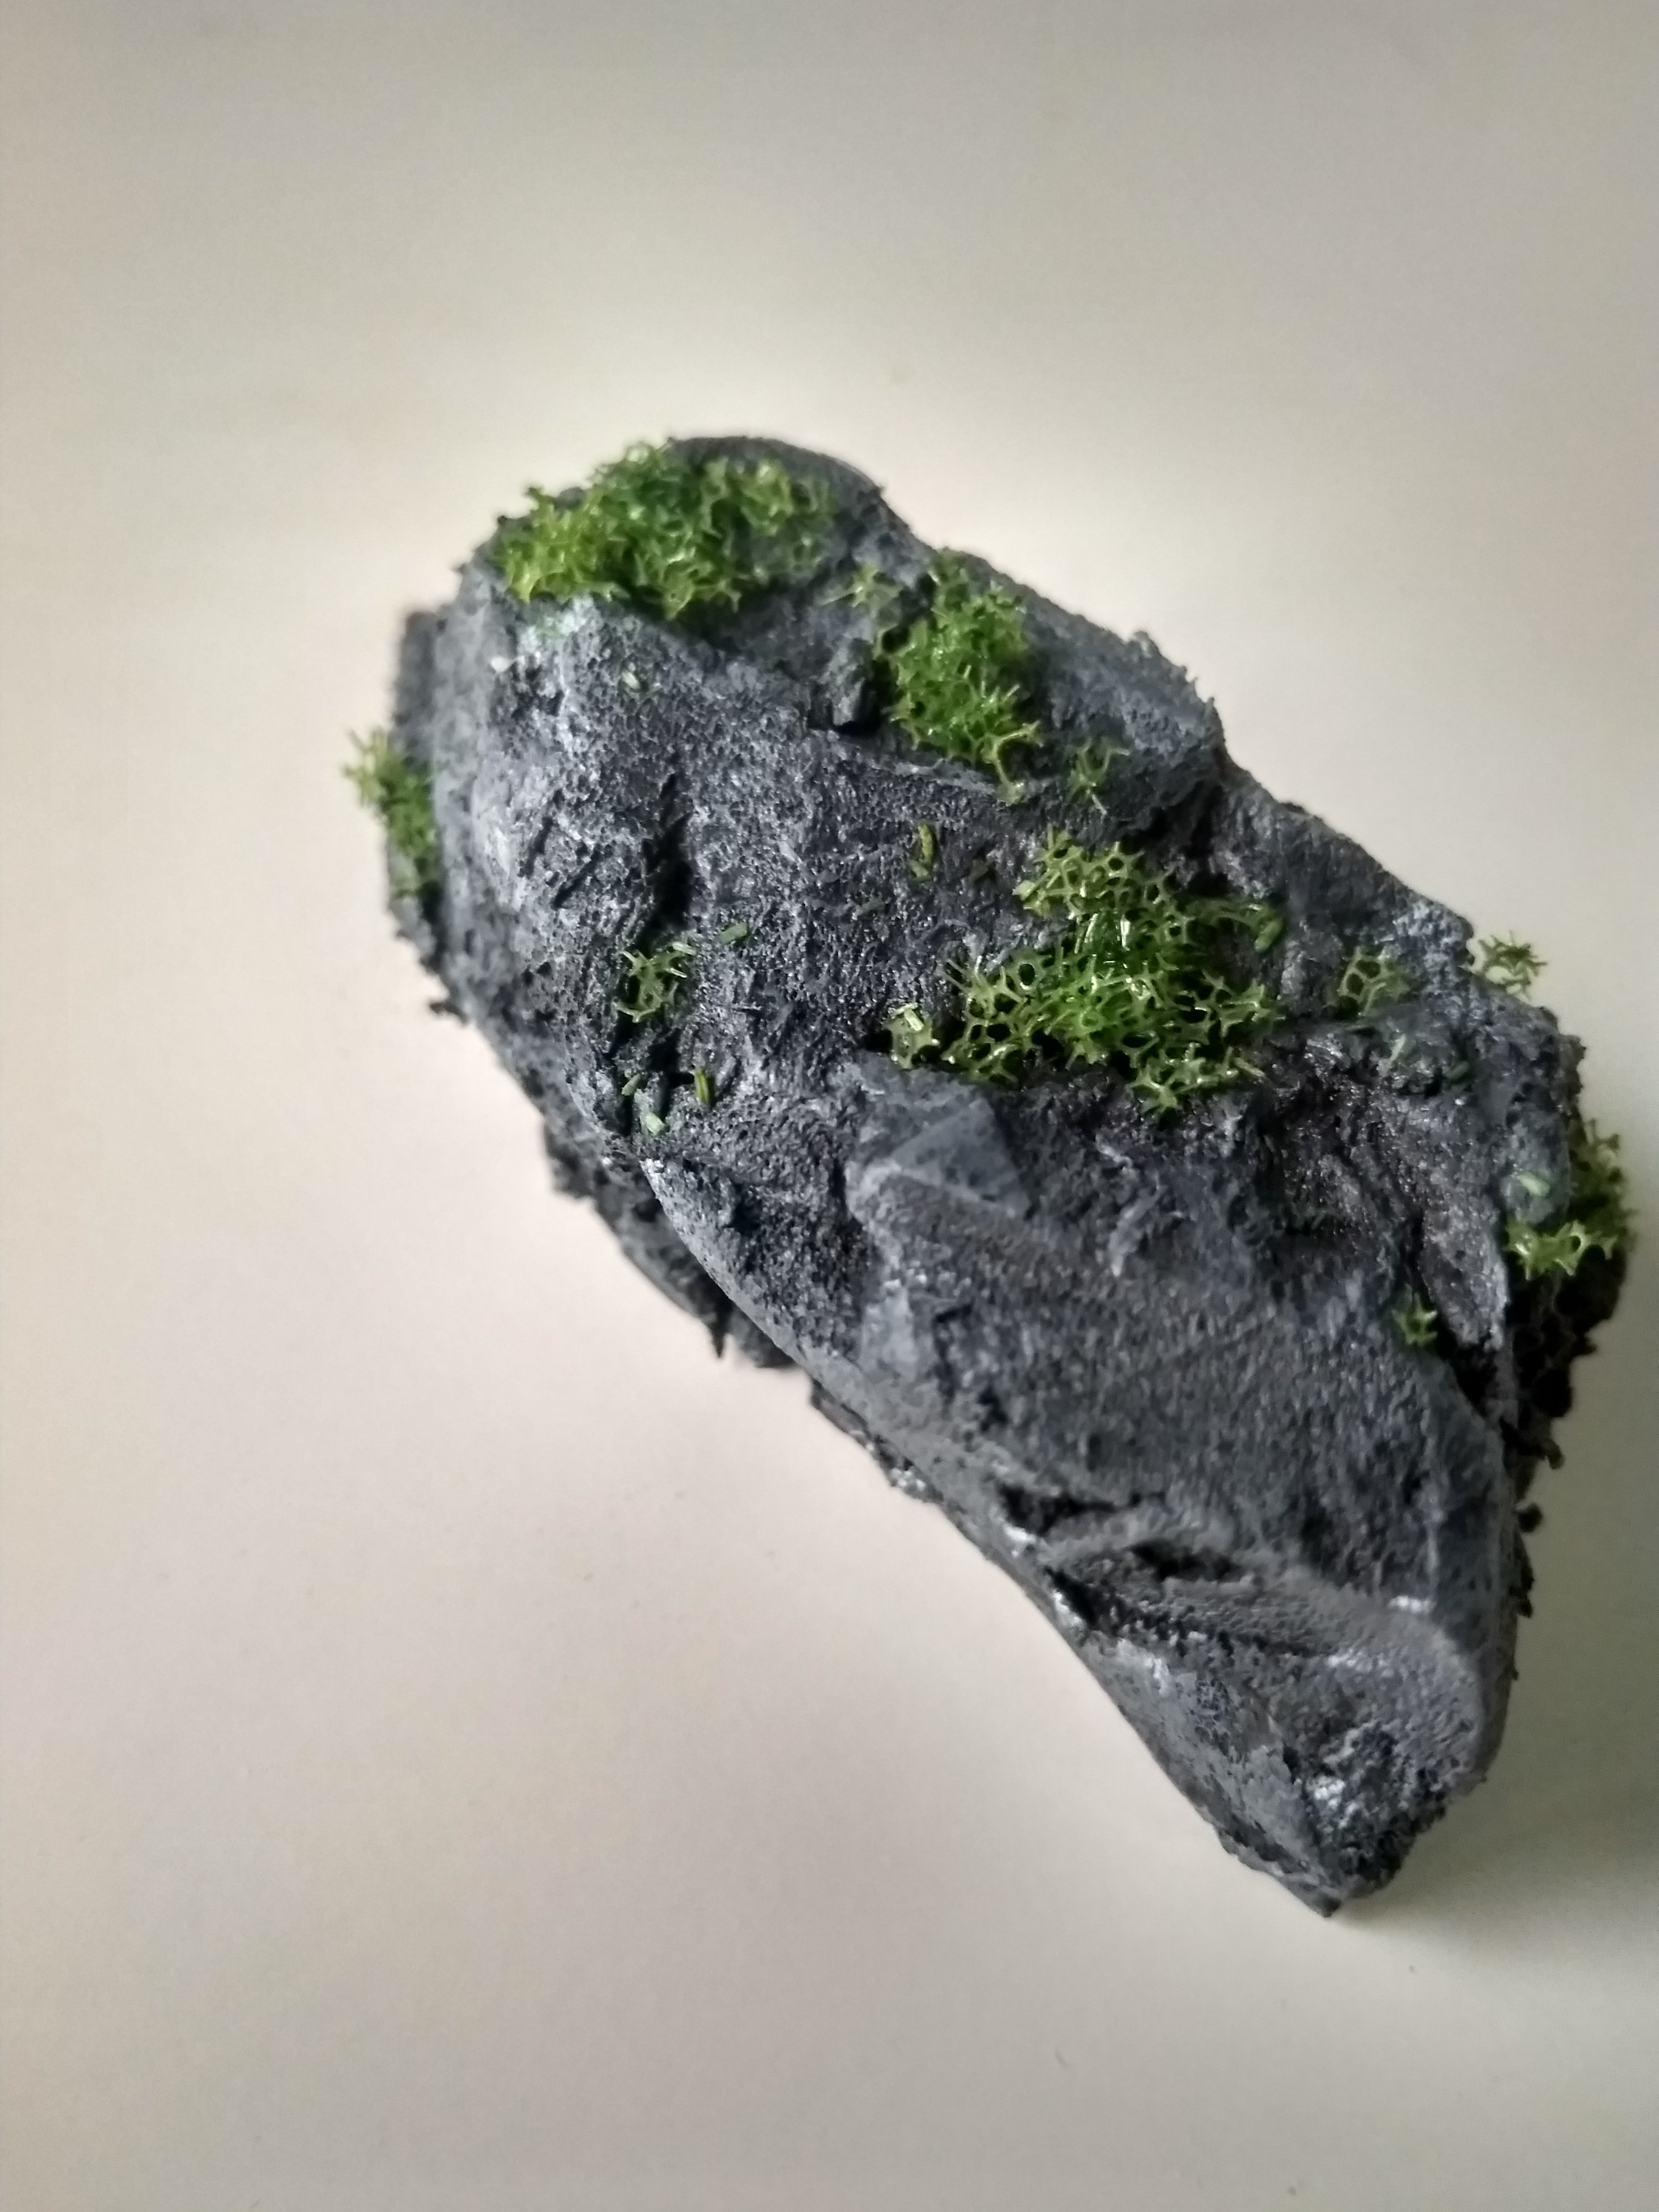
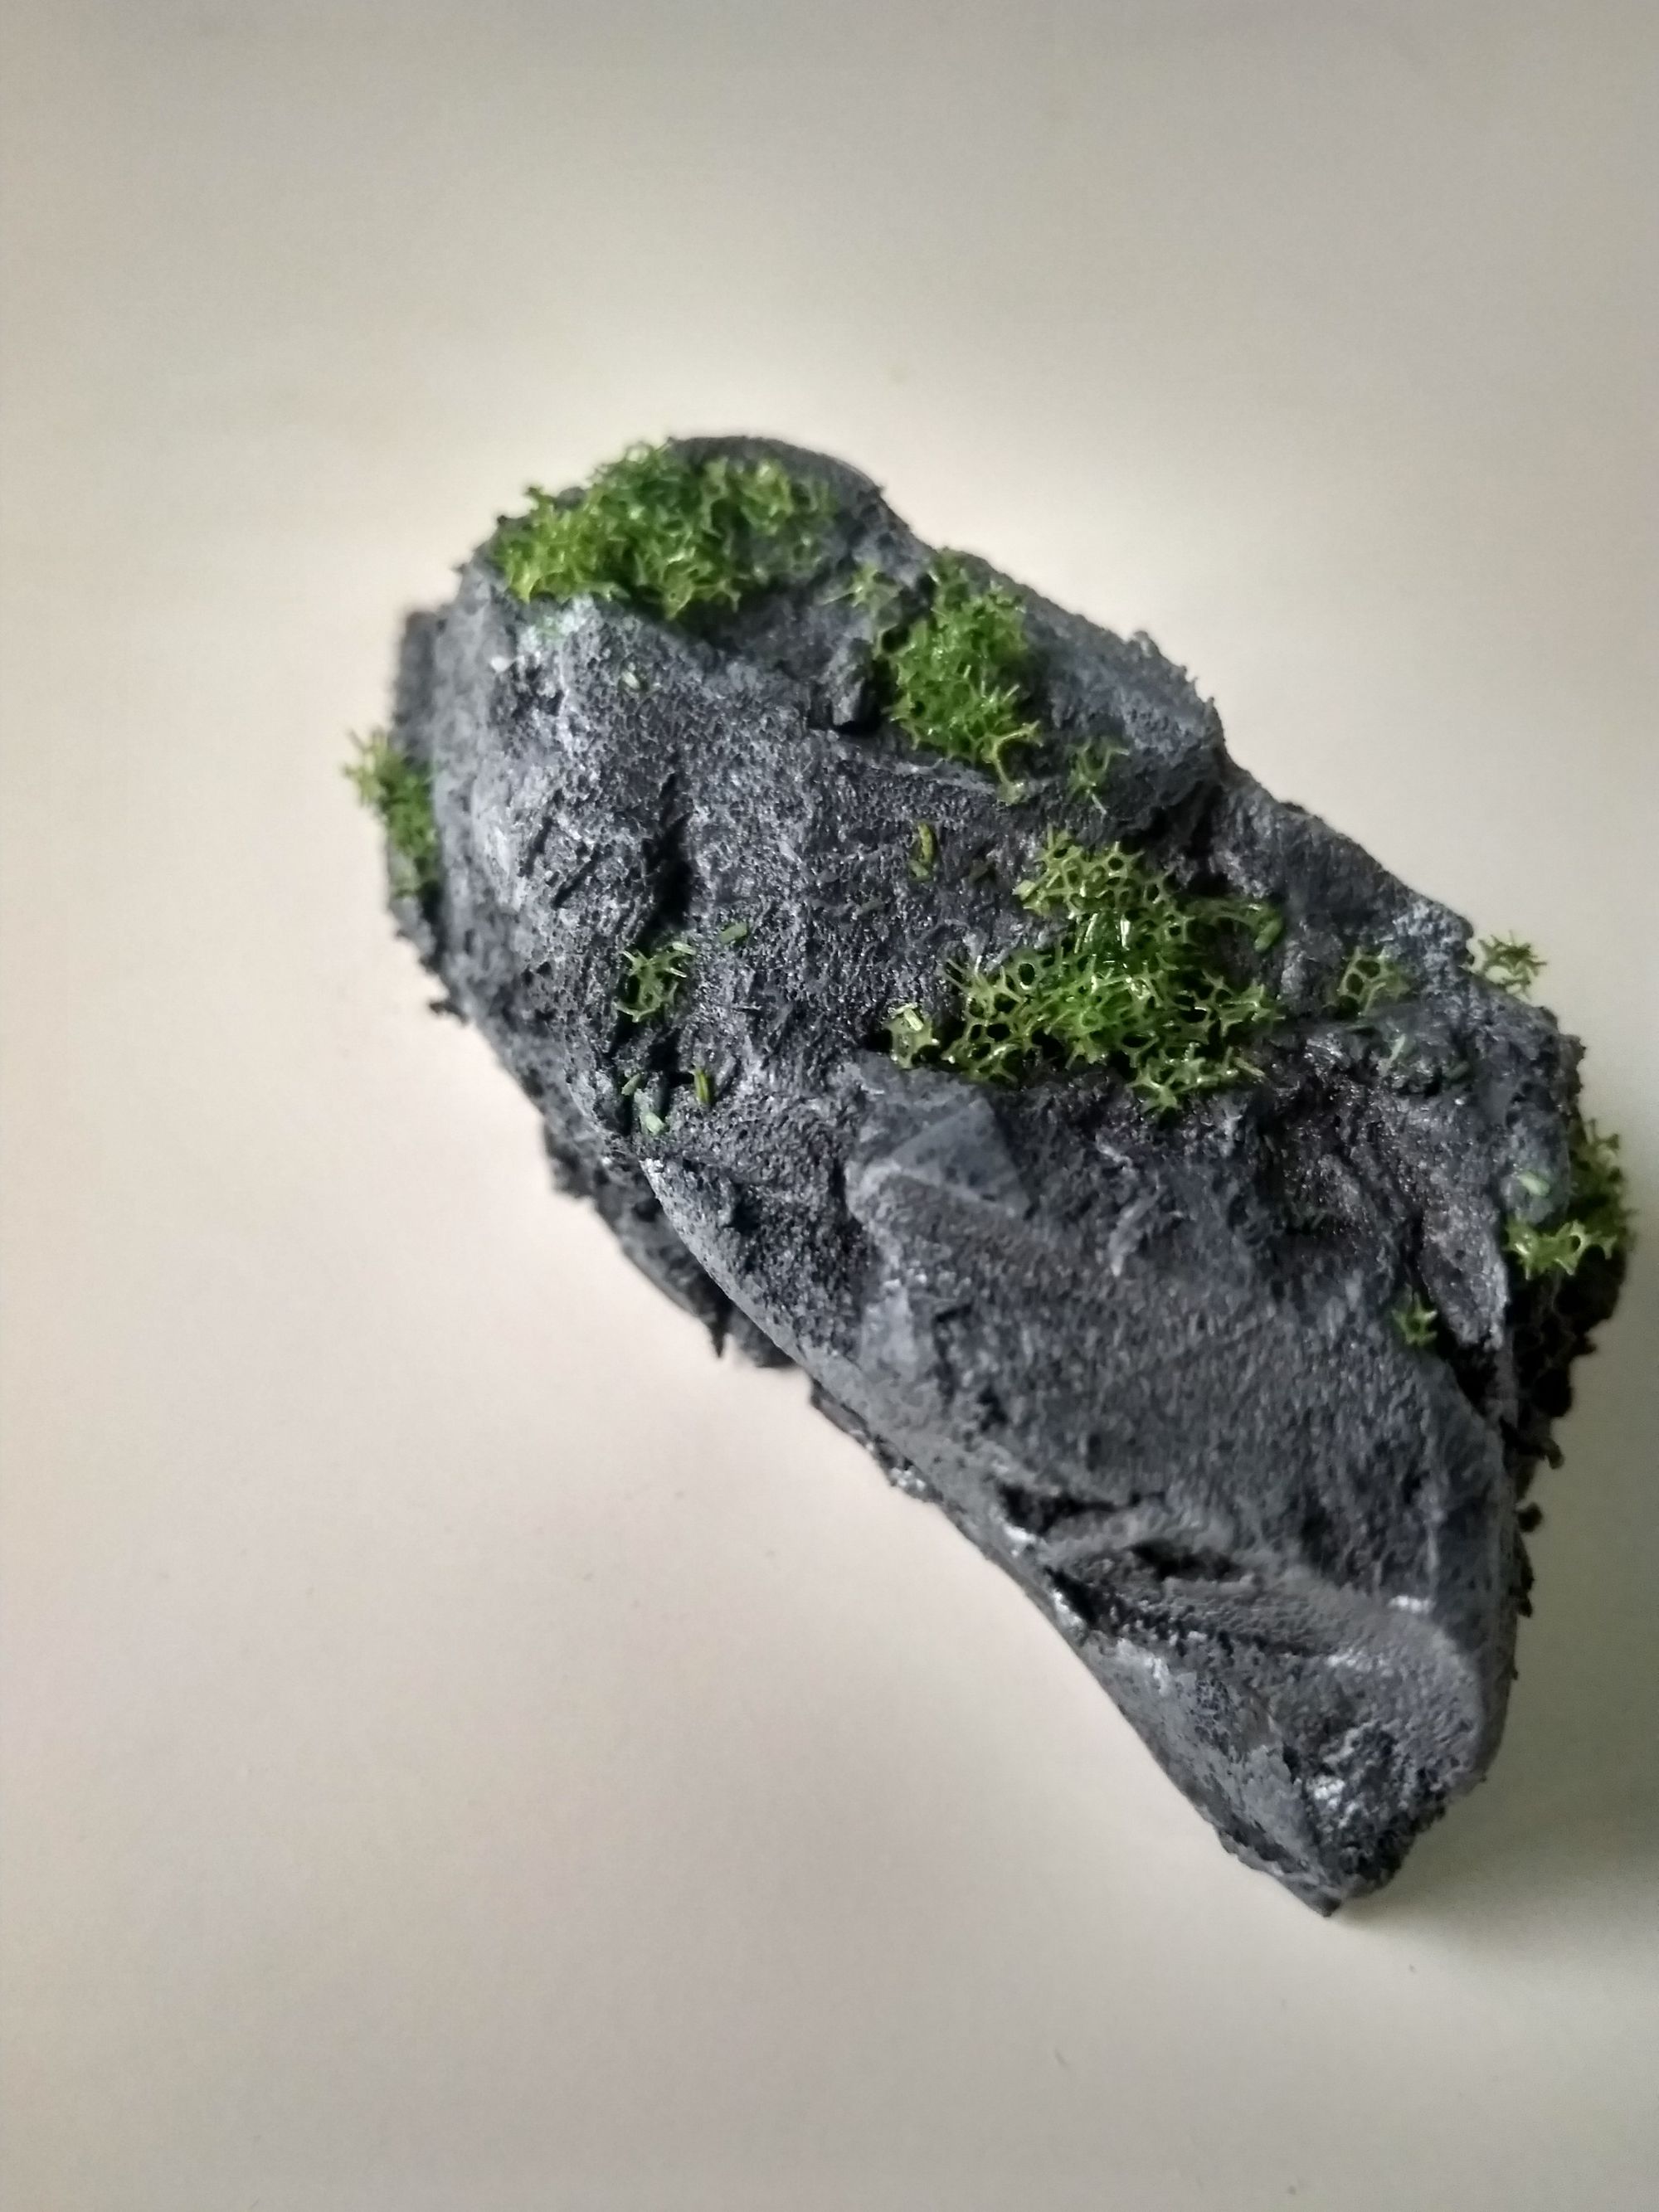
This is my first rock. Not too bad!
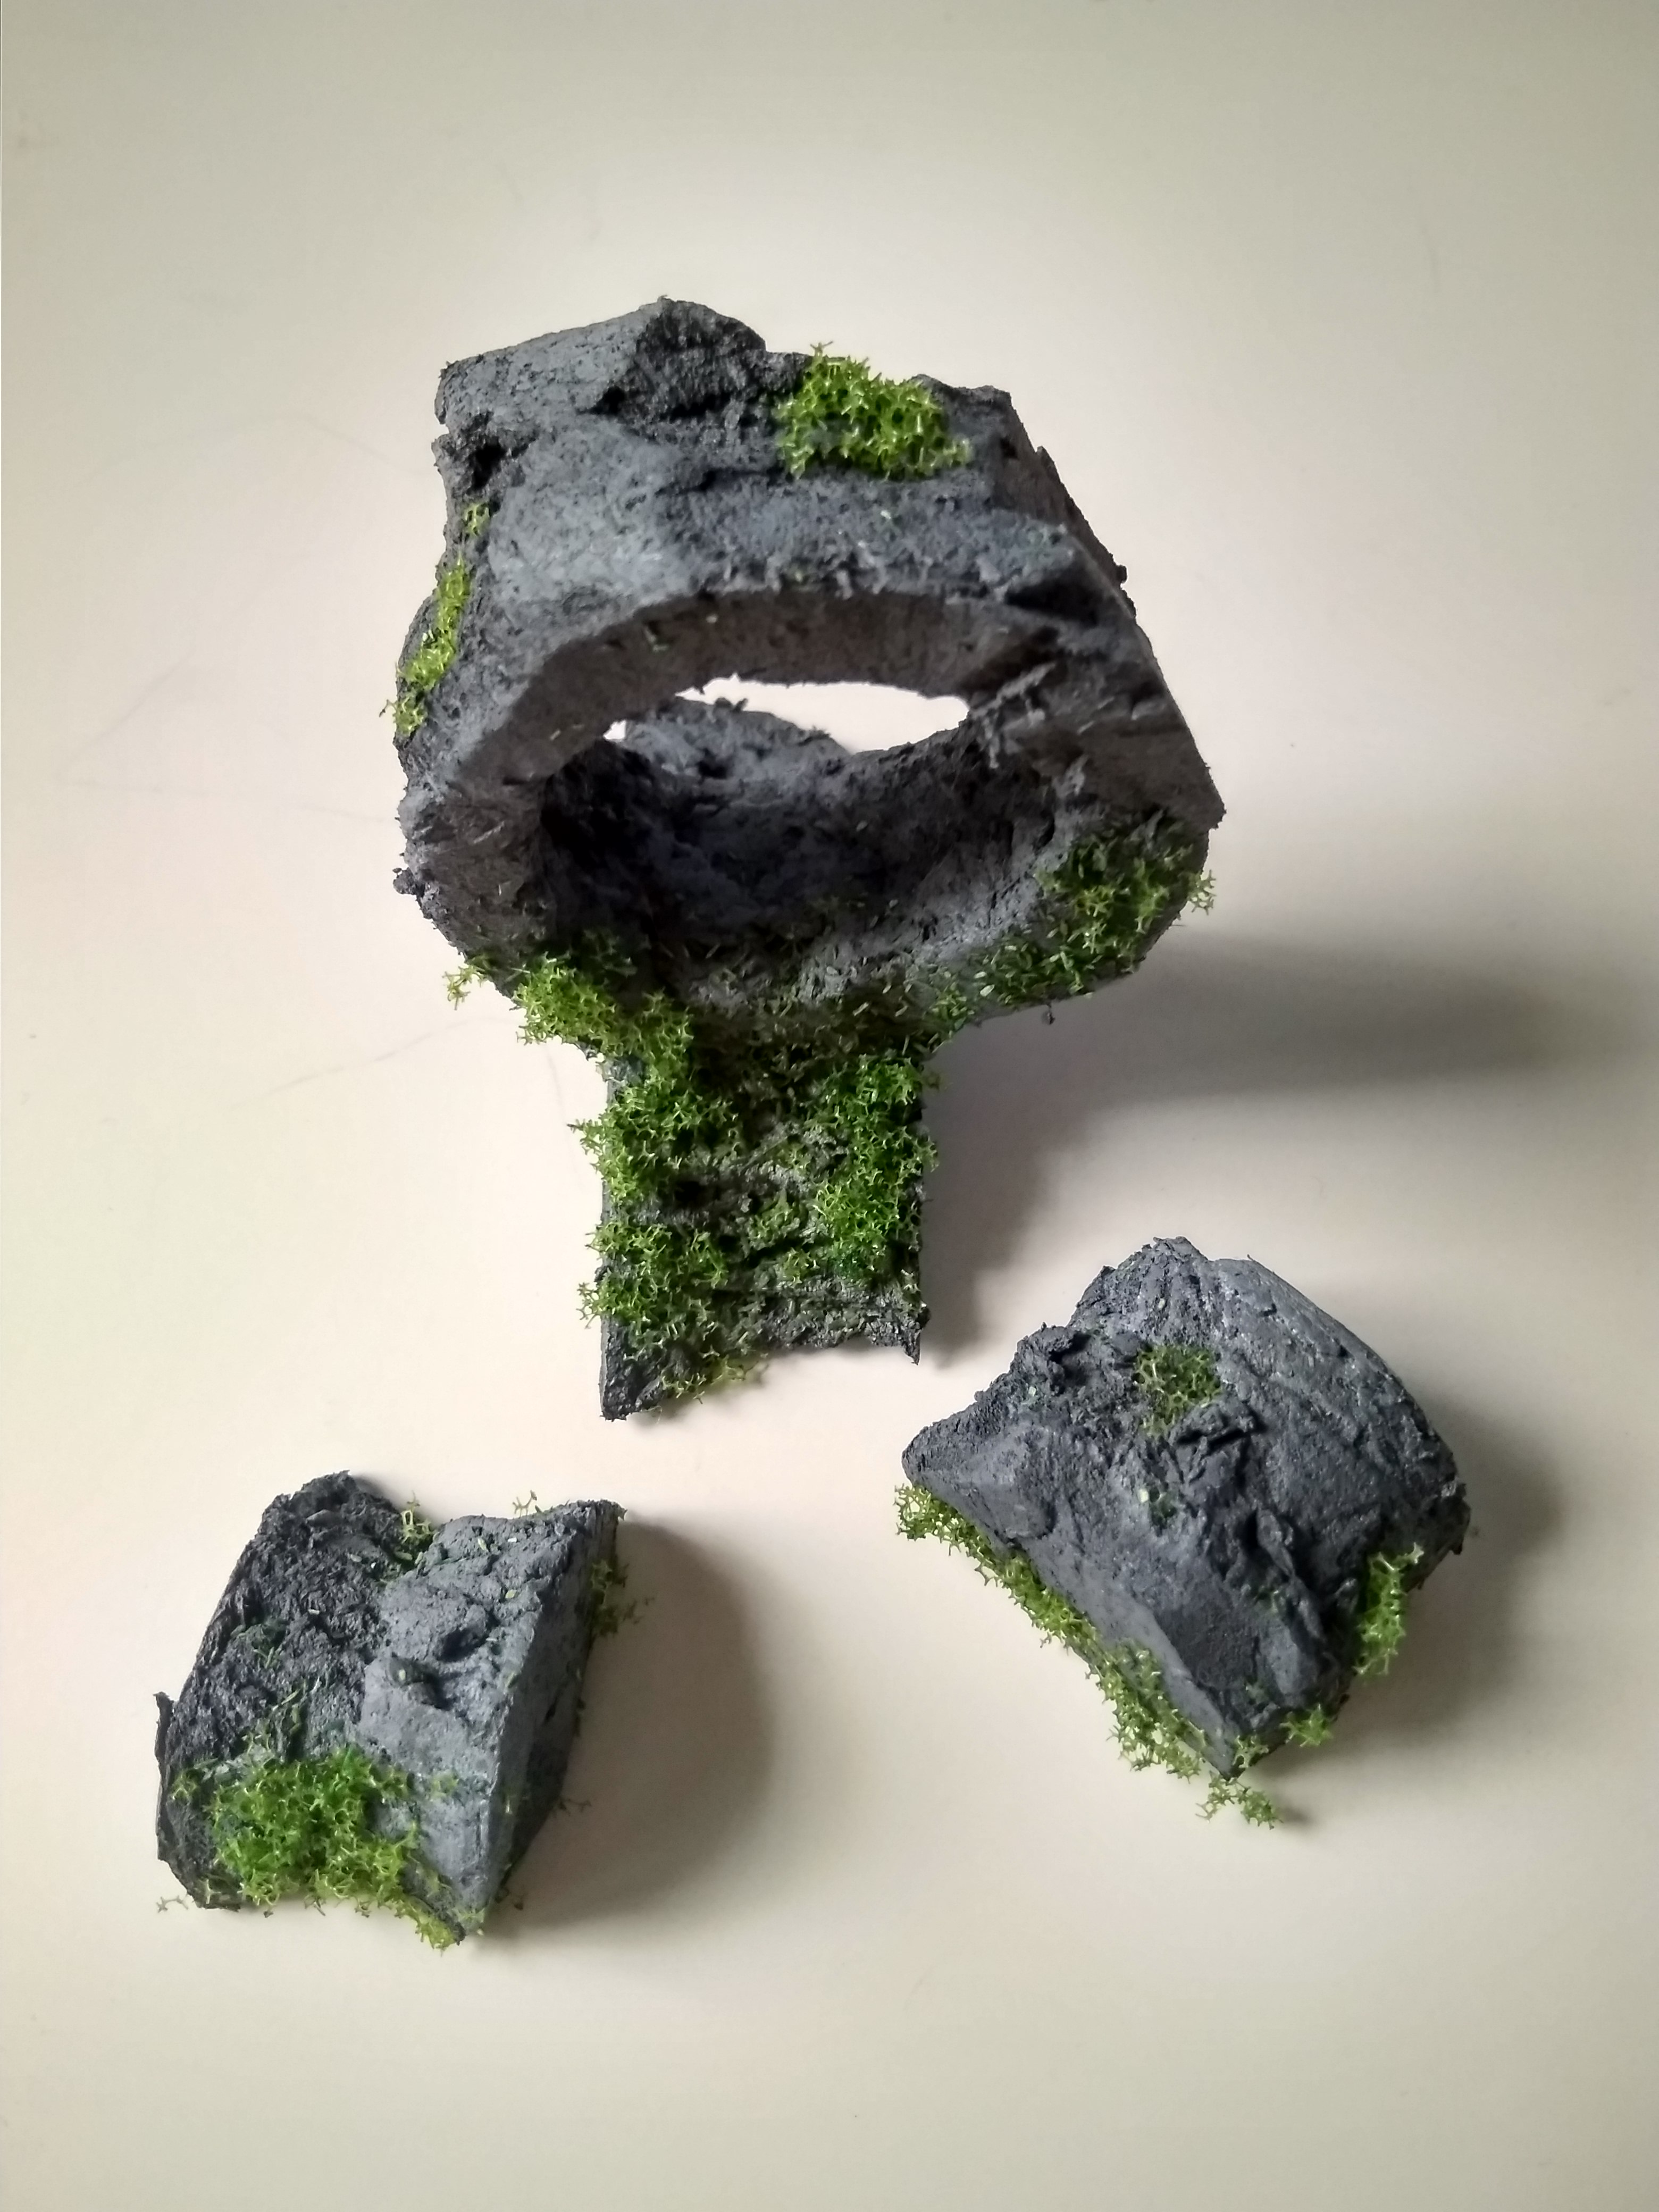
I wanted a rock with slightly more character to it. Who made the hole? More importantly, who, or what, split the seal?
Crochet
Crochet is the soft 3D printer. If you think about it, a skein of yarn acts like a roll of filament. You start with nothing and a whole lot of possibilities. Turn yarn into shawls, blankets, scarfs and gloves. The only difference is that with crochet, the startup costs are really low. You can start crochet quite comfortably with a $50 budget whereas printers start in the range of hundreds of dollars. I was inspired by a post on Amigurumi and from there I was hooked. I started with the mohumohu Bee and I eventually decided to buy the book from mohumohu, which is an excellent guide to starting out as a beginner as the patterns are small and simple.
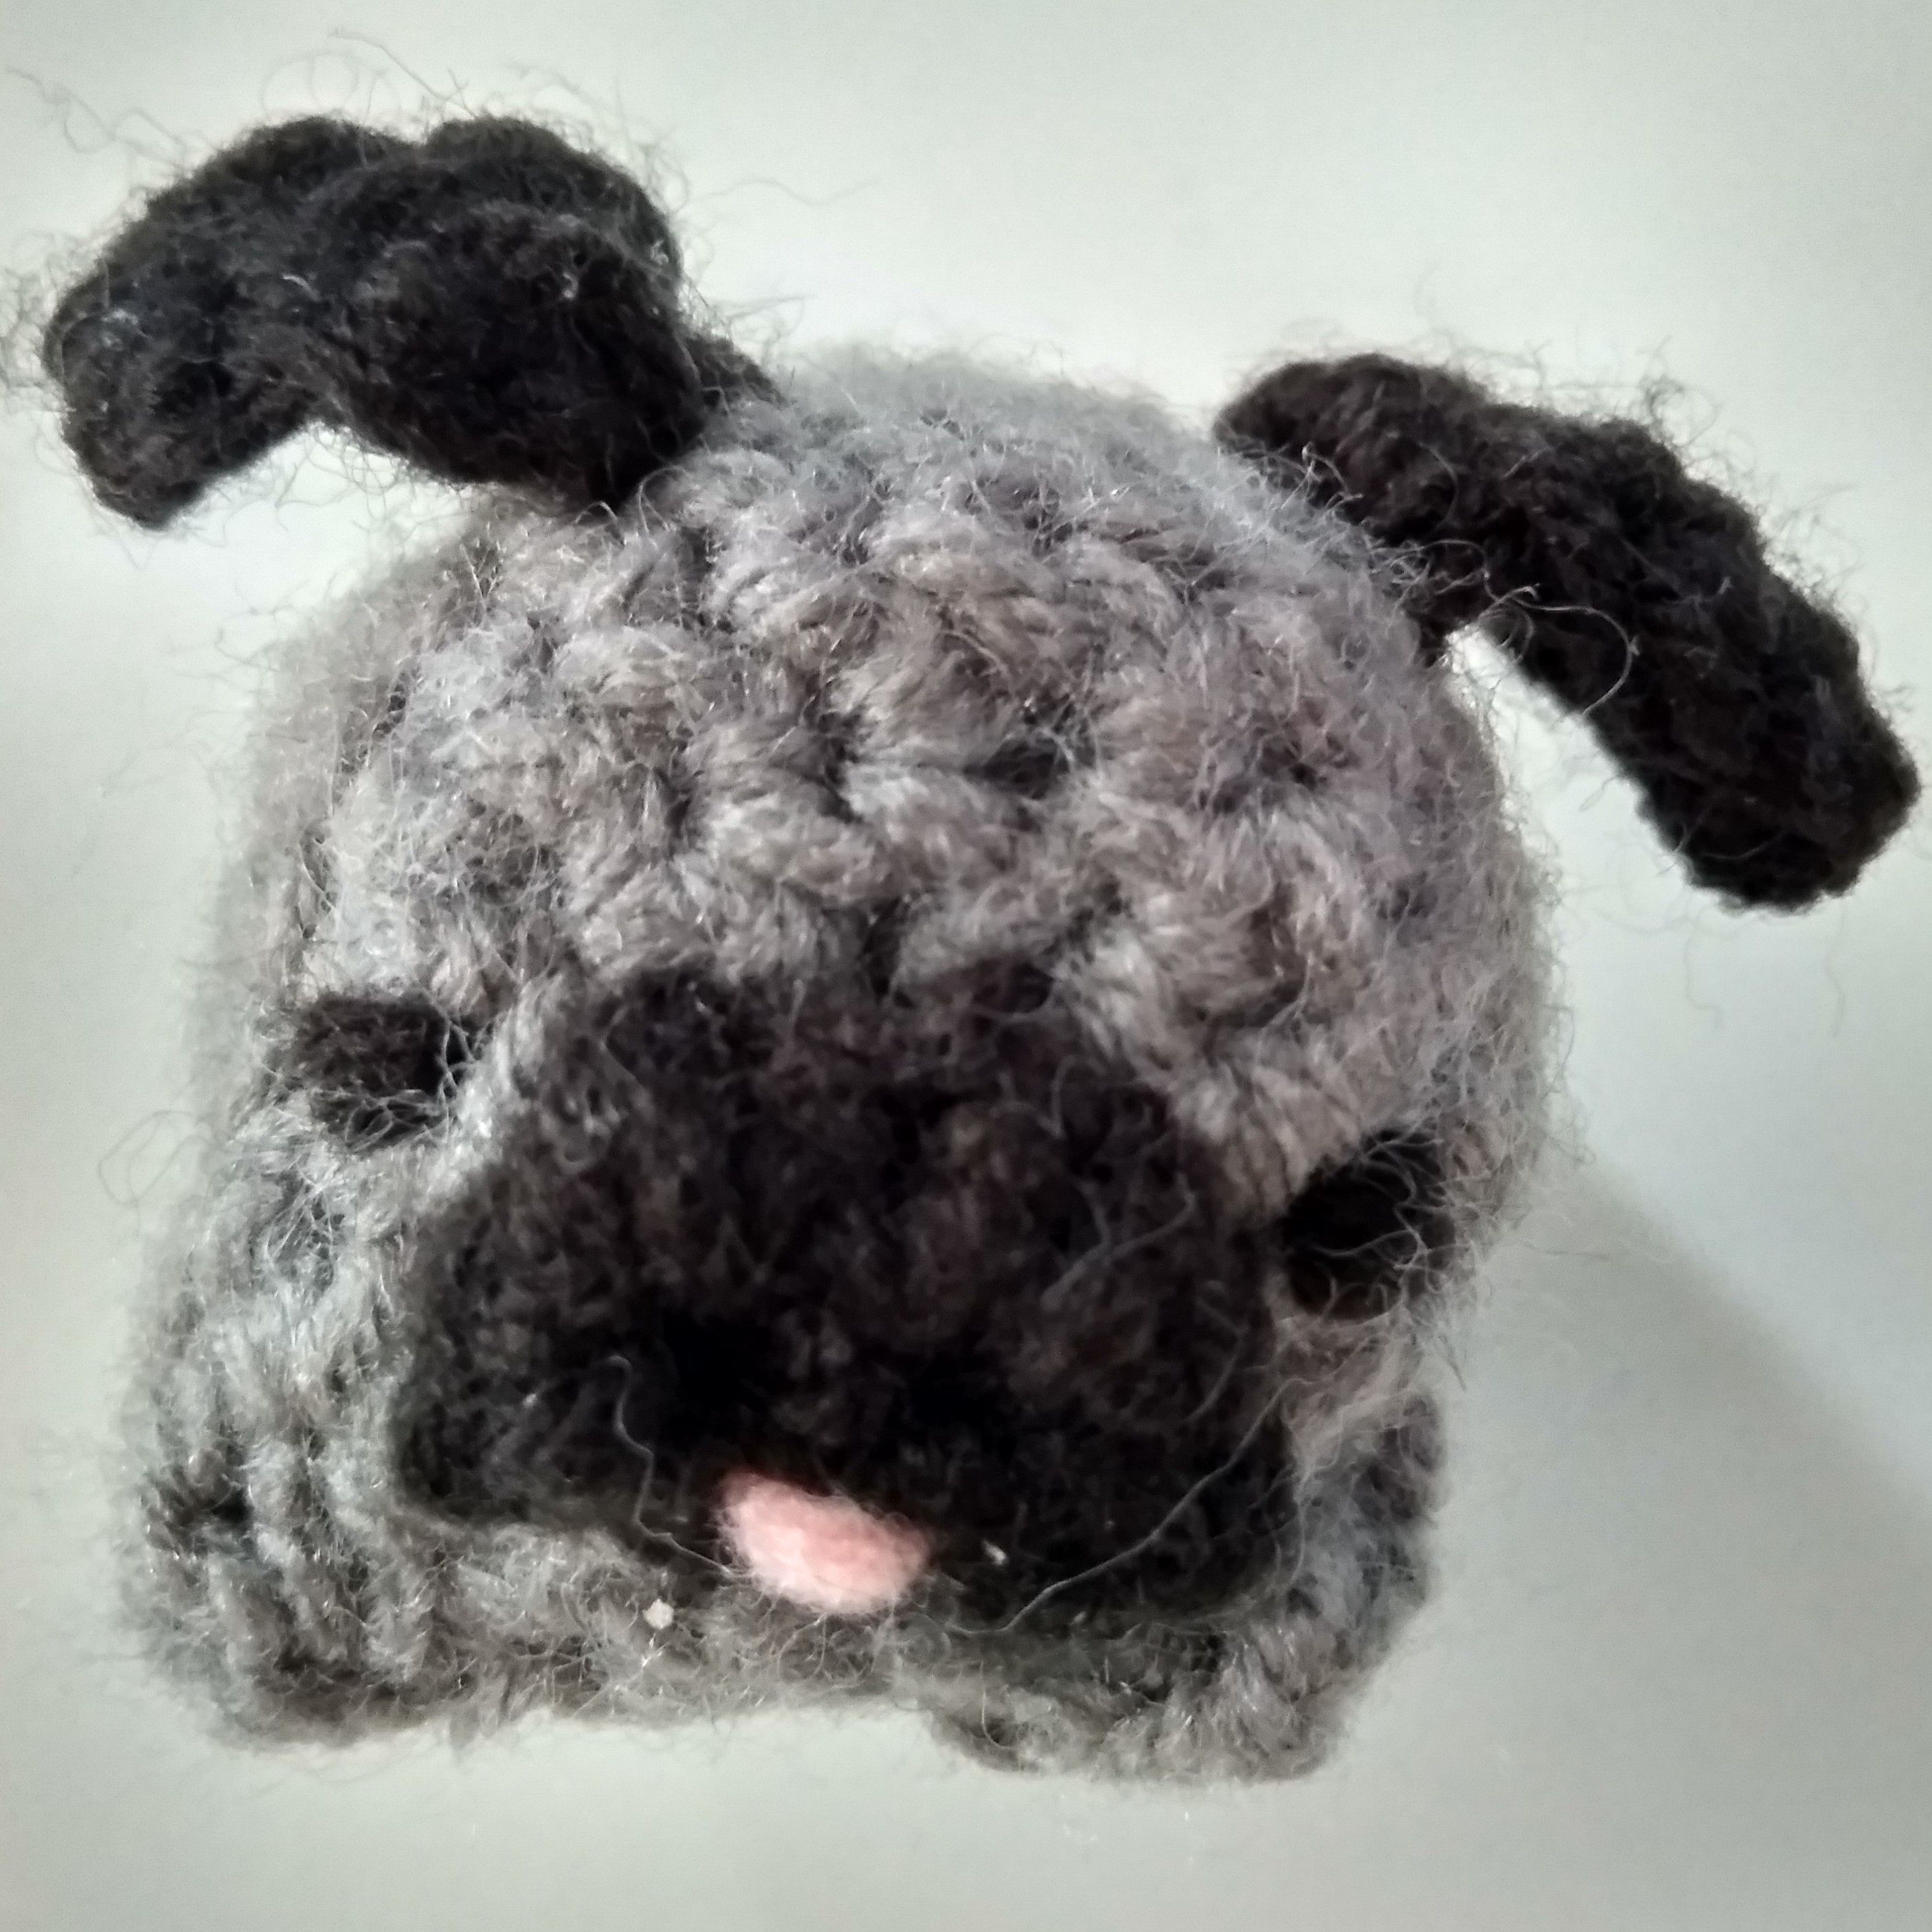
One neat thing about crochet is that the market is in the patterns. Each object uses a recipe to be created, and this is where most of the income for full time artists come from. Because if you think about it, actually crocheting an object takes a lot of time and effort. There are no machines for crochet work unlike with knitting, so all of it is handmade. Therefore, simple objects can be very expensive, limiting the pool of customers. However, patterns are digital, and sell for $3 ~ $7 dollars, the only cost is the initial research and writing required to write up the pattern, so once the aspiring artist creates a collection of patterns, a small but steady income can be made.

Crochet as an industry is actually quite supportive and cohesive. A lot of sellers are also crocheters, and so the marketplace feels more like a gathering of a tightly knit community in a farmer's market. A lot of patterns are avaliable for free, and surprisingly enough, paid and popular patterns are rarely stolen or copied, despite their availability in digital formats without any sort of Digital Rights Management (DRM) that you commonly see in other industries. I think this speaks quite eloquently to the industry and community as a whole and allows small creators to continue making an income, which I think is absolutely fantastic.

Crochet can give quite satisfying results in a short time, especially when starting with smaller projects. I started with Amigurumi, small crochet toys, and one can be made in a day or weekend.
Woodworking
Oh my. There is something unique about using a tool to scrape off a translucent wood shaving and leaving a surface that feels like it has just been sanded to a fine grit. I don't have access to a garage or space that is larger than I can pirouette with my arms outstretched, so I decided early on that my focus will be on hand tools.
What really started I think was listening to Nick Offerman talk about woodworking and reading his book Good Clean Fun. I decided that I wanted to learn more and joined a rather expensive course to gain access to a workshop. It was there I encountered my first plane. It was the only plane in the shop and covered in sawdust. The blade was skewed, but it was sharp. I adjusted the blade the best I could and after a few abortive attempts I managed to slide the plane all the way across the wood to get a continuous shaving. I was hooked.
Since then I have come across other woodworkers, like the estimable Paul Sellers, who has worked with hand tools for more than 50 years.Common Woodworking provides buying and usage advice on top of a few introductory projects. Wood By Wright focuses on hand tool woodworking, while Woodworking for Mere Mortals by Steve Ramsey focuses more on power tool usage for the absolute beginner.
I bought a Stanley No. 4 Plane that was produced in 1929~1930, and it is one of the most exciting purchases that I have made. There is something special in owning a tool that was made before WWII and still works as fine now as it did 70 years ago. It cost me $45 before shipping, just as a gauge where prices are for second hand tools. Paul Sellers has excellent advice with regards to picking a good plane from eBay and Time Tested Tools has a very good guide on identifying when a plane is made. Patrick Leach is a widely regarded expert on planes and also has a guide on Stanley planes
As with every hobby, woodworking does come with a startup cost and I would peg it at $150, which is pricey but not entirely ridiculous. If you are going down the route of getting a few power tools to help, then maybe you'll have to add a hundred more.
The absolute premium in new tools of the hand tool market is Lie-Nielson, with Lee-Valley Veritas coming in at a close second.
Leatherworking
Surprisingly, for such an old art form, not many new books or tutorials have been written for leather crafting. The best book that I have seen recommended is The Leatherworking Handbook by Valerie Michael from 2006. There is surprisingly a much smaller online presence for woodworking as well, with the only major website being Leatherworkers.net.
I previously started and stopped leatherworking because it felt so difficult, but I believe that I had gotten the wrong set of tools. After speaking to a few experts in the field, I realised that I did not get leather chisels, which I have seen featured with nearly every leatherworker I talked to.
I also got a leather burnisher. This is essentially a wooden stick with grooves cut into it. By applying some water to the grooves and running it along the leather, you can make the smoothed darkened edges you see on leather.
I had some trouble searching for raw leather products and distributors that ship to me without incurring an outrageous cost. After some searching I found Weaver Leathercrafts to be a reasonable option for the United States, and locally, scrap from upholstery might be the most economical option.
Crafting & Making, thoughts and comments
I find that with crafting definitely cannot compete with industrial manufacturing with regards to price. This is true from my own research and keeps in line with comments that professionals in the field have made. I get suspicious if anyone tells me that I can save money by doing it myself. There are tooling costs, raw material costs, opportunity costs, and practice costs, all of which add up to cause the original project to be more expensive than if you bought it off the shelf. This however is not true for custom work, which is really the reason I would want to start crafting or making anyway.
Setting aside a sum of money for the initial tooling is important: you don't want to break the bank buying the best tools in the market before you commit, but you don't also want to scrimp so much that your first steps are more frustrating than they need to be.
Some hobbies such as woodworking require a substantial investment to gather the requisite tools before you can do something. Other hobbies such as crochet do not require such a high level of financial commitment, but the cost builds up in the material supplies.
