Orange Pi Zero/Dash Button Access Point Setup

This is a very condensed tutorial on how to set up an OrangePi running Armbian as an access point to intercept Dash Button commands, allowing you to have wireless buttons on the cheap. This is a project that migrates the existing solution I had on my Raspberry Pi 3 to the OrangePi, which frees up my Raspberry Pi 3 for other tasks, since most of the commands are replicated, the commands are listed here in order to set up the OrangePi. This tutorial borrows very heavily from frillip's tutorial and the python script borrows from Familab's tutorial.
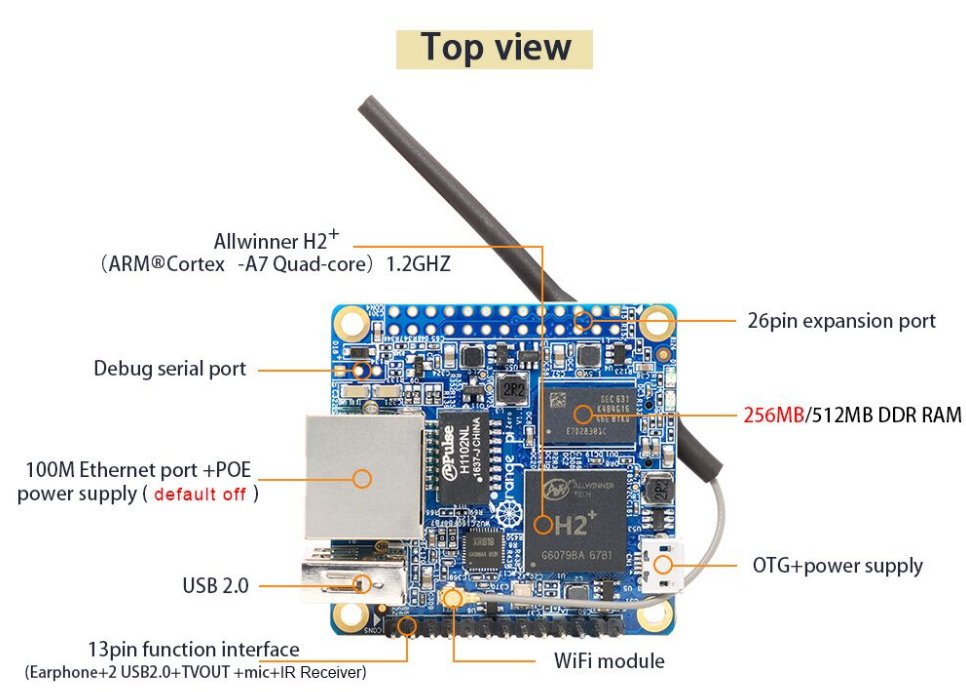
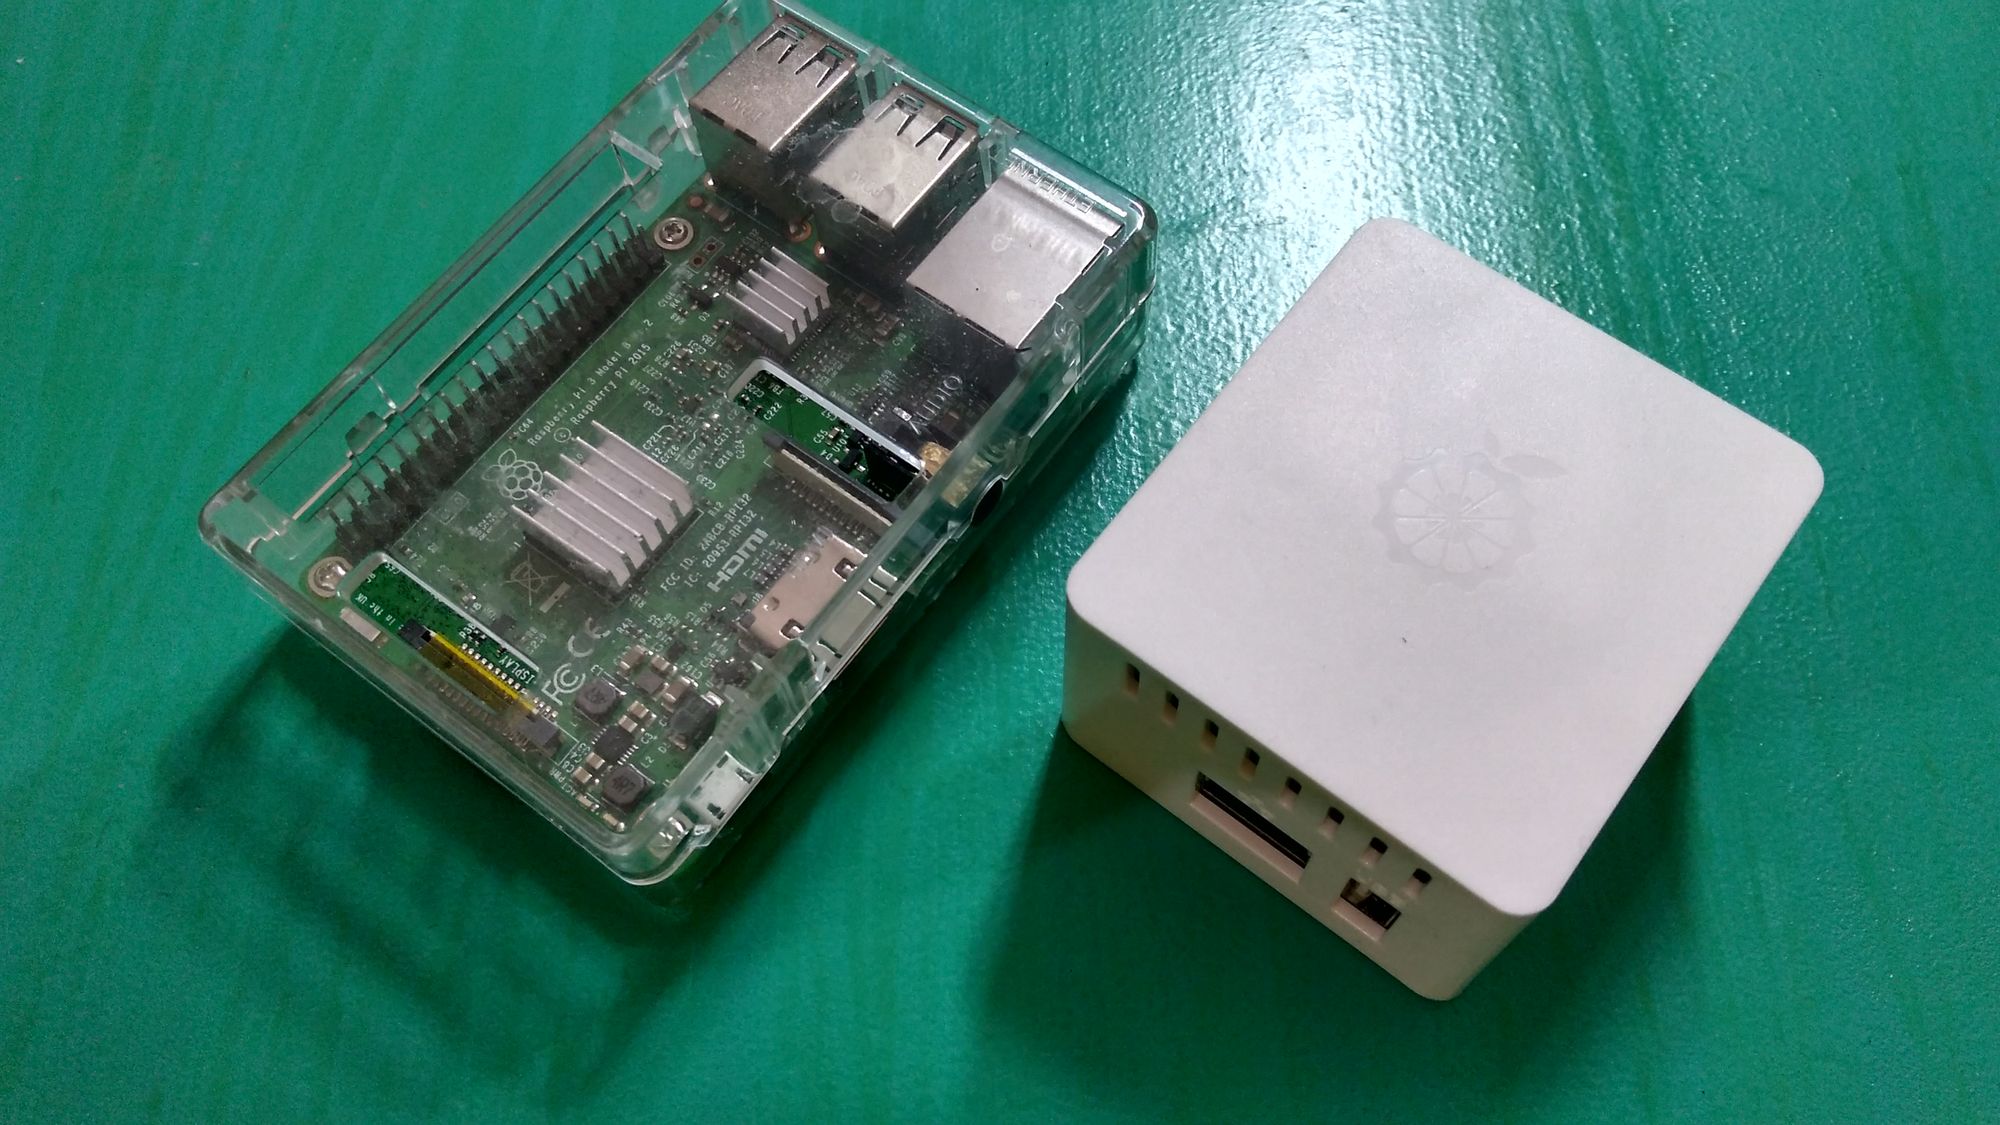
The OrangePi Zero is a ethernet-wifi SOC that is sold on aliexpress for $8.99, which is a slightly cheaper price than a Raspberry Pi Zero, and about half the price of a Raspberry Pi Zero W.
The advantage the Orange Pi Zero has is that it is widely available and has a physical and wireless interfaces, allowing it to serve as a wireless endpoint for IOT applications. However, it lacks the kind of environment and support that the Raspberry Pi has, which makes it a poor platform for initial implementation. This board also does not have HDMI output which makes it mostly suited for headless tasks where a monitor is not required.
Due to the efforts of the kind folks at Armbian, most of the commands used in the Raspberry Pi are compatible with this particular board, and hence made porting much easier.
This tutorial picks up from after you are able to successfully connect to the Orange Pi Zero over ssh.
Install required packages
sudo apt-get install dnsmasq hostapd dhcpd dhcpcd5
Tell dhcpcd to ignore wlan0
In sudo nano /etc/dhcpcd.conf, at bottom of file:
denyinterface wlan0
Configure static IP
sudo nano /etc/network/interfaces
allow-hotplug wlan0
iface wlan0 inet static
    address 172.24.1.1
    netmask 255.255.255.0
    network 172.24.1.0
    broadcast 172.24.1.255
#    wpa-conf /etc/wpa_supplicant/wpa_supplicant.conf
Configure hostapd
sudo nano /etc/hostapd/hostapd.conf
# This is the name of the WiFi interface we configured above
interface=wlan0

# Use the nl80211 driver with the brcmfmac driver
driver=nl80211

# This is the name of the network
ssid=OrangePi-Ap

# Use the 2.4GHz band
hw_mode=g

# Use channel 6
channel=6

# Enable 802.11n
ieee80211n=1

# Enable WMM
wmm_enabled=1

# Enable 40MHz channels with 20ns guard interval
ht_capab=[HT40]
#[SHORT-GI-20][DSSS_CCK-40]

# Accept all MAC addresses
macaddr_acl=0

# Use WPA authentication
auth_algs=1

# Require clients to know the network name
ignore_broadcast_ssid=0

# Use WPA2
wpa=2

# Use a pre-shared key
wpa_key_mgmt=WPA-PSK

# The network passphrase
wpa_passphrase=raspberry

# Use AES, instead of TKIP
rsn_pairwise=CCMP
Configure hostapd
In sudo nano /etc/default/hostapd replace:
#DAEMON_CONF=""
with:
DAEMON_CONF="/etc/hostapd/hostapd.conf"
Dnsmasq config
Create a copy:
sudo mv /etc/dnsmasq.conf /etc/dnsmasq.conf.orig
Open file for editing:
sudo nano /etc/dnsmasq.conf
interface=wlan0      # Use interface wlan0
listen-address=172.24.1.1 # Explicitly specify the address to listen on
bind-interfaces      # Bind to the interface to make sure we aren't sending things elsewhere
server=8.8.8.8       # Forward DNS requests to Google DNS
domain-needed        # Don't forward short names
bogus-priv           # Never forward addresses in the non-routed address spaces.
dhcp-range=172.24.1.50,172.24.1.150,12h # Assign IP addresses between 172.24.1.50 and 172.24.1.150 with a 12 hour lease time
Set up IPv4 forwarding
In sudo nano /etc/sysctl.conf remove # from the line net.ipv4.ip_forward=1
sudo iptables -t nat -A POSTROUTING -o eth0 -j MASQUERADE
sudo iptables -A FORWARD -i eth0 -o wlan0 -m state --state RELATED,ESTABLISHED -j ACCEPT
sudo iptables -A FORWARD -i wlan0 -o eth0 -j ACCEPT
Save our configuration:
sudo sh -c "iptables-save > /etc/iptables.ipv4.nat"
Init file
In sudo nano /etc/rc.local, above exit 0:
iptables-restore < /etc/iptables.ipv4.nat
rfkill unblock all
Install pip & setuptools
sudo apt install pip3 setuptools
sudo pip3 --upgrade pip setuptools
Install needed python libraries
sudo pip3 install scrapy paho-mqtt
Add python scripts
sniffer.py
Remember to change the HEX HERE to the MAC address of the Dash button. This can be done by running sudo /usr/sbin/hostapd /etc/hostapd/hostapd.conf, connecting the button to the AP and pressing the button. At this point the MAC address should be displayed in the output. This is a simple script that publishes "1" to the channel "light".
import sys
import logging
import codecs
import paho.mqtt.publish as publish
import time
logging.getLogger("scapy.runtime").setLevel(logging.ERROR)

from scapy.all import *

decode_hex = codecs.getdecoder("hex_codec")

def arp_display(pkt):
	if pkt[ARP].op == 1:
                print(pkt[ARP].hwsrc)
                if pkt[ARP].pdst == "172.24.1.1":
                        if pkt[ARP].hwsrc == "HEX HERE":
                                onCheck()

                                time.sleep(2)

def test(pkt):
        if ARP in pkt and pkt[ARP].op in (1,2):
                return pkt.sprintf("ARP.hwsrc% %ARP.psrc%")
def onCheck():
        publish.single("light","1",hostname="172.24.1.1")

sniff(prn=arp_display, filter="arp", store=0)
Create a script to automate the process
Since we don't want to have to manually run commands each time we boot up the OrangePi, we create a set of startup scripts to run each time it is booted:
sudo nano /etc/init.d/startupscript
#!/bin/bash

sudo rfkill unblock wlan
sudo ifconfig wlan0 up
sudo service dnsmasq restart
sudo /usr/sbin/hostapd /etc/hostapd/hostapd.conf
chmod 755 startupscript
ln -s /etc/init.d/startupscript /etc/rc3.d/S99startupscript
Create a cronjob to start our python script
sudo crontab -e
@reboot sudo /usr/bin/python3 /full/path/here/sniffer.py > /dev/null 2>&1
Reboot
sudo reboot now
References
https://raspberrypi.stackexchange.com/questions/42940/how-to-manually-install-dhcpcd
https://askubuntu.com/questions/472794/hostapd-error-nl80211-could-not-configure-driver-mode
https://frillip.com/using-your-raspberry-pi-3-as-a-wifi-access-point-with-hostapd/
https://familab.org/2016/02/hacking-the-amazon-dash-button-to-make-a-simple-cheap-iot-place-anywhere-networked-button-3/