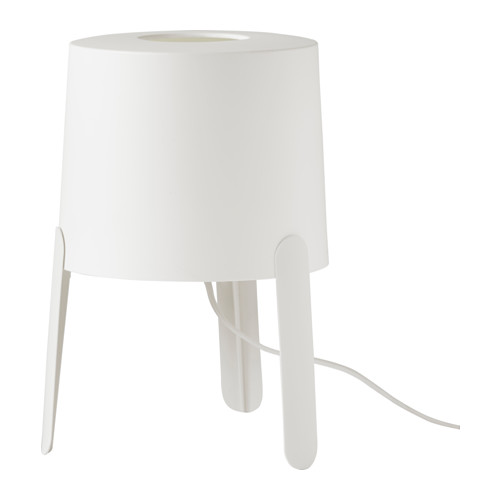
Hacking the IKEA TVÄRS Lamp for IoT and other Shenanigans

This is a teardown of the IKEA TVÄRS lamp and provides two small but fun projects you can do with this very versatile, very affordable lamp from IKEA: a controllable RGB lamp and a lit charging station.
Disassembling this lamp is pretty simple! First unclip the bulb holder from the base as follows (the wire was already removed in this case):
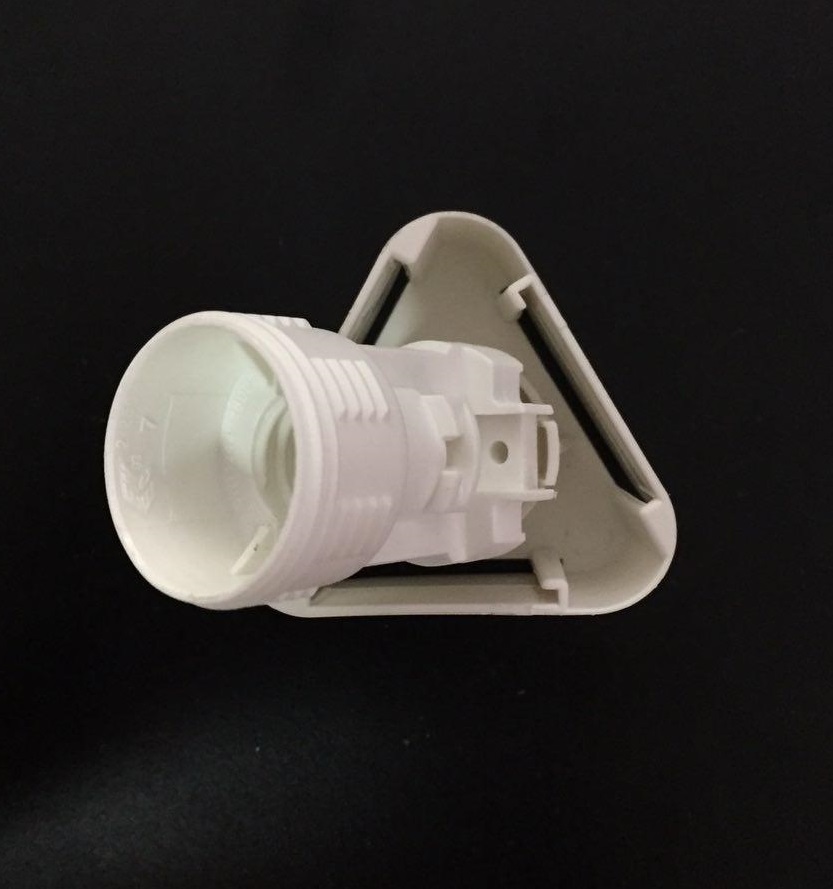
Next using needle nose pliers, reach in and grip the contacts and pull. The contacts will bend a little, and then pop out.
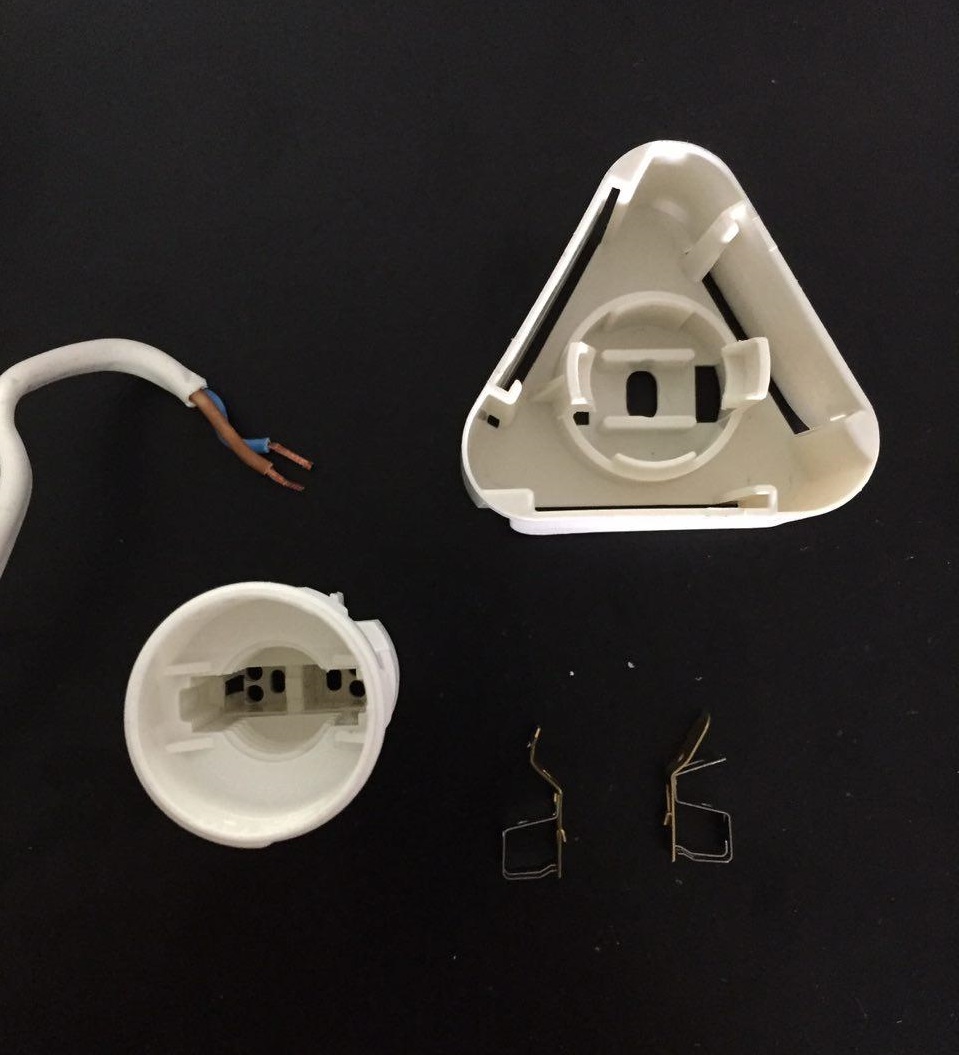
The wires themselves are not soldered to the contacts, so once you have gotten them out, you can twist out the wires. Now you have a shell of a lamp that is perfect for hacking. I love how futuristic it looks, like a spaceship ready to take off! Plus, since it is one of the lowest cost lamps in IKEA, I feel better disassembling it as compared to a $100 lamp.
Adding Color
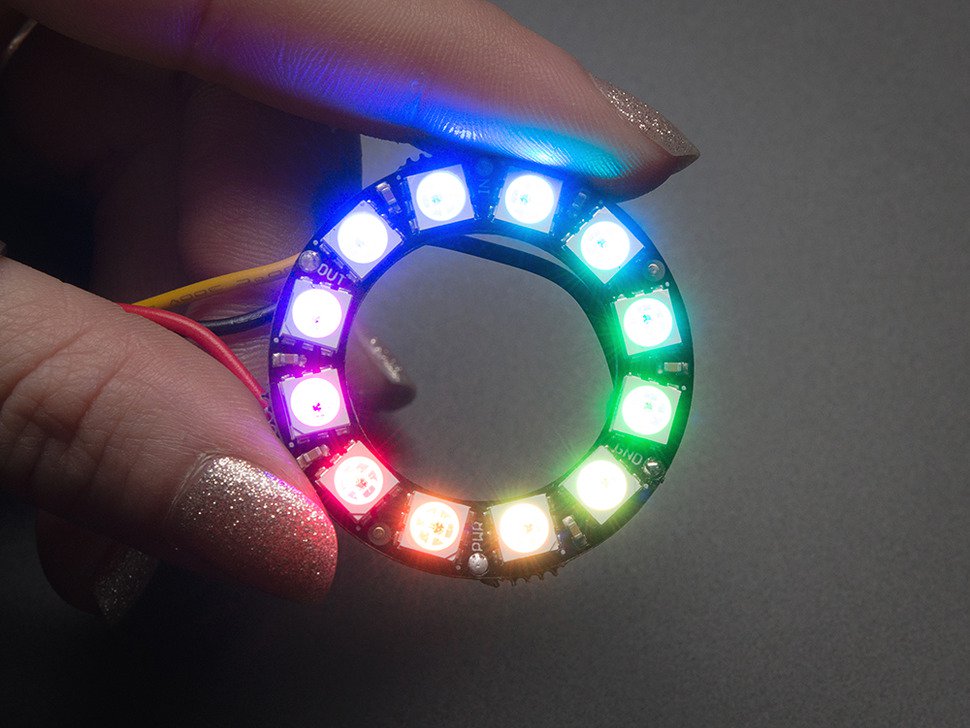
The easiest way to modify this lamp is to add a programmable LED to it. I prefer to use a Neopixel ring of 12 LEDs.
And a breadboard-compatible board like the WeMos Mini Pro or the Adafruit Trinket M0.
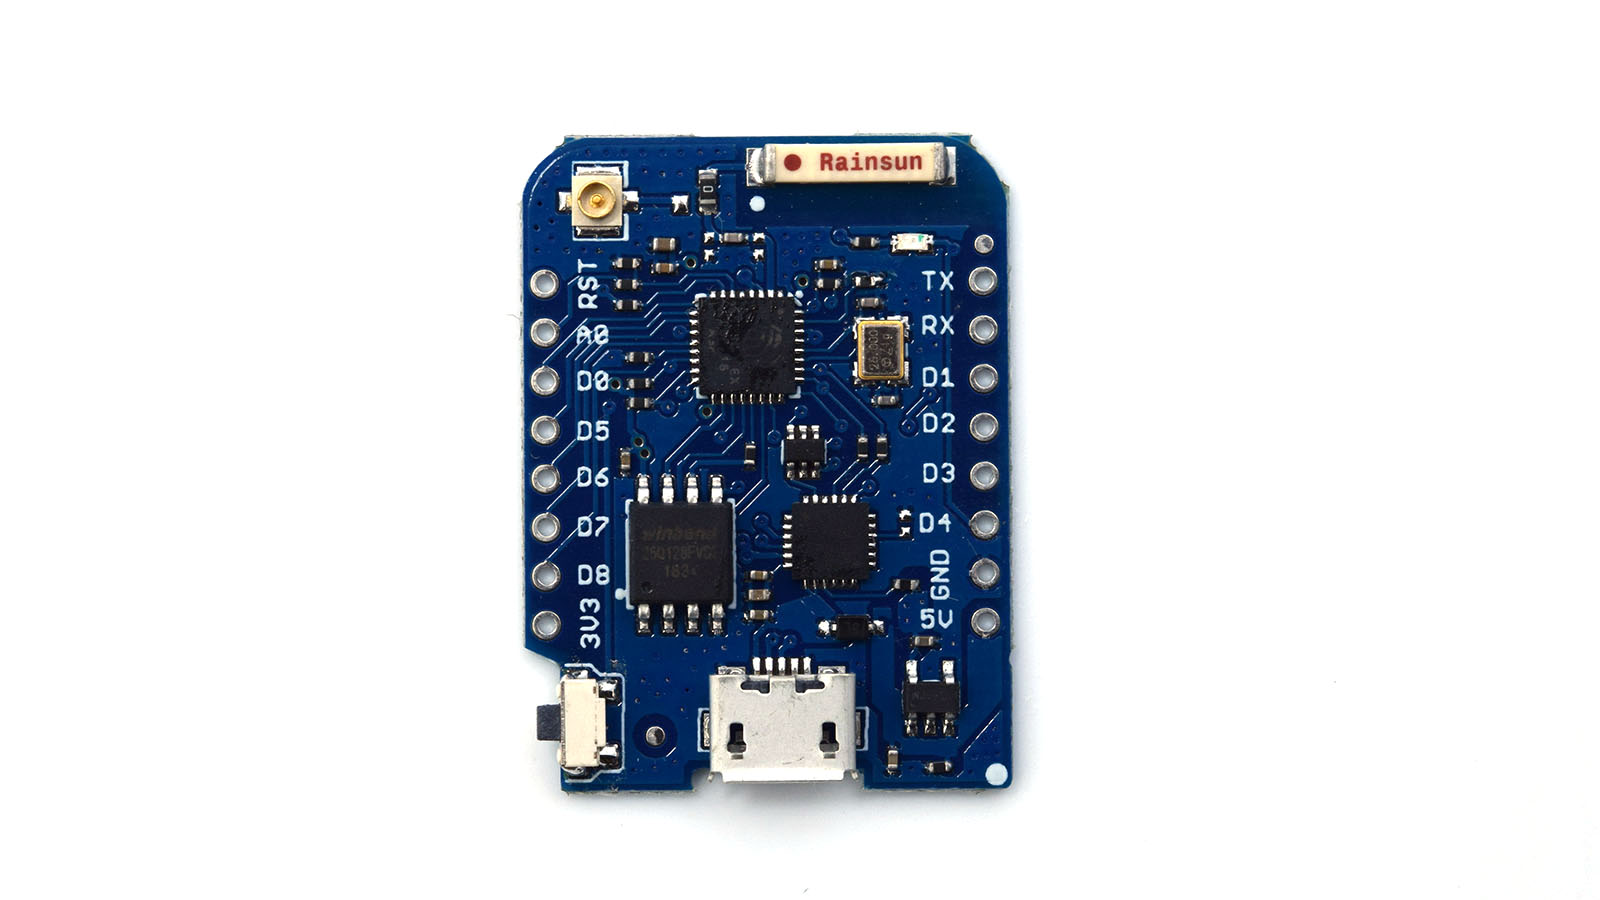
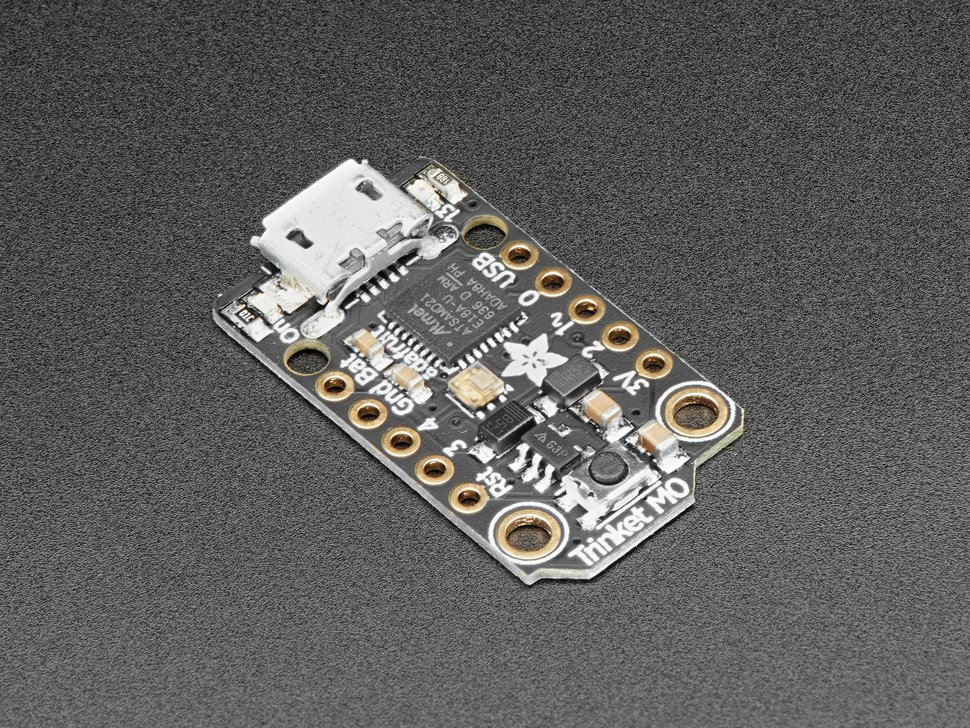
The advantage of using a WeMos Mini Pro is that you get WiFi connectivity while with the Trinket M0 you get to use Python and don't have to worry about driver issues.
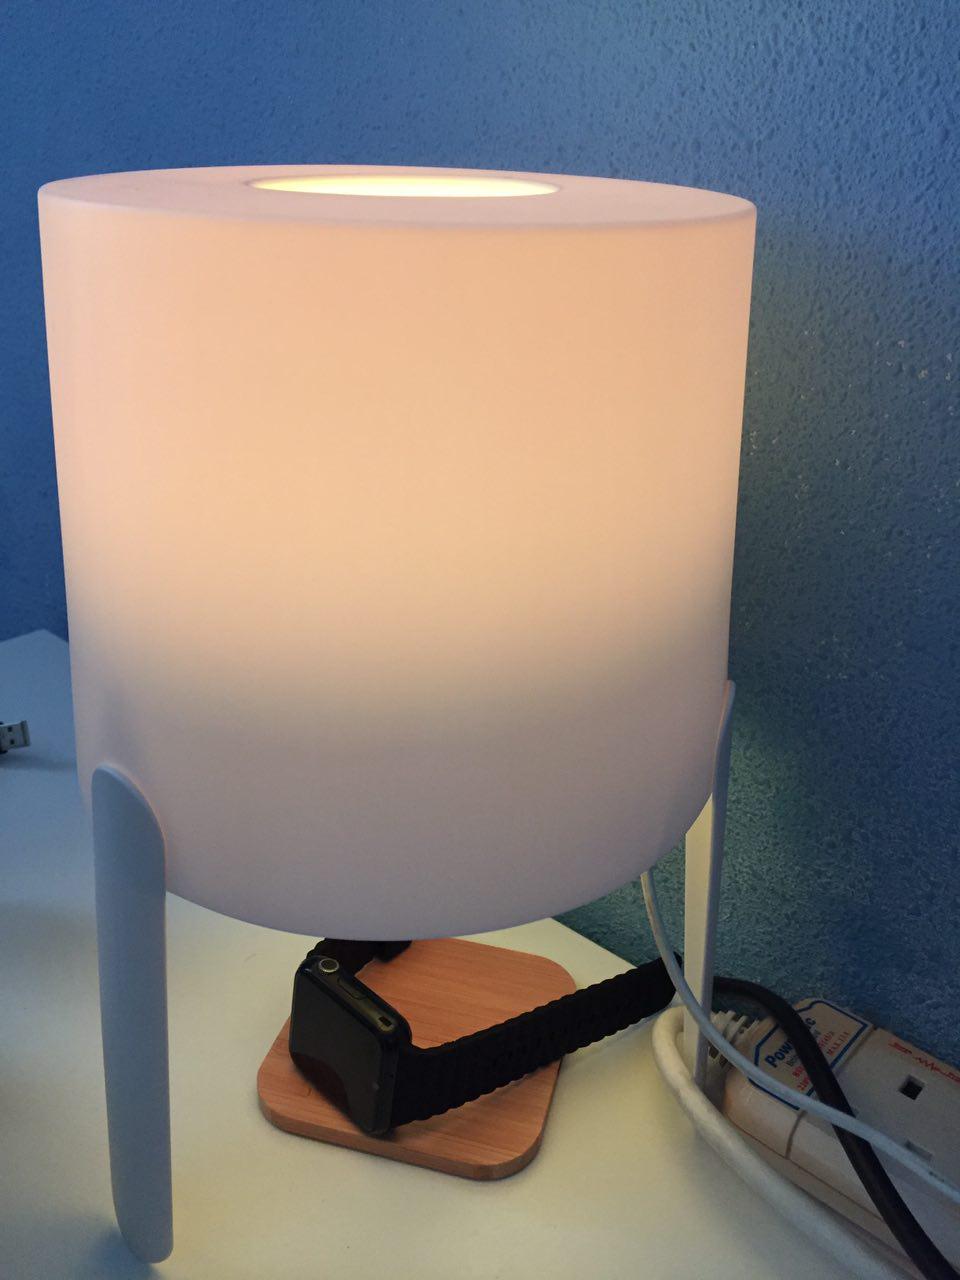
The effect is quite pretty, as you can see! You could control it via a Telegram bot, or have it fade between multiple colors. You can also have it report the weather, or react to the light in the room... the possibilities are endless!
Charging Station
The Qi standard is a wireless charging standard that is becoming increasingly popular due to the convenience of wireless charging. The idea is that if you have a Qi pad and a Qi-compatible phone, you can just drop the phone on the pad and it will start charging. You can also make your phone compatible by adding a wireless charging adaptor like this:
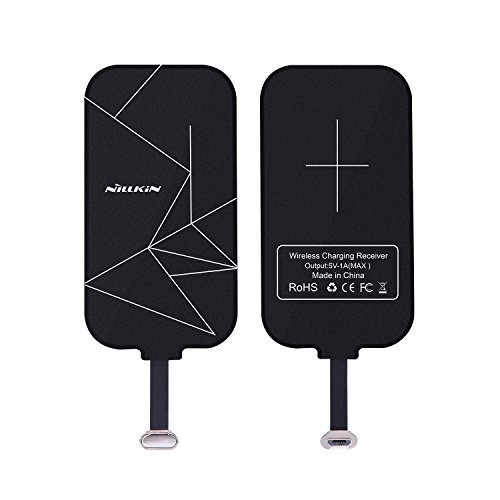
But doesn't that use up the only port on the phone? It does, but most digital transfers occur wirelessly today, and chances are that the when you plug your phone in, it is to charge it. By using an adaptor, it reduces the stress on the USB port. The problem I had with my existing pad was that the charging LED was hard to see, and I had to place my phone within a specific region or the charging would not begin. Adding a brighter LED would certainly solve my problem, but why stop there?

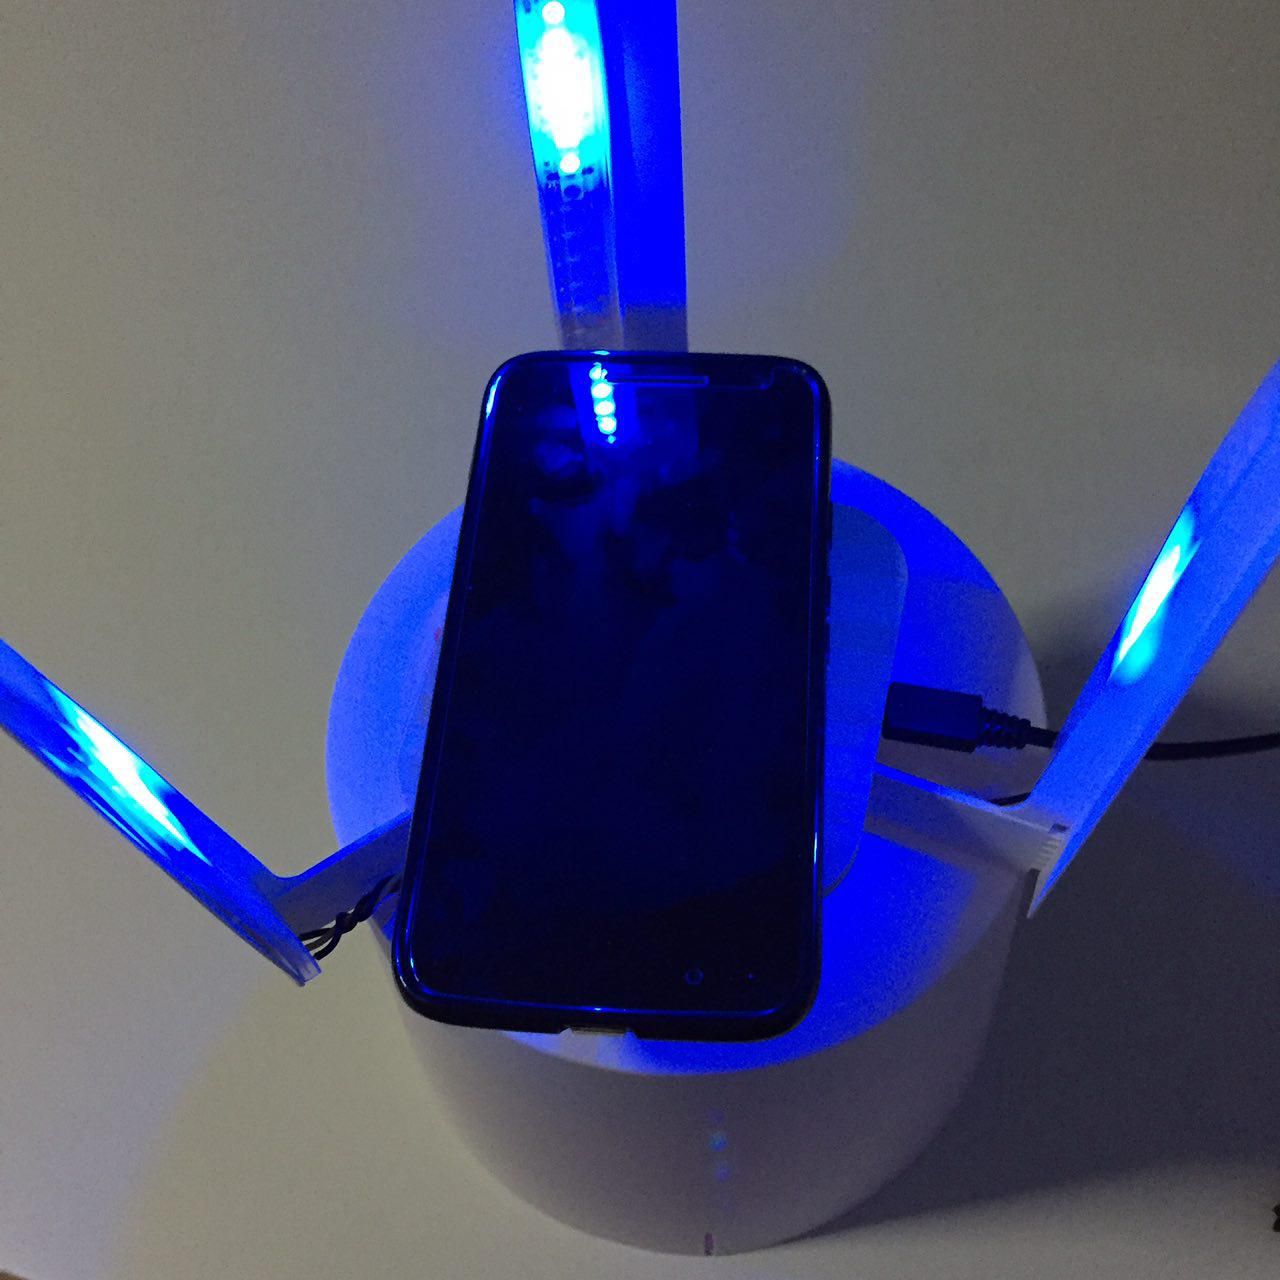
I wanted a charging animation, and I drew from charging animations of spaceships. If you invert the lamp, the legs look like the towers of a futuristic building, so I lined them with W2812b LEDs, and controlled it from a single board. To preserve wiring simplicity, I tied all strips to one data pin, which means that the strips on each leg will mirror each other.
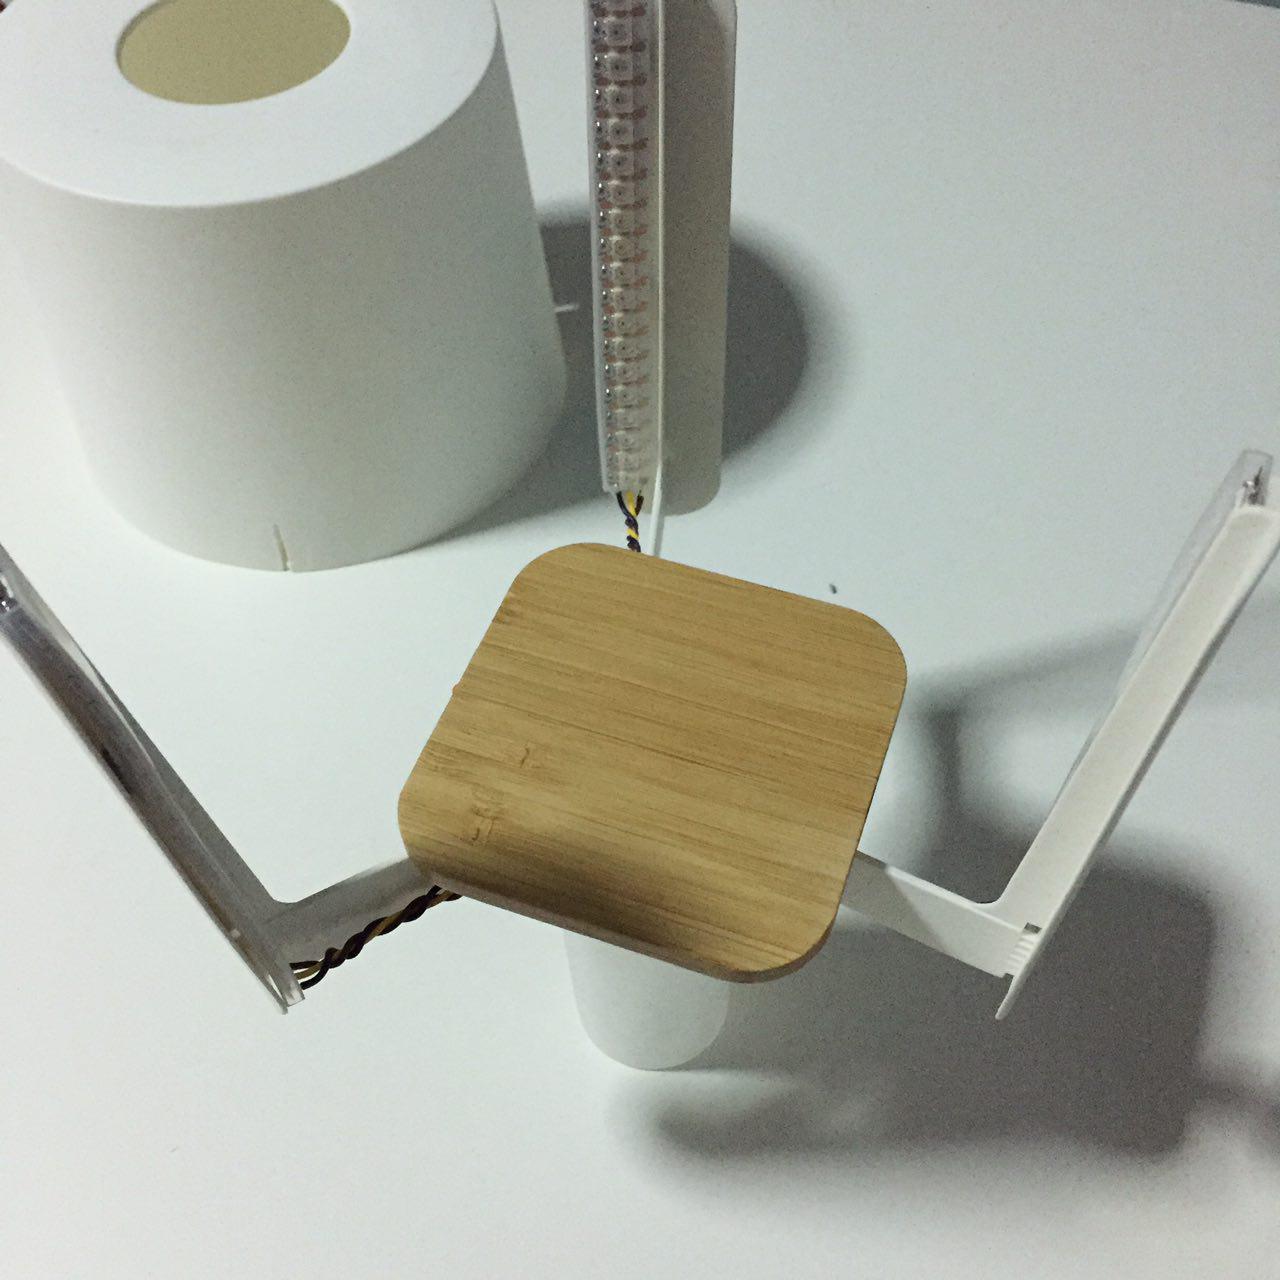
This is the resulting structure. The board that controls the strips of LEDs gets a signal from the on-board LED in the Qi charger. I thought about drilling a hole through the pad so that I didn't have to expose any wires along the side, but the problem was that the charger was secured to the base with foam tape and I didn't want to risk damaging the charger.
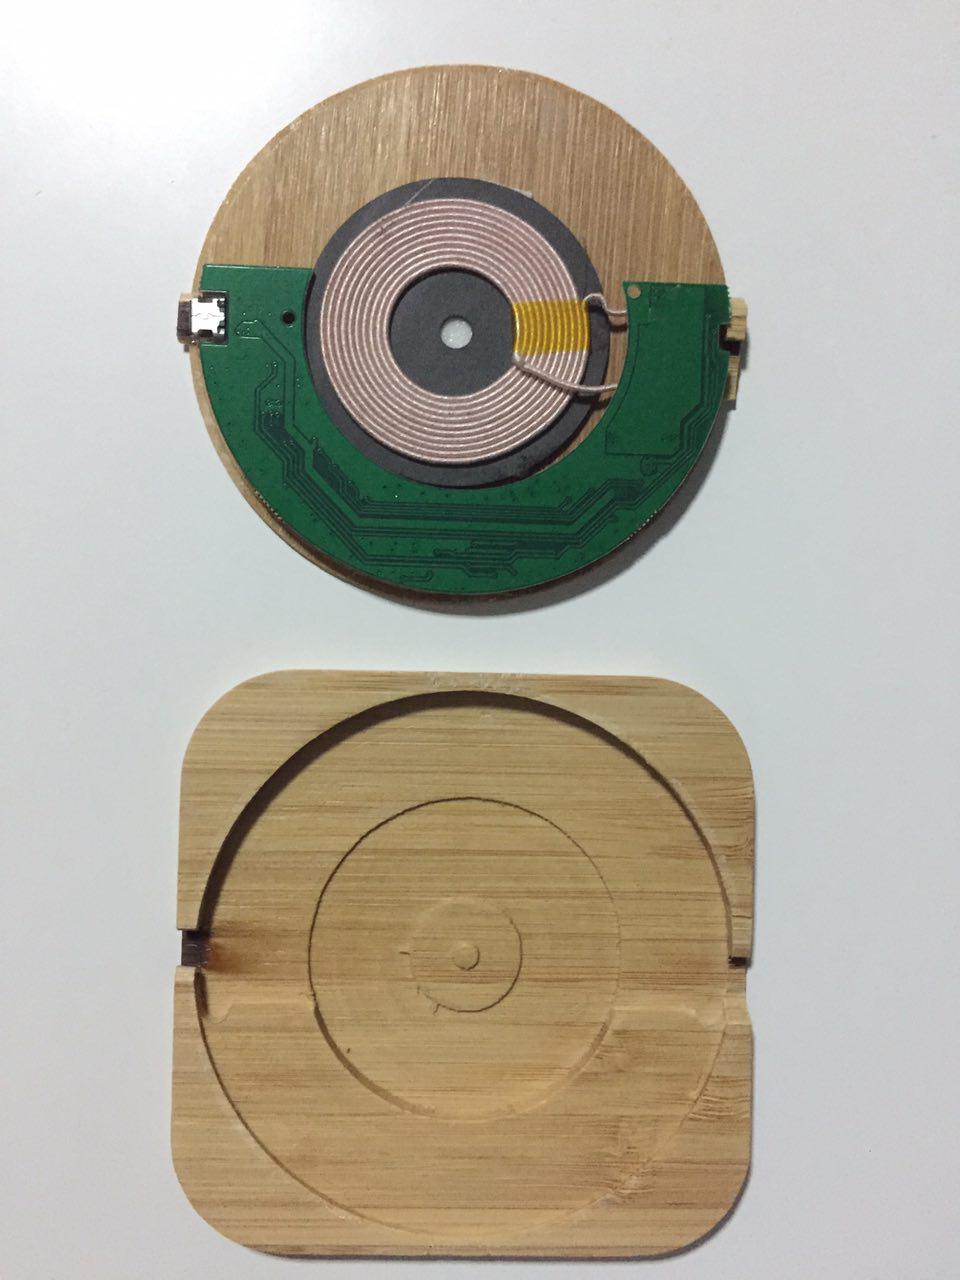
The alternative was to snake out two signal wires through the hole where the LED shone through, and it was barely wide enough to do so. When the charging LED turns on, the signal on the line would go high, and this would be a signal for the board to start the animation.
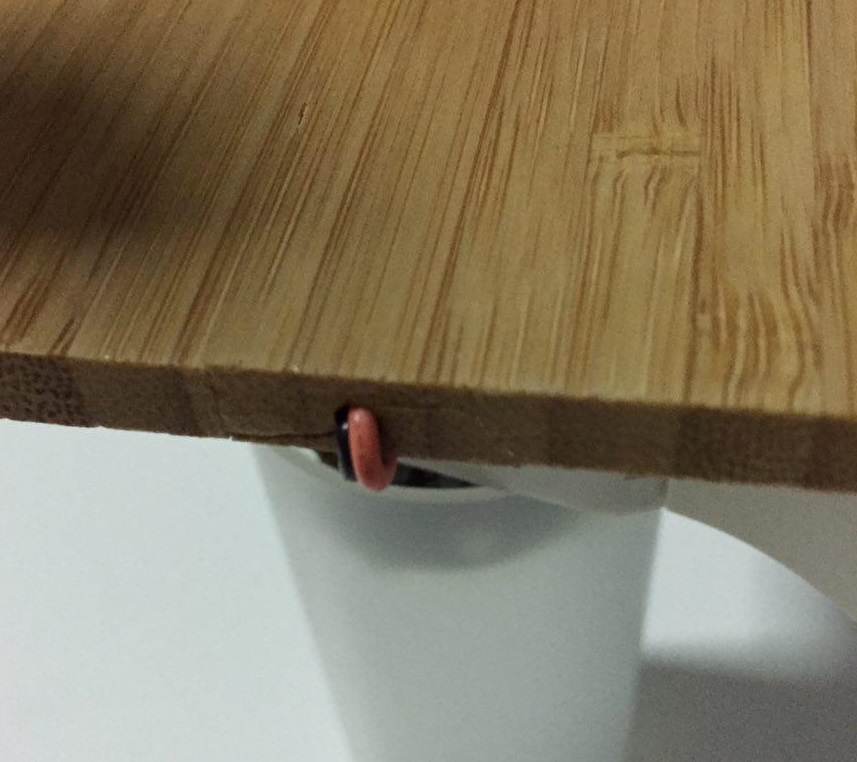
Charging in action! I used a 'comet tail' animation to mimic a shield being charged.

This is a good lamp for getting creative with. I do recommend picking one up the next time you are in IKEA. I enjoyed building these projects with it, and I hope you will too!