Fun with Addressable LEDs (8)

This tutorial can only be done with the Lighting Add-On pack.
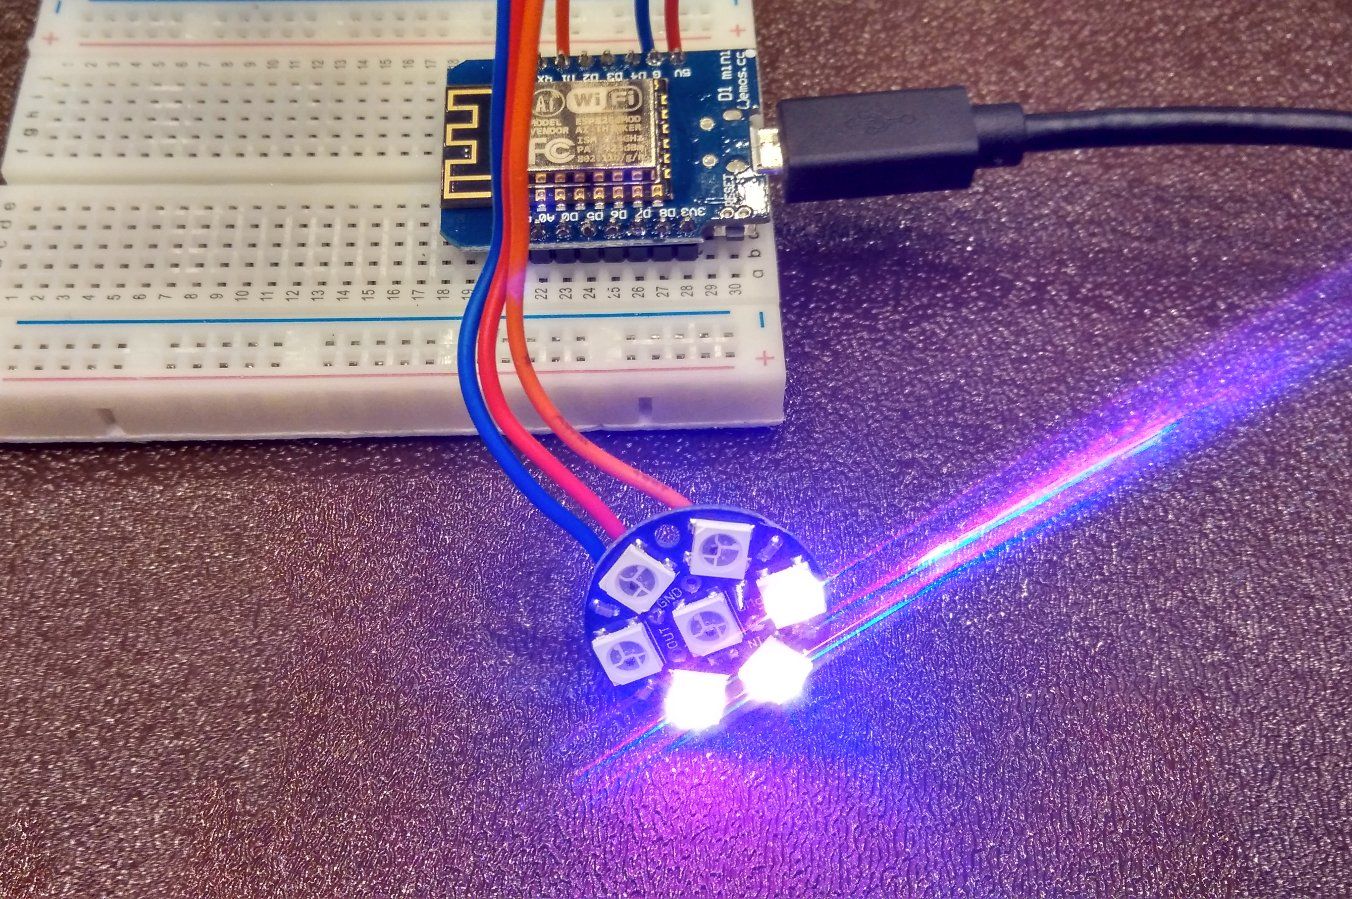
The another great thing about the 5050 LED chip is that when you chain them up (yes you can chain them up!), you can address each of them using the same data line. This means that if we connected say 4 LEDs in a row, I'd be able to say "Hey Third LED, turn yellow." This works the same for 2, 10 or 200 LEDs. So instead of having all your LEDs change the same color, you can have chasing lights, displays...etc all within the same data line (after taking into account the current a large number of LEDs need!).
Figure 1. Using an Adafruit Jewel
All you have to do is to change the number of pixels that you specified when you were creating the NeoPixel object:
Adafruit_NeoPixel pixels = Adafruit_NeoPixel(NUMPIXELS, PIN, NEO_GRB + NEO_KHZ800);
And when you are calling the pixel, instead of 0, you can specify the position of the LED (from 0). Now you can do something more exciting:
for(int i=0;i<NUMPIXELS;i++){
   pixels.setPixelColor(i,pixels.Color(r,g,b));
   pixels.show();
   delay(500);
}
This turns on each LED in the line of LEDs that are chained up to each other. If you want to turn on all LEDs at once, you can set the colors within a for loop and then use pixel.show() to turn them all on at once.
Pretty neat! Experiment with programming your own patterns.
What you learned
- How to use addressable LEDs
- How to use a loop to light these LEDs
Challenge Project
- Write a function that fades all the LEDs on and off.
- Have a single light go around the loop
- Have a red light chase a green light