M0 Plus Breakout Board
Chronicling my adventures of making and remixing various boards with the marvelous SAMD21 M0+ chip in all it's various incarnations.

Chronicling my adventures of making and remixing various boards with the marvelous SAMD21 M0+ chip in all it's various incarnations.
The link to the GitHub page is here.
Why the Cortex M0+? It is a very popular choice for hardware companies for providing a mid-level chip that is more powerful than an Arduino but less powerful than a Teensy. So there was already existing support. I have also worked with ARM before (M4!) and I was reasonably familiar with the process of programming it as compared to using a PIC-based chip.
This project was launched because I saw that Adafruit didn't break out all the pins on the SAMD21, which I wanted for experimentation, but Sparkfun's design didn't provide all the nice bits of circuitry (lipo charging/USB firmware) and was packaged in a size a little too large for my taste.
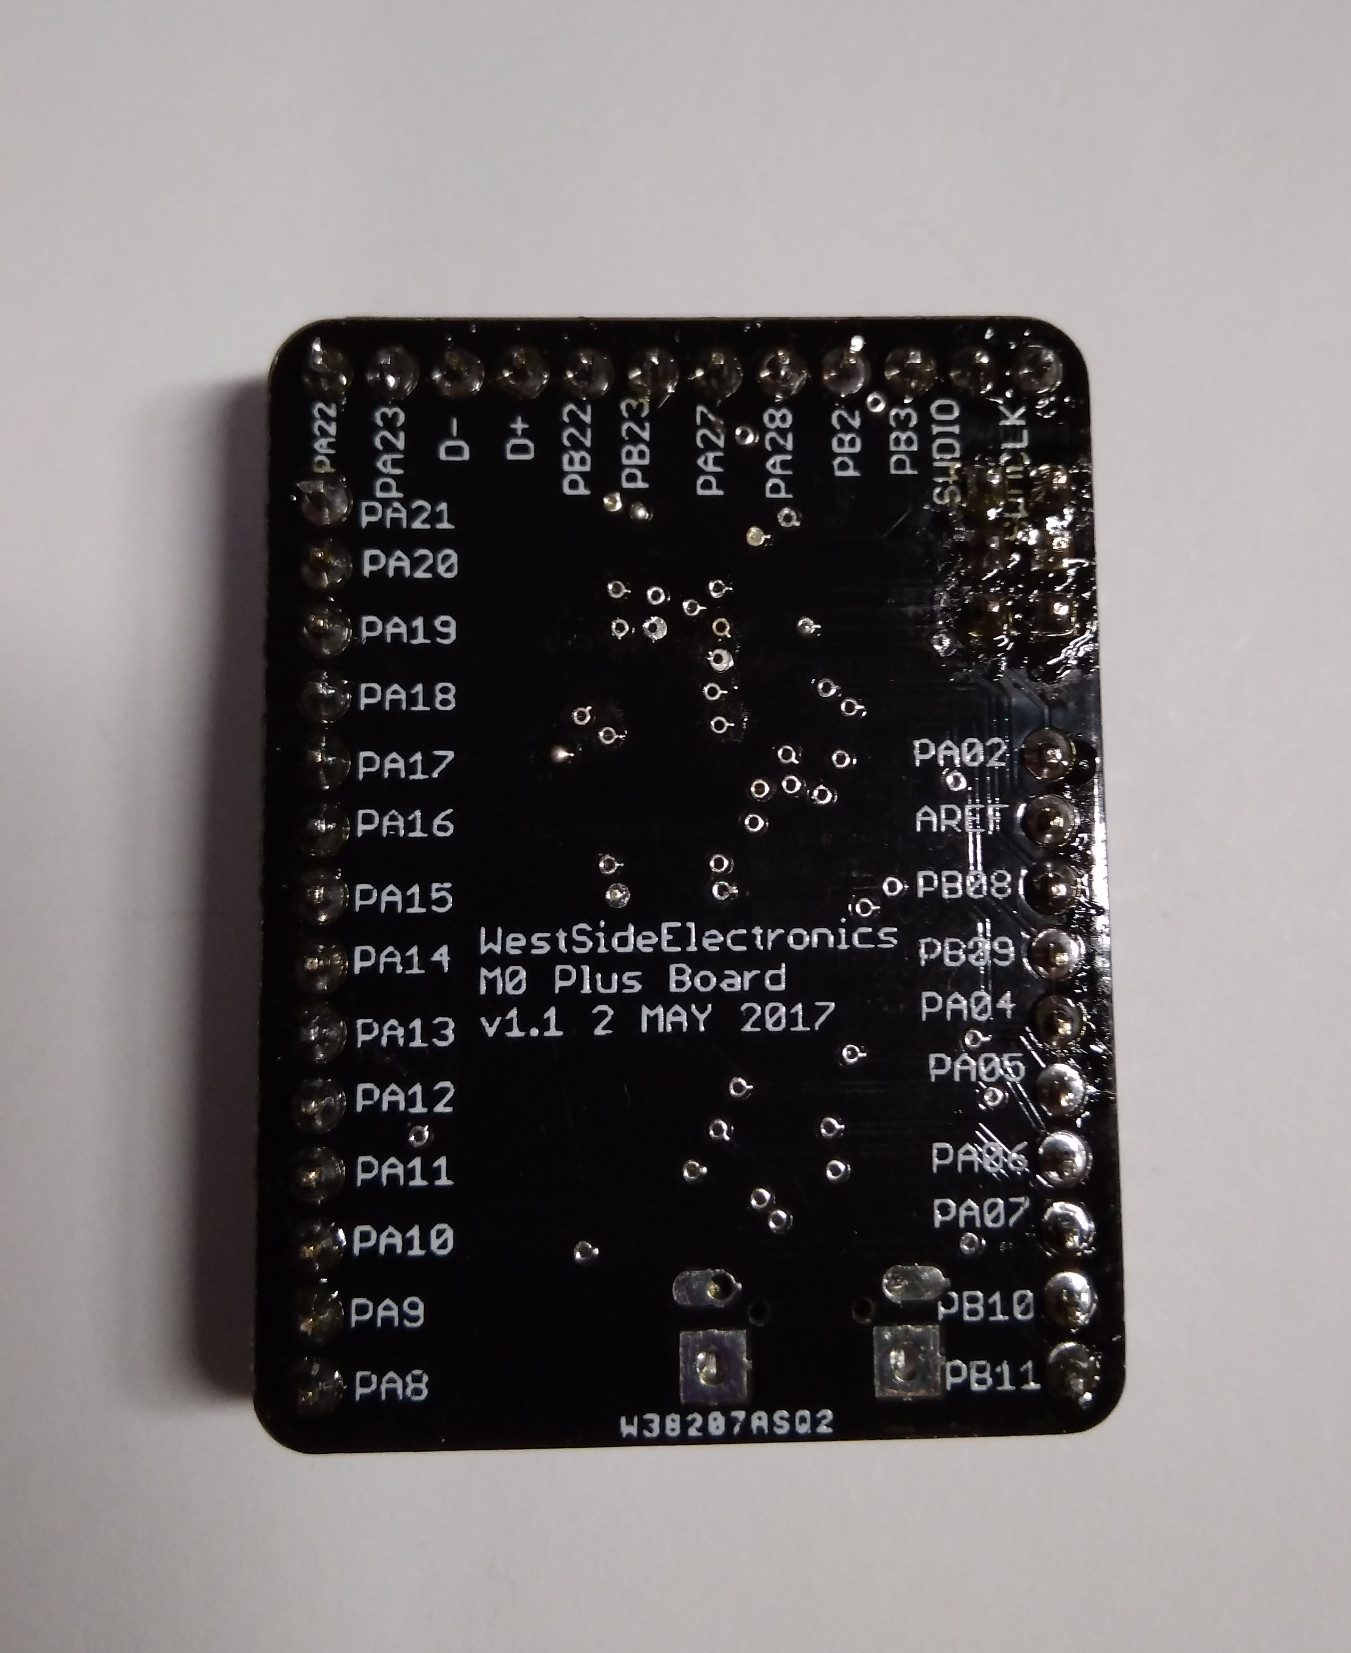
So I blended the best aspects of both boards into one which I call the M0 Plus Breakout Board, read as "MO". It features LiPo charging circuitry, a small footprint, USB/SWD programming, and Arduino compatibility. A blink sketch took up 3% of the total space in the chip.
The edges are a little too sharp for my liking and I would probably round them off in a later redesign. However, this board is not meant for plugging into a breadboard (though you can rubber-band it to one like the Arduino).
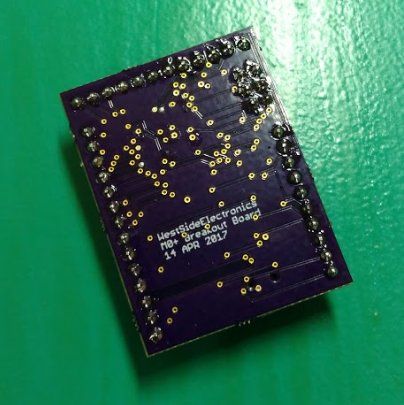
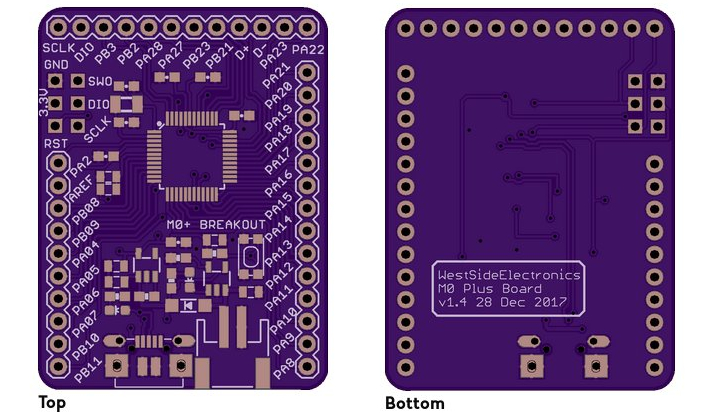
Rounded edges, added labels
This is the layout of the new board. A lot of unnecessary vias were removed simply by rerouting. Labels were added to the bottom of the board, and the edges were rounded off. The essential design remains the same however.
Lessons learned
- No LEDs to blink, no LEDs on data lines. This was an unexpected difficulty as I had to prototype the board just to test if it was working.
- Labels on the bottom. This was not very clever because I had to flip the board around each time to look at the labels.
- Vias can be removed just by rerouting traces.
M0+ Revisited
After some iterations, I decided that a QFN package might not be the best option because it is hard to solder by hand correctly and debug. The space savings are minimal.
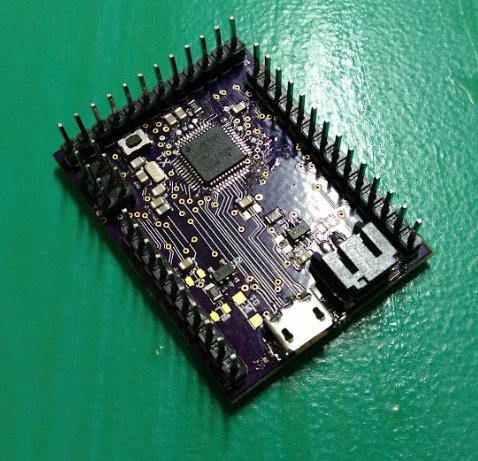
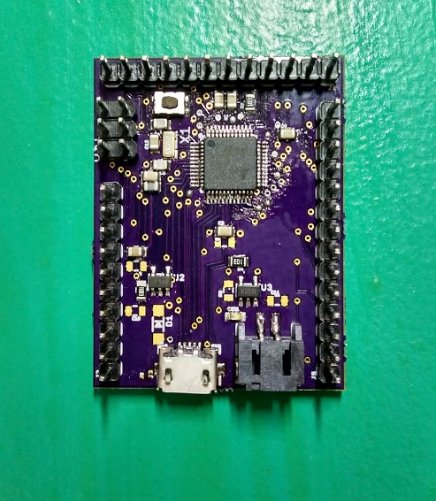
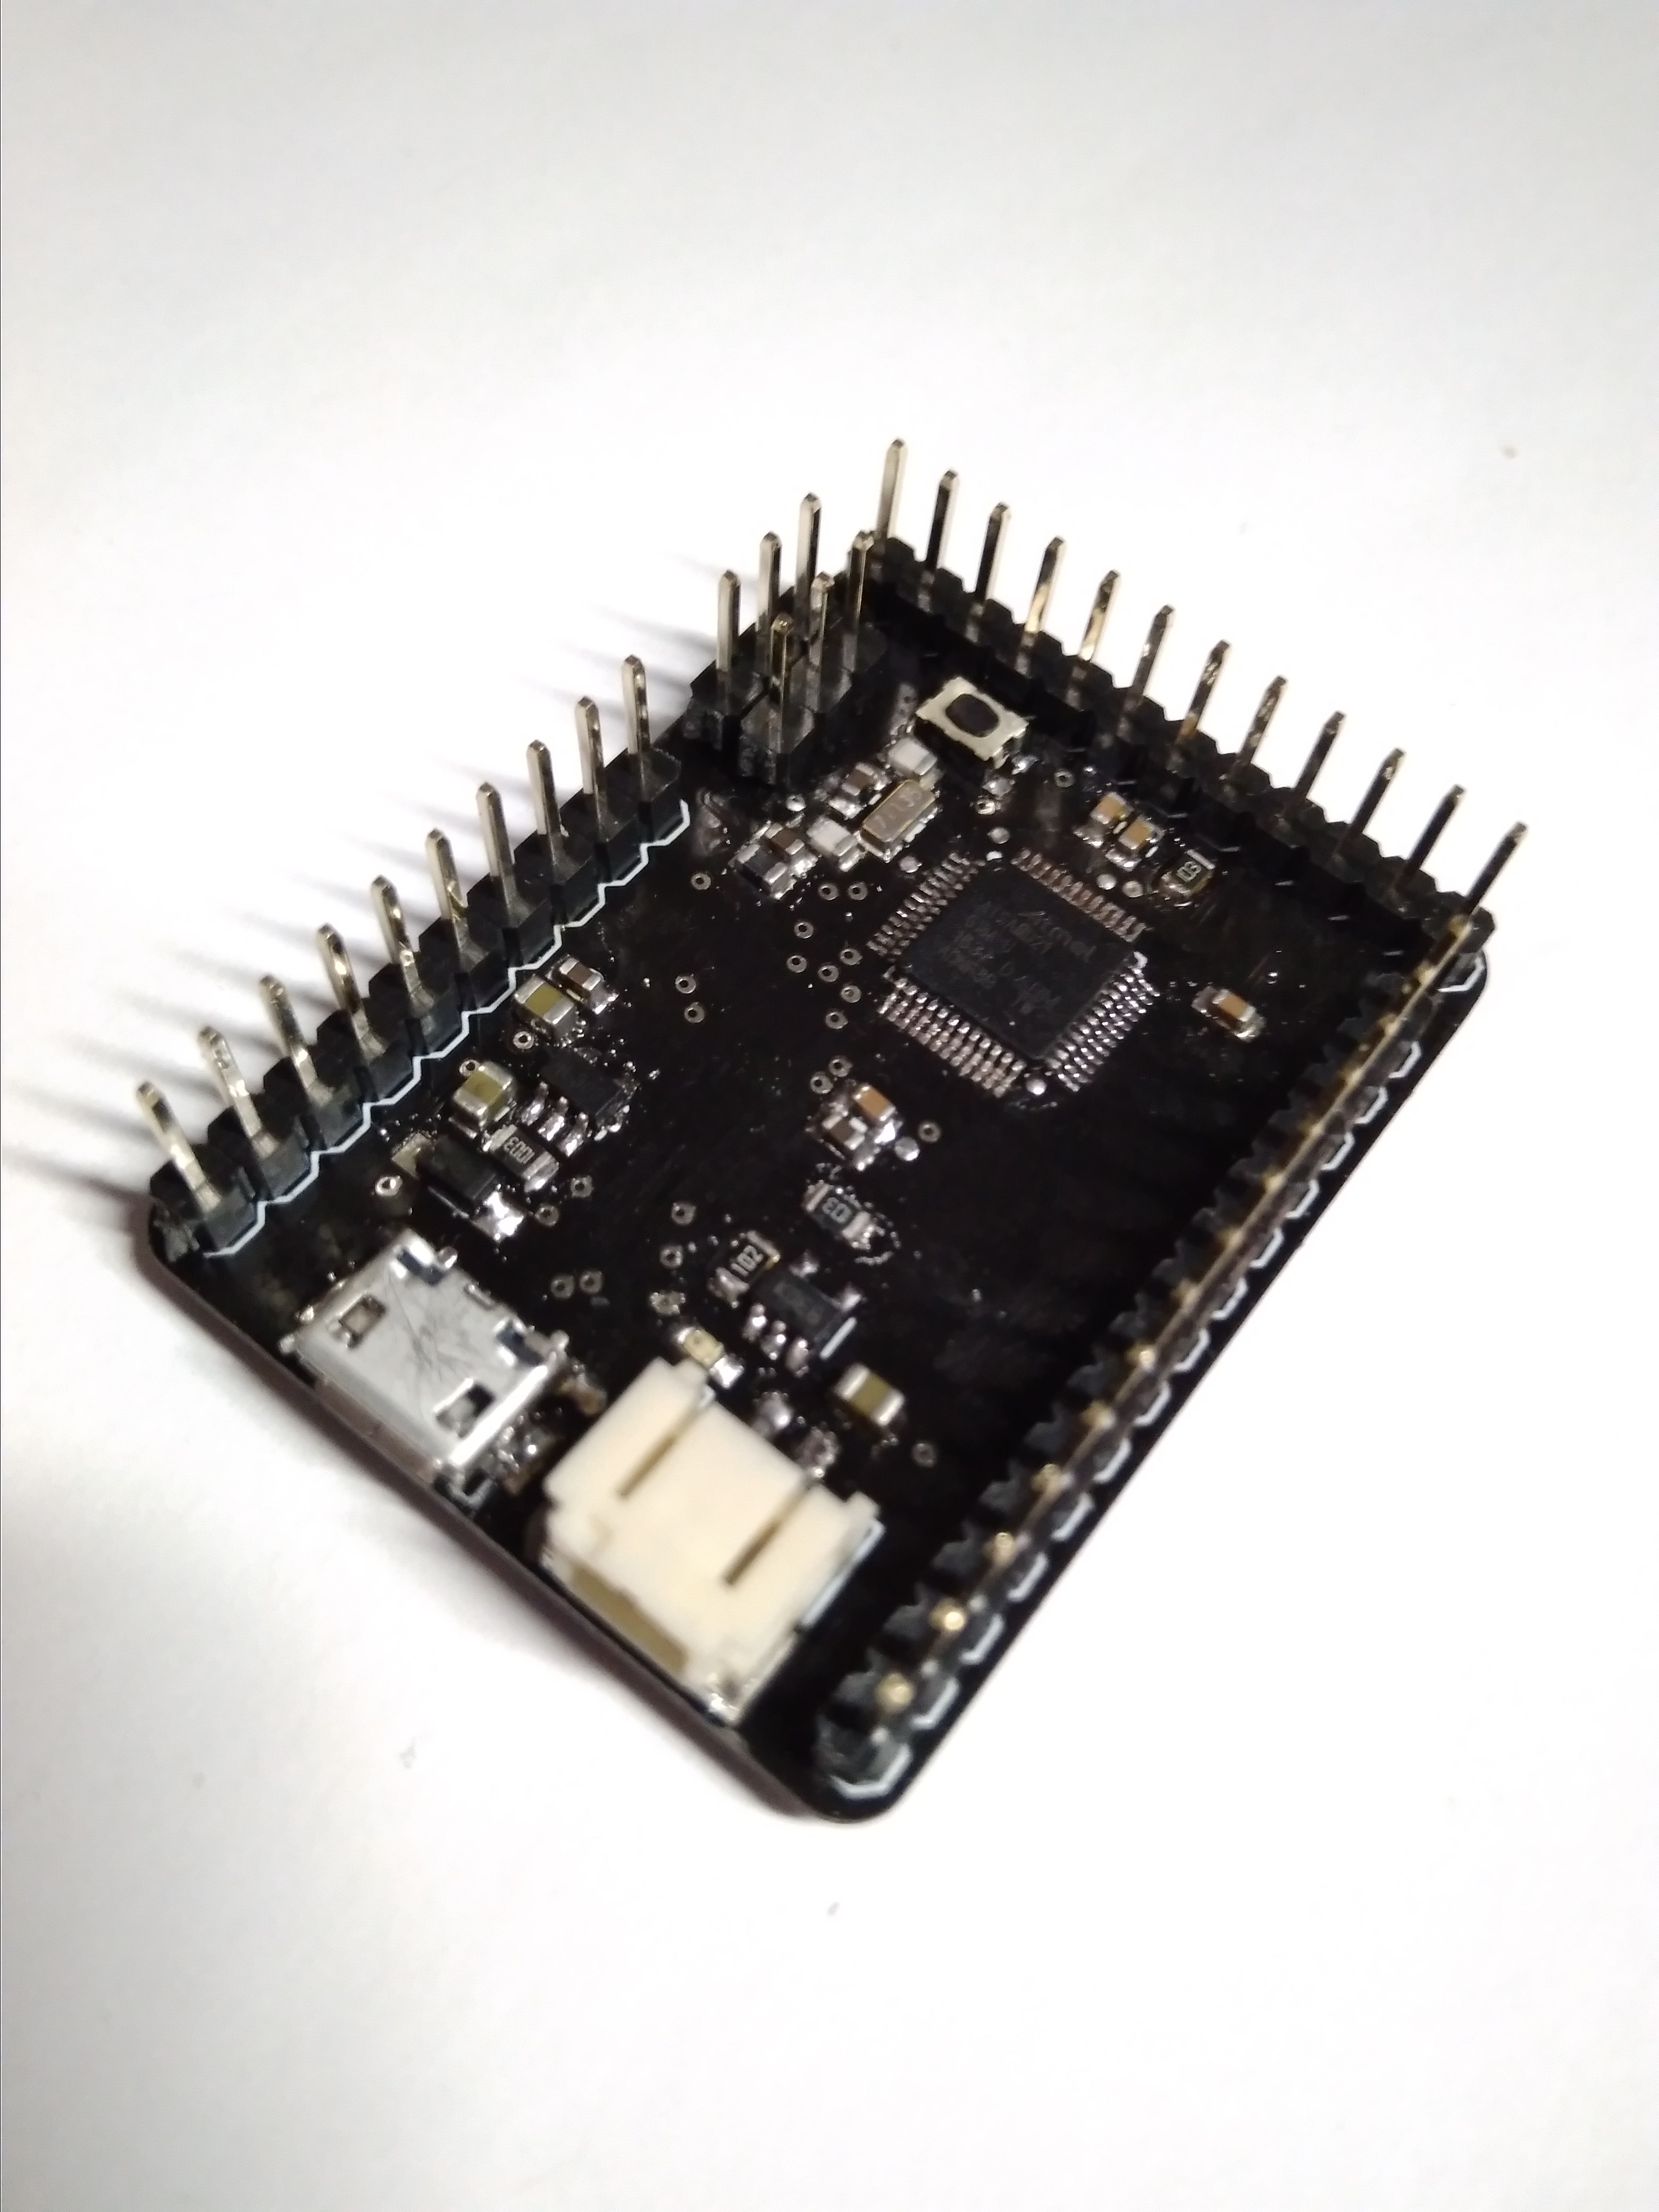
I refactored the data lines again, giving priority to breaking out the pins first then routing the power traces. I also used a thicker trace (10mil) and gave priority to labelling all the pins. I realised that having them on the same side where the pins are poking out is far more convenient than having to flip the board around each time. I also finally got around to tenting my vias so that I don't risk shorting. I added an LED was added to the data line to tell visually if any data is being transferred to the USB.
I'd say the new board looks much better than the original, because of the tented vias and the labels for each pin.
Lessons learned
- Route data lines to pinouts before routing any other lines.
- Make sure you have space for labels.
- A size factor of 15% makes lables more visible.
- A power LED has been added.
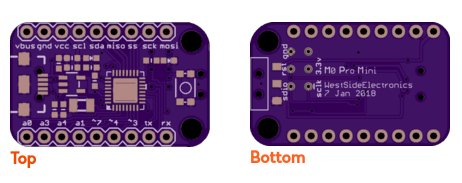
SAMD21 Micro
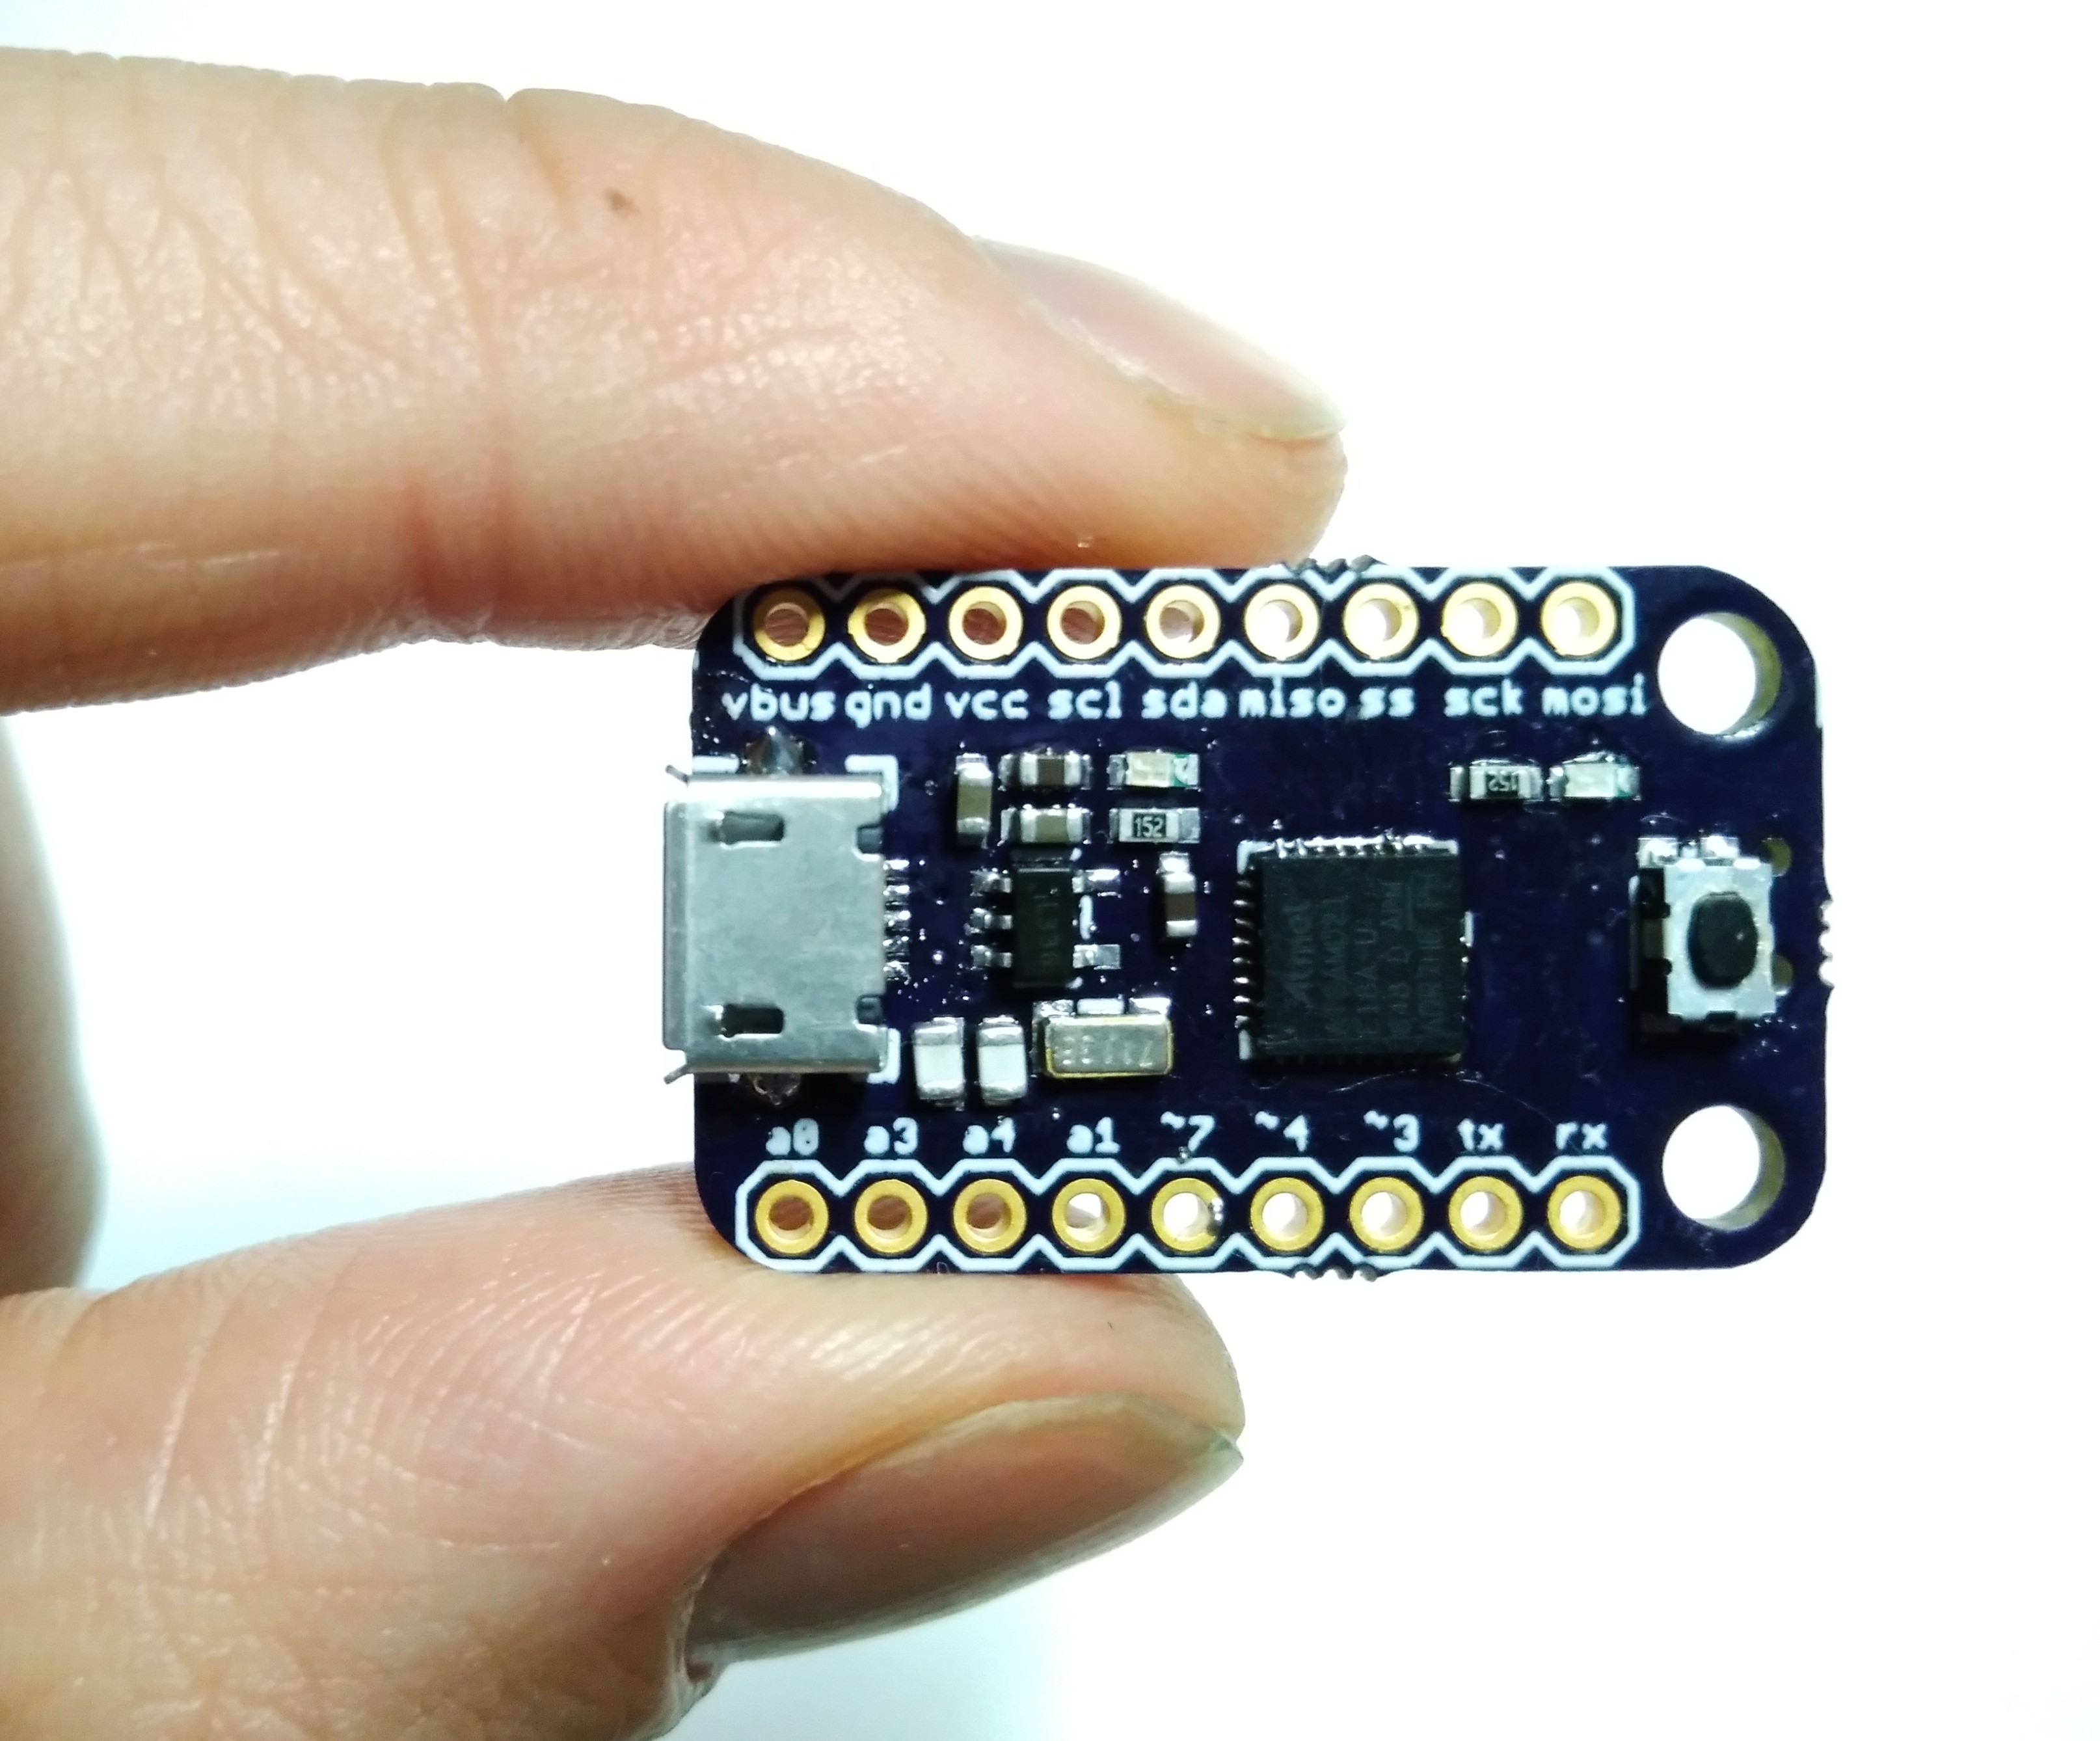
After closely examining my needs, I removed the lipo charging circuitry and removed all pins that I was not using. The result is an itsy bitsy board that I call the SAMD21 Micro! This board is a branch of the main board in that it removes a lot of features. It gains by having mounting holes, a switch, and being much smaller than the main board. It uses the smaller SAMD21E18A chip in order to fit onto this board.
As an added bonus, it also fits on a breadboard!
In order to use the single user LED on the board, I had to modify the pin definition provided by Femtoduino to define the PA15 as my LED pin in cores->variant.cpp.
Thanks
Many many thanks to Adafruit and Sparkfun for providing the schematics for the boards. Without these schematics, my design would probably have taken many more iterations to get right. As it stands, my first board that I designed for the Cortex M0+, also known as the SAMD21, chip works out of the box.