Webroots 2: Viewing things
Wiring up and using OLEDs


With an OLED screen you can view quite a number of things, and with two buttons you can switch between views. It is also much easier to interpret things when they aren't blinking LED lights.
In this case we want to view the state that the plant is in. Firstly we will attempt to read and display the data of a light sensor on the screen.
Wiring
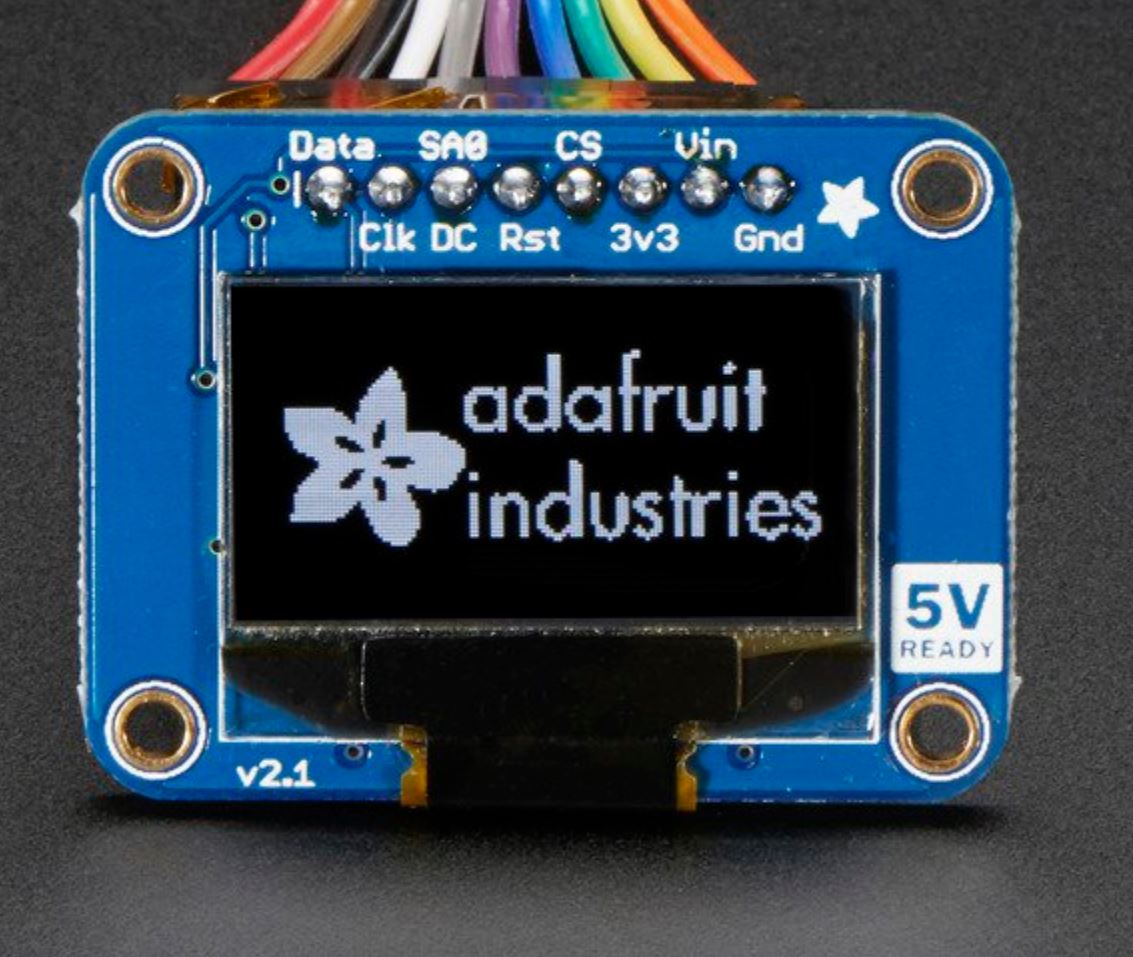
We will first need to wire it up. Your OLED screen should have 4 labeled lines. GND, VDD/VCC, SCK, SDA. You will connect these pins to the corresponding pins on the ESP8266 module, which can be found here: Chip Capabilities. However note that in this case since it is I2C, SCK is SCL, and it might be labeled wrongly on the display.
Wire GND to the ground line of the power rails that you are supplying from the module, and 5V power to the VDD/VCC pin. SCK/SCL goes to pin D1 and SDA goes to pin D2. That's it!
To use the screen we will need to download the Adafruit GFX library and the Adafruit SSD1306 library. You can install these libraries by going to Sketch -> Include Library -> Manage Libraries... in the Arduino IDE. You can download and install the latest version of these libraries by searching for them.
Next, because our screen is slightly different from the default screen, we will have to modify a file titled Adafruit_SSD1306.h. This file can be located in the directory that you installed Arduino to, ie, .../Arduino/libraries/Adafruit_SSD1306/Adafruit_SSD1306.h. The exact file path depends on where you decided to install Arduino to.
In the file locate the following lines:
#define SSD1306_I2C_ADDRESS   0x3C  // 011110+SA0+RW - 0x3C or 0x3D
// Address for 128x32 is 0x3C
// Address for 128x64 is 0x3D (default) or 0x3C (if SA0 is grounded)

/*=========================================================================
    SSD1306 Displays
    -----------------------------------------------------------------------
    The driver is used in multiple displays (128x64, 128x32, etc.).
    Select the appropriate display below to create an appropriately
    sized framebuffer, etc.

    SSD1306_128_64  128x64 pixel display

    SSD1306_128_32  128x32 pixel display

    SSD1306_96_16

    -----------------------------------------------------------------------*/
   #define SSD1306_128_64
//   #define SSD1306_128_32
//   #define SSD1306_96_16
/*=========================================================================*/
Ensure that the I2C address is 0x3C and that the other two defines are commented out such that only #define SSD1306_128_64 is the only option.
Now we will use the Adafruit_SSD1306 example to run our screen for a test. Select the 128 x 64 i2c option from the menu. In the code, instead of using display.begin(SSD1306_SWITCHCAPVCC, 0x3D), and change 0x3D to 0x3C. Our reset line is defined on GPIO0, so change #define OLED_RESET 4 in the example and change 4 to 0. Hit upload and you should be good to go!
The animations are pretty neat, and they provide a good host of example code that you can draw from to create your own images.