Ultra Low Cost Electronics Kit
A non-profit, low cost, open source kit for learning electronics anywhere.

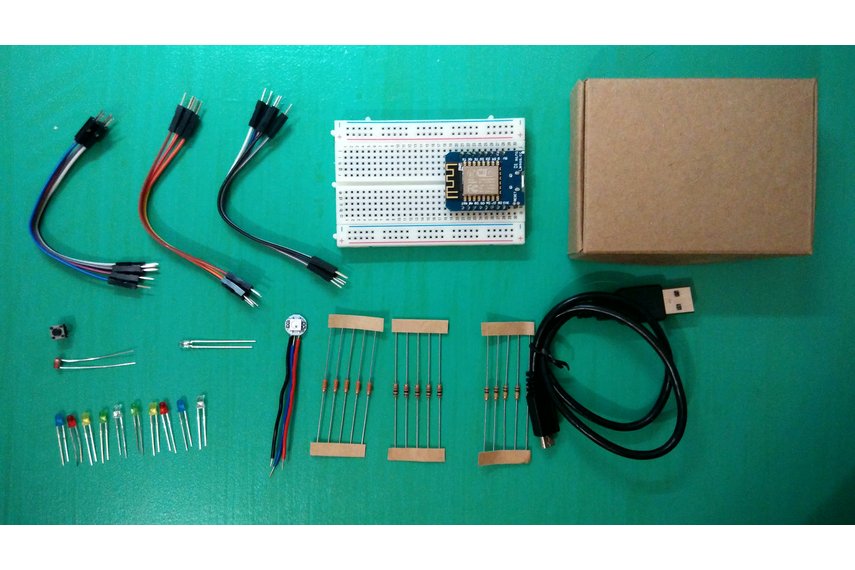
The Ultra Low Cost Electronics Kit (ULCEK) is a $10, small electronics kit that enables anyone to learn electronics anywhere with the use of easily available parts and materials. Buy one or build one, this kit is open source and fully extensible.
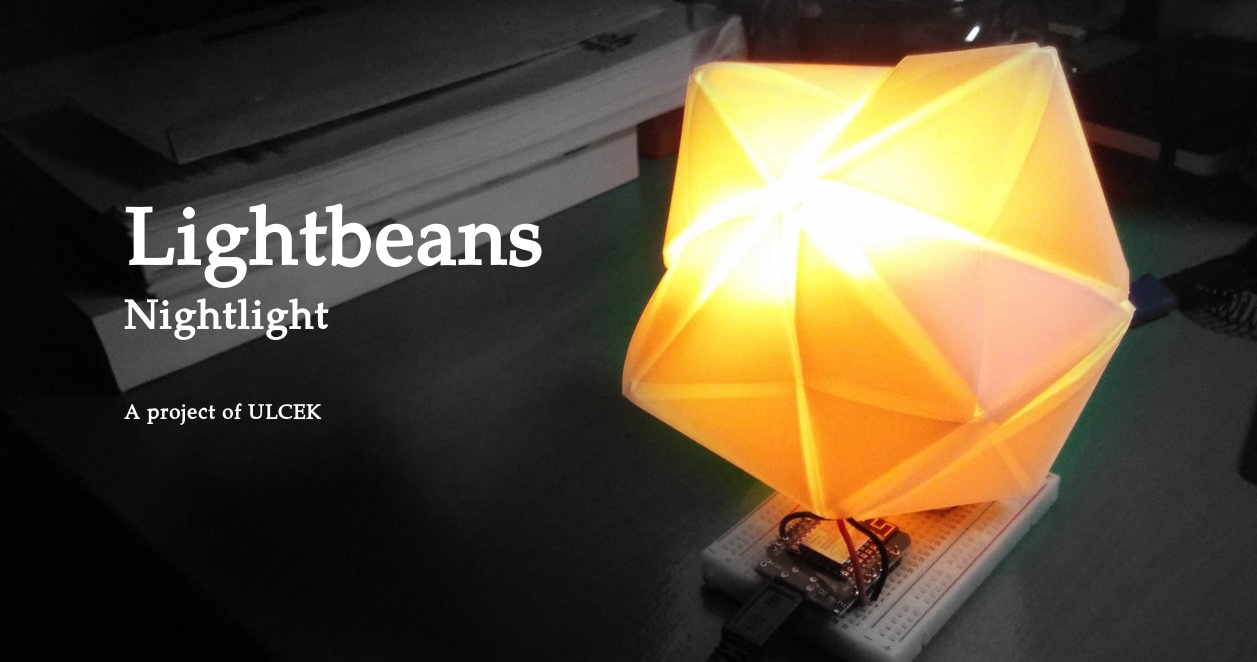
Interested in seeing what this kit can do? Jump to the Lightbeans Project. Interested in how this kit is assembled? Read on!
Instead of using special parts or protocols, this kit uses real world electronics, and is based on the belief that users are better served by excellent documentation and tutorials rather than a simplified and restrictive interpretation of electronics.
The instructions are written with a beginner in mind and provides full explanations for each step. The ULCEK is a self-guided learning tool with personalised support to ensure a smooth learning process.
This kit is designed to be used without any tools. It is self contained and only requires a USB cable and a computer.
The main benefit of this kit is the low cost of the boards that are used. The cost of an Arduino UNO is $21. An Arduino kit costs somewhere from $35 to $50. This quickly becomes costly when considering a larger group. This kit is designed with the intent of including the most fun aspects of learning electronics: animated lights, reactive sensors, Internet of Things applications, and strips out unnecessary or extraneous components. It costs $20 to assemble this kit, less than the cost of an Arduino.
One of the biggest audiences for introduction to electronics are children. It is an easier purchase for parents if the kit is low cost. For educators, a low unit price coupled with excellent documentation goes a long way in providing a basis to teach basic electronics.
Another benefit of having this kit is that you're not restricted to what is within the kit, but what you can or want to build. Want to build a solar charger? There is a tutorial for that. Want to make an IOT racecar? There is a tutorial for that. You are buying and playing with parts used in actual products.
Objectives
-
Cheap
The advantages of being cheap means that more kits can be produced. -
Small
Having a small kit facilitates transport and distribution. It also reduces the time/space cost of learning electronics anywhere. The kit fits within a 9 by 4 inch bubble envelope if the cardboard box is collapsed. -
Accessible
This project is aimed at newcomers to electronics. It is not meant to provide a complete overview of all components. This keeps the content and material focused. -
Replaceable
All kits should provide the option for generic replacements that can immediately work when integrated with the kit. This means that any result from a search of 'i2c oled' must work rather than requiring a specific part number. This extends the lifespan of each kit beyond the availability of each component from a specific manufacturer.
Boards
The boards chosen are off-the-shelf. This is nice as cost optimization is already built into these boards, making them lower cost than almost any other solution.
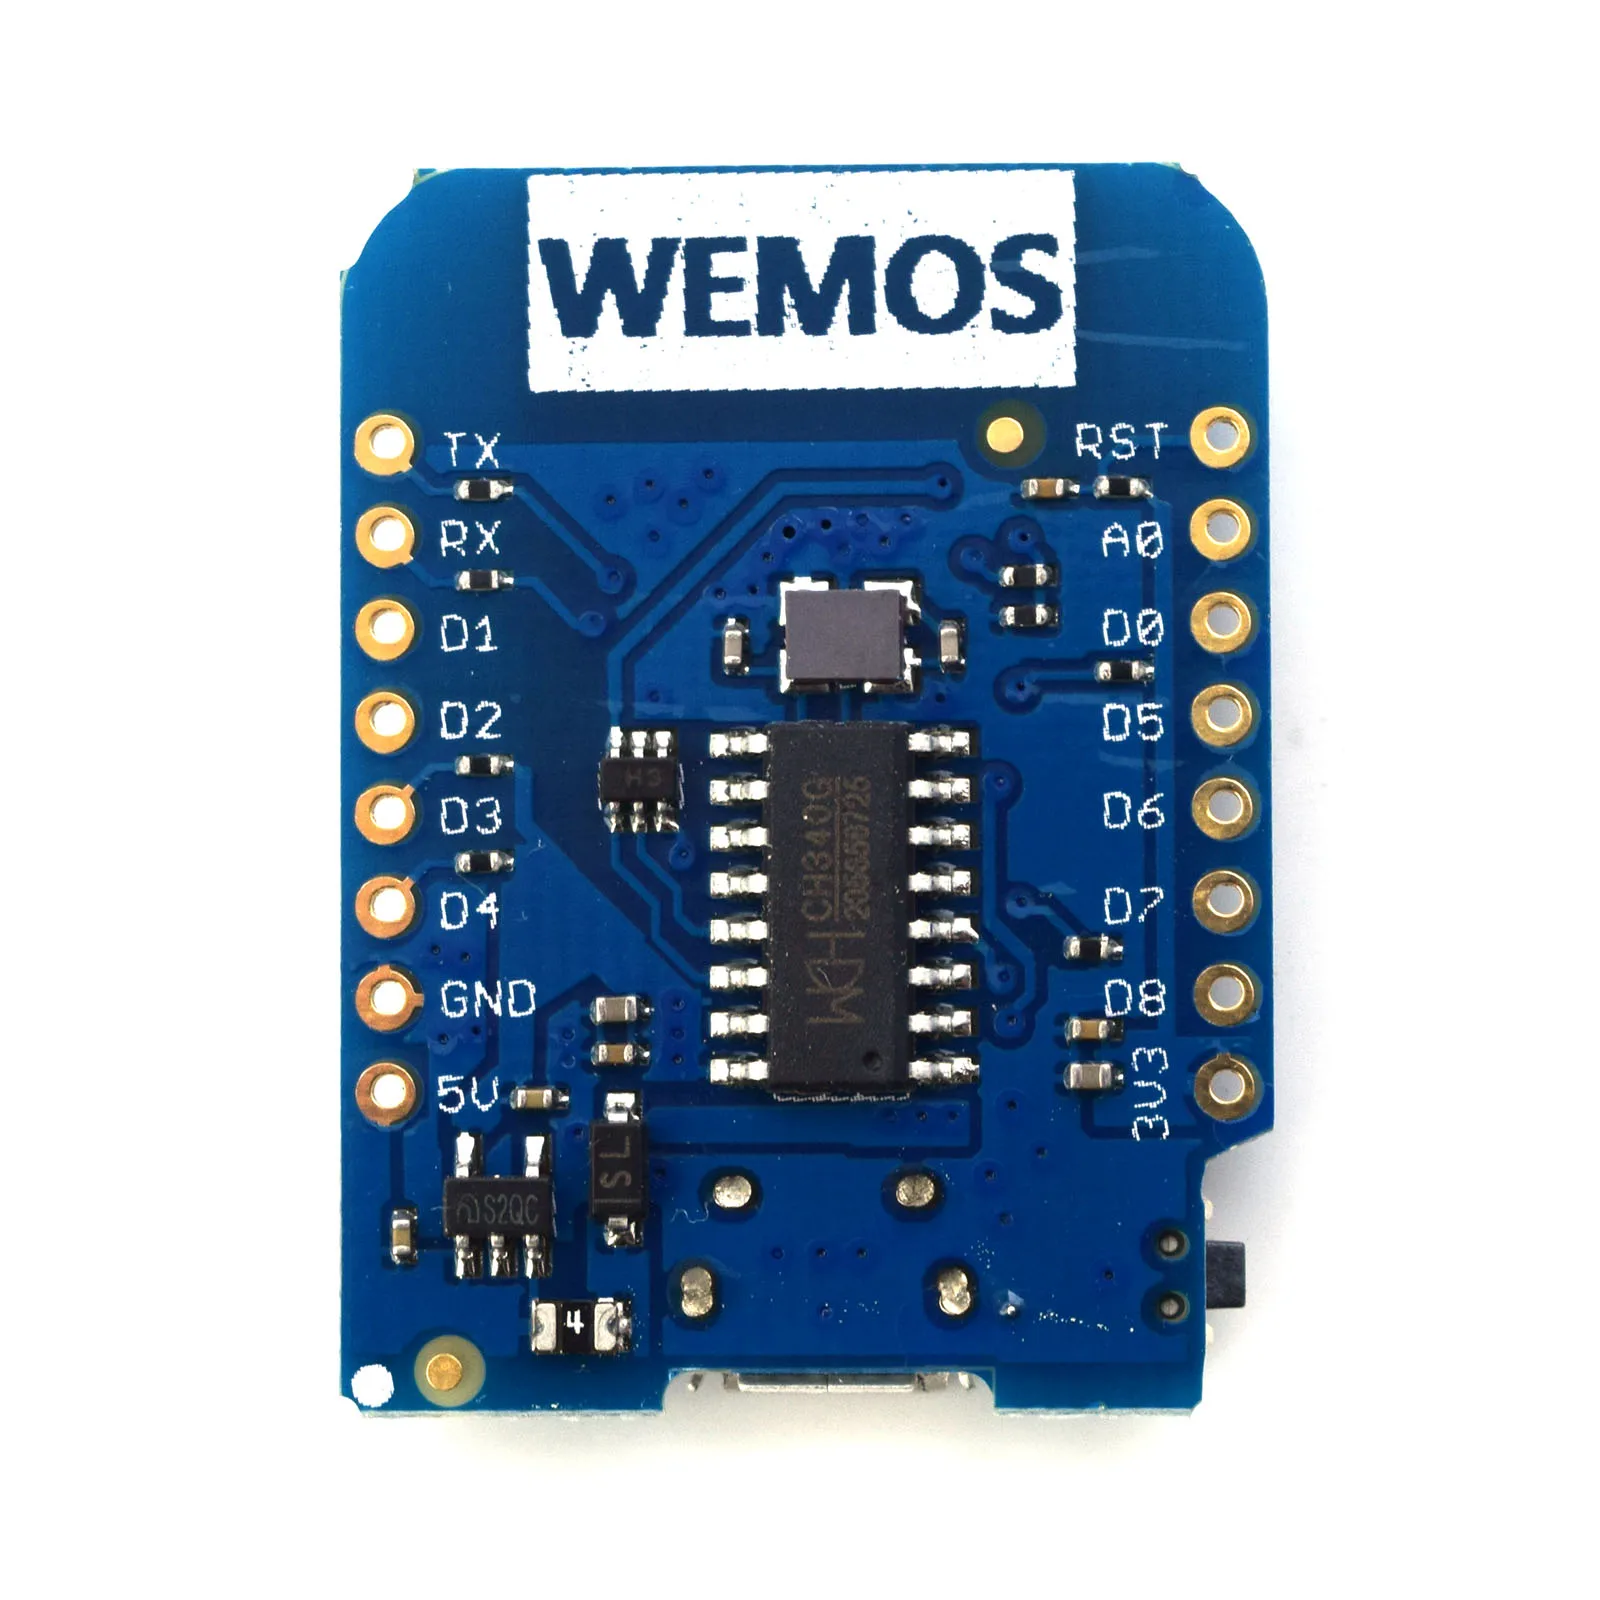
WeMos Mini Pro

The WeMos Mini Pro utilises a WiFi controller as its main chip. It is slightly more powerful than the WeMos Mini V2, and includes a ceramic antenna. However an important change is that the interface chip was changed from the CH340G chip to the CP2104. This is the same chip that is used in Adafruit and Sparkfun boards because it is much better supported in terms of drivers.
In my experience, the CH340G chip is extremely poorly supported for Mac and Windows. Jumping through the loops is definitely not recommended because it takes a large amount of time to ensure that everyone has the right drivers downloaded.
The CP2104 chip has driver downloads provided on the Adafruit and Sparkfun websites, and hence the most updated versions can be found there. Support information is also more readily available.
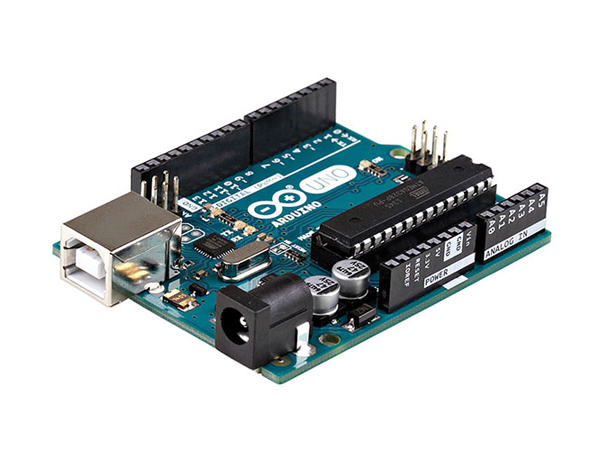
Arduino Nano
The Arduino Nano is a breadboard friendly board which features almost all of an Arduino UNO's capabilities at a far lower price point. This is made possible by it being an Open-Source project which allows others to improve upon the production process. An Arduino Nano is far cheaper than the UNO because it includes a cheaper chip to communicate, and the only difference is that a driver must be installed to use this board (CH340G).
It sacrifices some UNO's capabilities by having a smaller array of pins, but the small footprint and low cost of the Nano more than make up for it. This makes it the perfect introductory board for anyone who is interested in learning in electronics.
WeMos Mini
You get WiFi capabilities and more memory than the Arduino Uno, which is a really great deal if you have some leeway in terms of your budget.
Most of these tutorials are written with the capabilities of the WeMos in mind. Reading Serial output is somewhat complex for the Digispark, so debugging will be a challenge.
My recommendation is to use the WeMos Mini if you expect your participants keep or use the kits more than 1 ~ 3 hours. If they are only learning the basics of electronics, or cost is a significant factor, the Digispark might be a better alternative.
ATTINY85 (Depreciated)
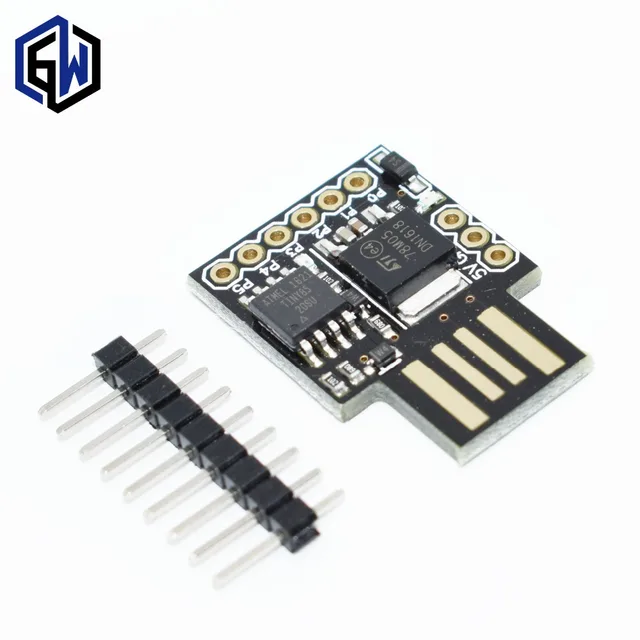
Please note that the Digispark board has been retired as a platform for learning because of its extended setup times and unique driver issues with different platforms.
The Digispark is a board for the ATTINY85, that breaks out its pins into a nice breadboard format and has native USB support. This means that you can plug one right into your computer and start programming right away without the need for an intermediate cable! It is supported by the Arduino IDE and this makes is drastically easier to use than programming the chip itself. It is also very very cheap. As most beginners are unlikely to use the full capabilities of the Arduino, the Digispark might be a better choice for a learning platform.
The Digispark is perfect for quick introduction to Arduino and microcontroller programming. However, it does have a few limitations in the limited number of pins and a smaller memory. One major limitation is it's lack of a native serial interface which limits debugging. However, if you are simply doing an introduction to Arduino without any complex projects, these limitations should not surface. The Digispark can also be upgraded to a WiFi-enabled, Arduino compatible chip: the WeMos Mini, which is about a few dollars more.
Caveats: To save costs, shipping from AliExpress is recommended. Please do some research on how to pick the best seller to buy from. Shipping will also take a few weeks so it is best to plan ahead. Some generic parts such as resistors can also be obtained from Digikey, Mouser, or Arrow.
Suggested Items
The following are a few suggested items that you might want to include within the kit.
-
WeMos Mini Pro
This board costs about $5.50. It is WiFi enabled and has a better USB drivers. The issue with the original WeMos Mini is that the Mac drivers were not suitable for an earlier version of the Mac OS. This is the board that is recommended of this kit. Available on Aliexpress -
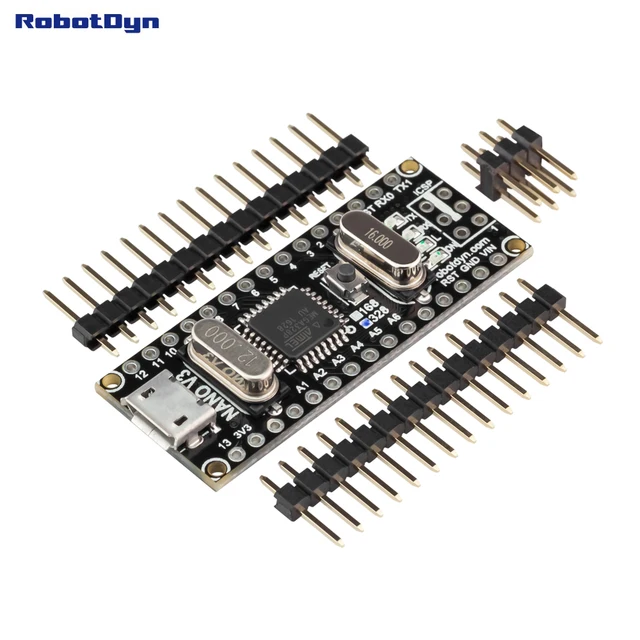
Arduino Nano V3 (CH340G)
This board can be bought off AliExpress for approximately $2. No soldering is required. The headers are already soldered on. Avaliable on Aliexpress. -
WeMos D1 Mini (CH340G)
This is a breakout board for the ESP8266 placed in a breadboard-friendly package. It also has a number of shields which makes this one of the cheapest and most extensible ESP8266 boards on the market. It costs $3 to $4 and some soldering is required. Avaliable on Aliexpress. -
5050 RGB LED, W2812b drivers
Also known as NeoPixels in Adafruit parlance. I really like this as an RGB LED because it is tiny and only requires one data pin to run and introduces the concept of programming vs hardware. The drawback is that some soldering is required. It is slightly expensive too at $1 a piece from Adafruit, but far cheaper option can be found by searching for 5050 LED with W2812B drivers. This comes in PCB, ring, and circular formats. I personally find the circular boards to be the most compact and attractive of the lot. However a ring makes for easier soldering. Available on Aliexpress and Adafruit.

- RGB LED, Common Cathode
The nice thing about this LED is that you can compare it to the 5050 LED in terms of how many leads you need to control it, especially if you need to use more than one color.

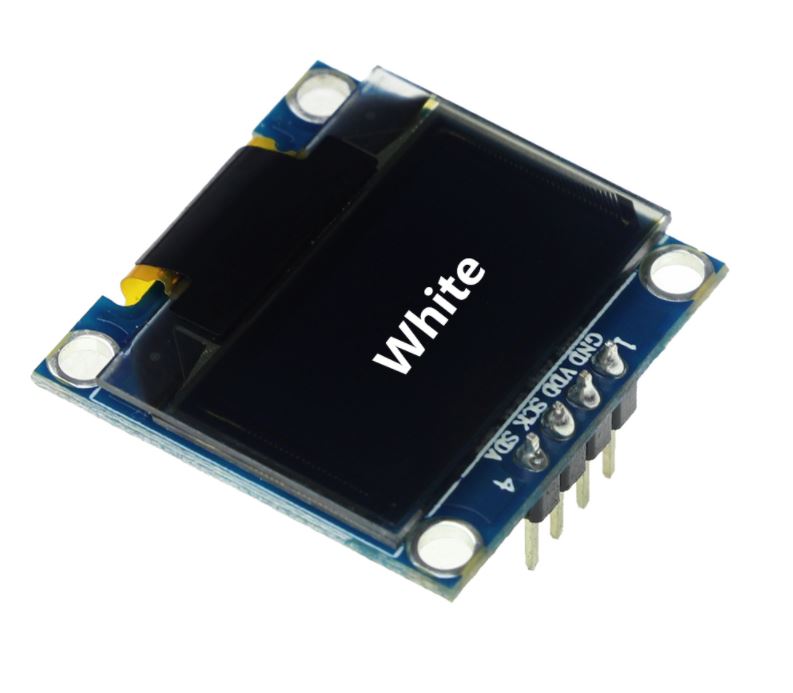
- OLED screen (I2C)
A really cool way to add displays to your project and learn about I2C. A 0.96" screen is approximately $2.
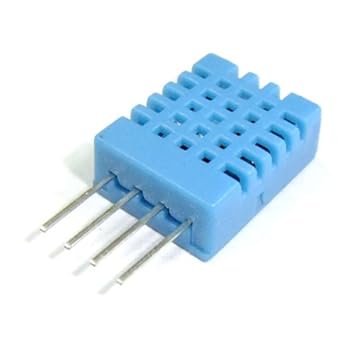
- DHT 11
This is a temperature and humidity sensor that uses a single wire protocol.
- LM35 Temperature sensor
This is your basic temperature sensor. It isn't too accurate with a variance of 2oC, but it is cheap, easily available, and introduces analog data collection.

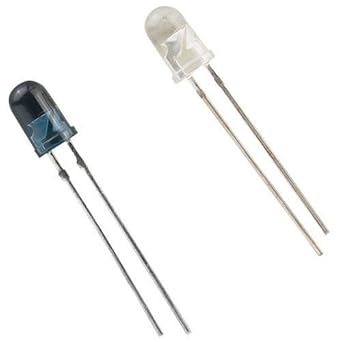
- Photodiodes (ambient and IR)
Having an IR photodiode and a normal photodiode will allow you to tell the brightness and react accordingly. An IR diode is especially sensitive to sunlight whereas a normal photodiode is more sensitive to ambient light, like LED or fluorescent lamps.
-
AWG 22 Wires
It is best to have a few colors and lengths to connect parts and plug into breadboards. -
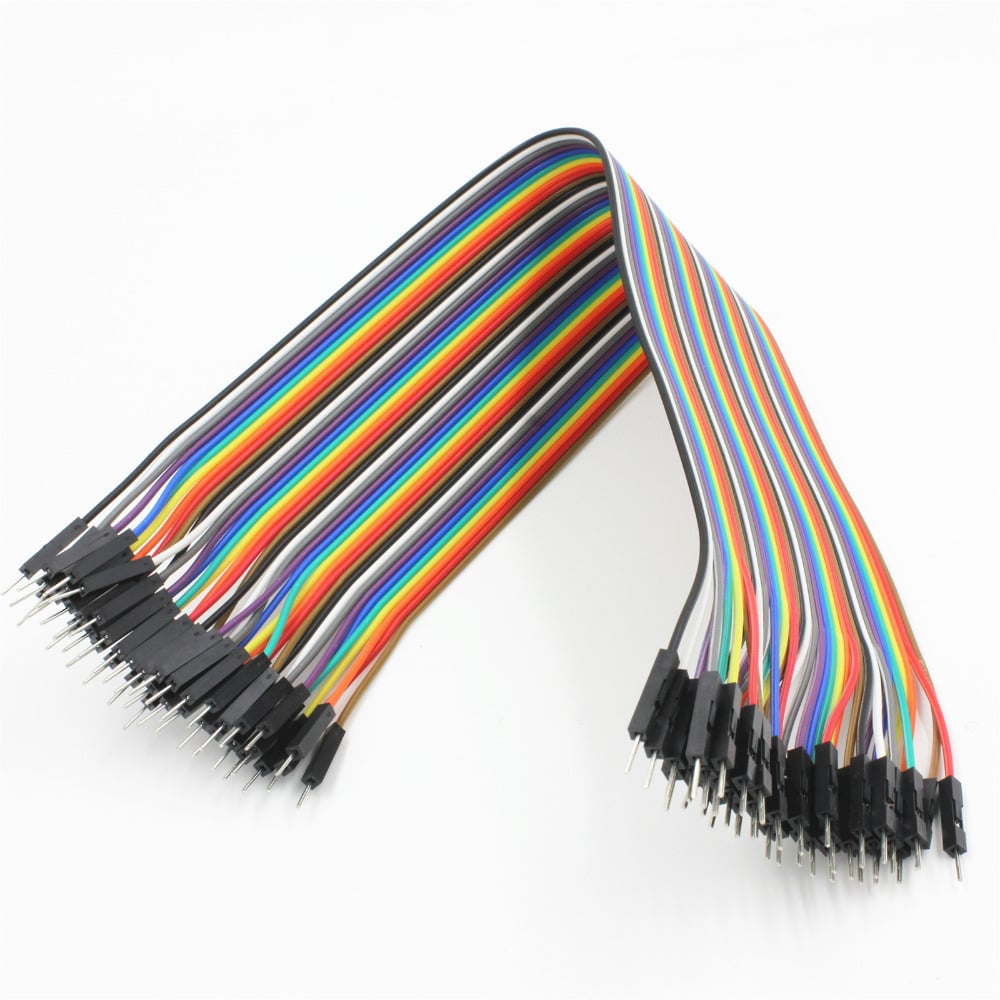
DuPont Wires
They look neater than normal breadboard wires and have better build quality.
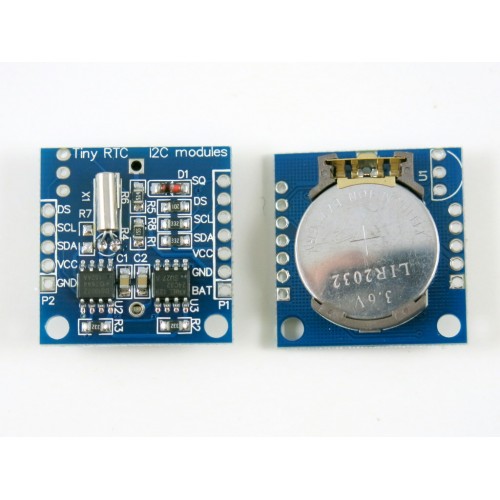
- DS1307
This module helps you keep time! They can be found for $0.50 a piece.
-
Half-size breadboard
I find this the most convenient size for small projects. Plus they fit snugly into a 9cm x 7cm x 3cm box. -
USB to Micro USB
Useful for connecting to the WeMos D1 Mini and Arduino Nano. They cost $1 from Monoprice.
Total Cost
Depending on the complexity and range of items you are getting, there are different costs associated with each package:
| No WiFi Kit - 9.95 |
Complete Kit - 14.95 | Premium Kit - 19.95 |
|---|---|---|
| Arduino Nano | WeMos Mini Pro | WeMos Mini Pro |
| 5050 RGB LED | 5050 RGB Ring | |
| OLED Screen | ||
| Red, Green, Blue LEDs | ||
| Basic analog sensors, LM35 temperature sensor, photoresistor | ||
| Resistors, 330Ω, 1KΩ,10KΩ,100KΩ | ||
| DuPont Male to Male wires | ||
| Half-size Breadboard | ||
The costs include shipping and will scale depending on how much you are planning to get. These are only rough approximations but the wonderful thing is that all packages are kept at an affordable per-unit price that can easily scale to a classroom size.
| Lighting Add-on | Environmental Add-on | Basics Add-on | Resistor Pack |
|---|---|---|---|
| 5050 Circular Board | DHT 11 Sensor | Transistors | Variety of 10 resistors |
| Additional LEDs | Photodiodes (2 each) | Op-Amps | |
| Wires | TMP36 Temperature Sensor | Logic Gates | |
| 1K resistors | Wires | Wires | |
| 595 Shift Register | Resistors |
Starting off
You will want to solder everything in place first before beginning. That means the headers on the sides of whatever board you have purchased.
Next you'll have to download the Arduino IDE.
If you used a WeMos Mini, you'll have to install the ESP8266 core from here.
You should also start reading the Lightbeans Tutorials. The tutorial series is written with a final project in mind, a night light that you will build from the parts you will find in your kit.
You can follow Arduino examples with very little modification required to teach some basic programming and electrical concepts.
Digispark-specific instructions
The Digispark is breadboard compatible but you'll have to bend the V-in pin. Or you can use female headers and program it directly off your computer.
as well as follow the instructions on the Digispark website. Here is where it gets a little tricky. The Digispark can only be programmed when the IDE tells you to plug in your Digispark. I found this to be a slight inconvenience as I had to repeatedly plug it in and out of my computer's USB port. This was especially so if it was mounted on a breadboard.
FAQ
-
Are you selling the kits?
Yes! I am selling the parts on <a https://www.tindie.com/products/ulcek/ultra-low-cost-electronics-kit/" target="_blank" style="color: #000000;font-weight:bold">Tindie. You can also purchase the parts yourself if you are not in the US because shipping is prohibitively expensive. This introduction is primarily a means to get ULCEK where shipping is expensive -
There are no instructions for [x]!
You can follow instructions from most Arduino projects. However, work is being done to write project tutorials that teach programming and hardware. -
AHH I BURNT OUT (insert module here)!
You can buy a new part. The beauty of this project is that you can customise the number of parts you want or need as required. All parts are off-shelf and therefore replaceable. So experiment to your heart's content! -
No motors?
Motors require a whole set of other features because they are high current devices. Furthermore, they are often heavy and relatively expensive compared to other components, hence they are excluded from these low cost kits.
Disclaimer
All information and any hardware are provided AS IS. No claims are made on their fitness of purpose. While every effort is made to ensure activities are as safe as possible, we are not responsible for, and expressly disclaims all liability for, damages of any kind rising out of use, reference to, or reliance on any information contained within the site.