Really Getting Started

Getting started in Electronics is a daunting prospect, but it doesn't have to be! Today there are many starter kits that provide all you need to start doing your own project. However if you really want to get down to it, what you really need to do is to start putting together projects permanently, and this guide serves as an introduction to really getting started in Electronics.
List of items
- Soldering Iron
- Soldering Exhaust Fan
- Solder (Kester)
- Wires (Solid, 22AWG)
- Breadboards
- Device for holding components (Mr Handy)
- Flat-nose pliers
- Wire strippers
Total Cost
Everything should cost you approximately $100 in total, but remember that this is a fixed cost and everything here will last you quite awhile.
Parts and Components costs
Your first few projects will also cost you quite a bit as you have to assemble all the components needed, but the costs will then taper off as you gather more and more spare components. For small items such as resistors and LEDs, I suggest buying in quantities of 20 each time, and you'll want to get a variety. If you are unsure of the ranges you should get, a resistor pack such as one from SparkFun will get you going. For smaller Integrated Circuits (ICs), such as 555 Timers and Op-Amps you might want to get them in quantities of 5. They are your building blocks of a basic circuit and are quite useful in a variety of contexts. You will also want to maximise the amount you are buying each time as shipping can be quite expensive. I find Arrow and DigiKey to be reliable sources, although Arrow does provide occasional free shipping.
For more exotic stuff such as microcontrollers and other breakout boards, I heartily recommend Adafruit. Not only have I found their products to be well engineered, they also provide excellent documentation, examples, and project ideas for each product they sell. I like the form factor of the Feather line of products, as well as their sewable electronics platform, the Adafruit Flora.
Breadboards
The soul of any prototype, the breadboard is an invaluable tool that you'll use at the start of your project, although their true names are protoboards, I'll refer to them as breadboards just because that's how they're called these days.
Breadboards come in many sizes and shapes. Some of them are transparent, some of them are white, some are small, and some can be really really large. However, they all work the same way. Two power rails on each side running parallel to each other, and rails in the middle running perpendicular to the power rails. They are separated by a trough, which you will fit ICs over since that is the only way that you can get access to all their pins without shorting them out.
Soldering Station
A soldering station is really a place where you solder components together into a more permanent configuration. This allows you to reduce the size of your assembly, and increases its permanence. At this point you will also free up your breadboard for other projects.
What you need for a soldering station is a solder iron and a holder, solder, and an exhaust fan. I recommend getting a solder holder that has a solid metal base, usually they are circular and black.
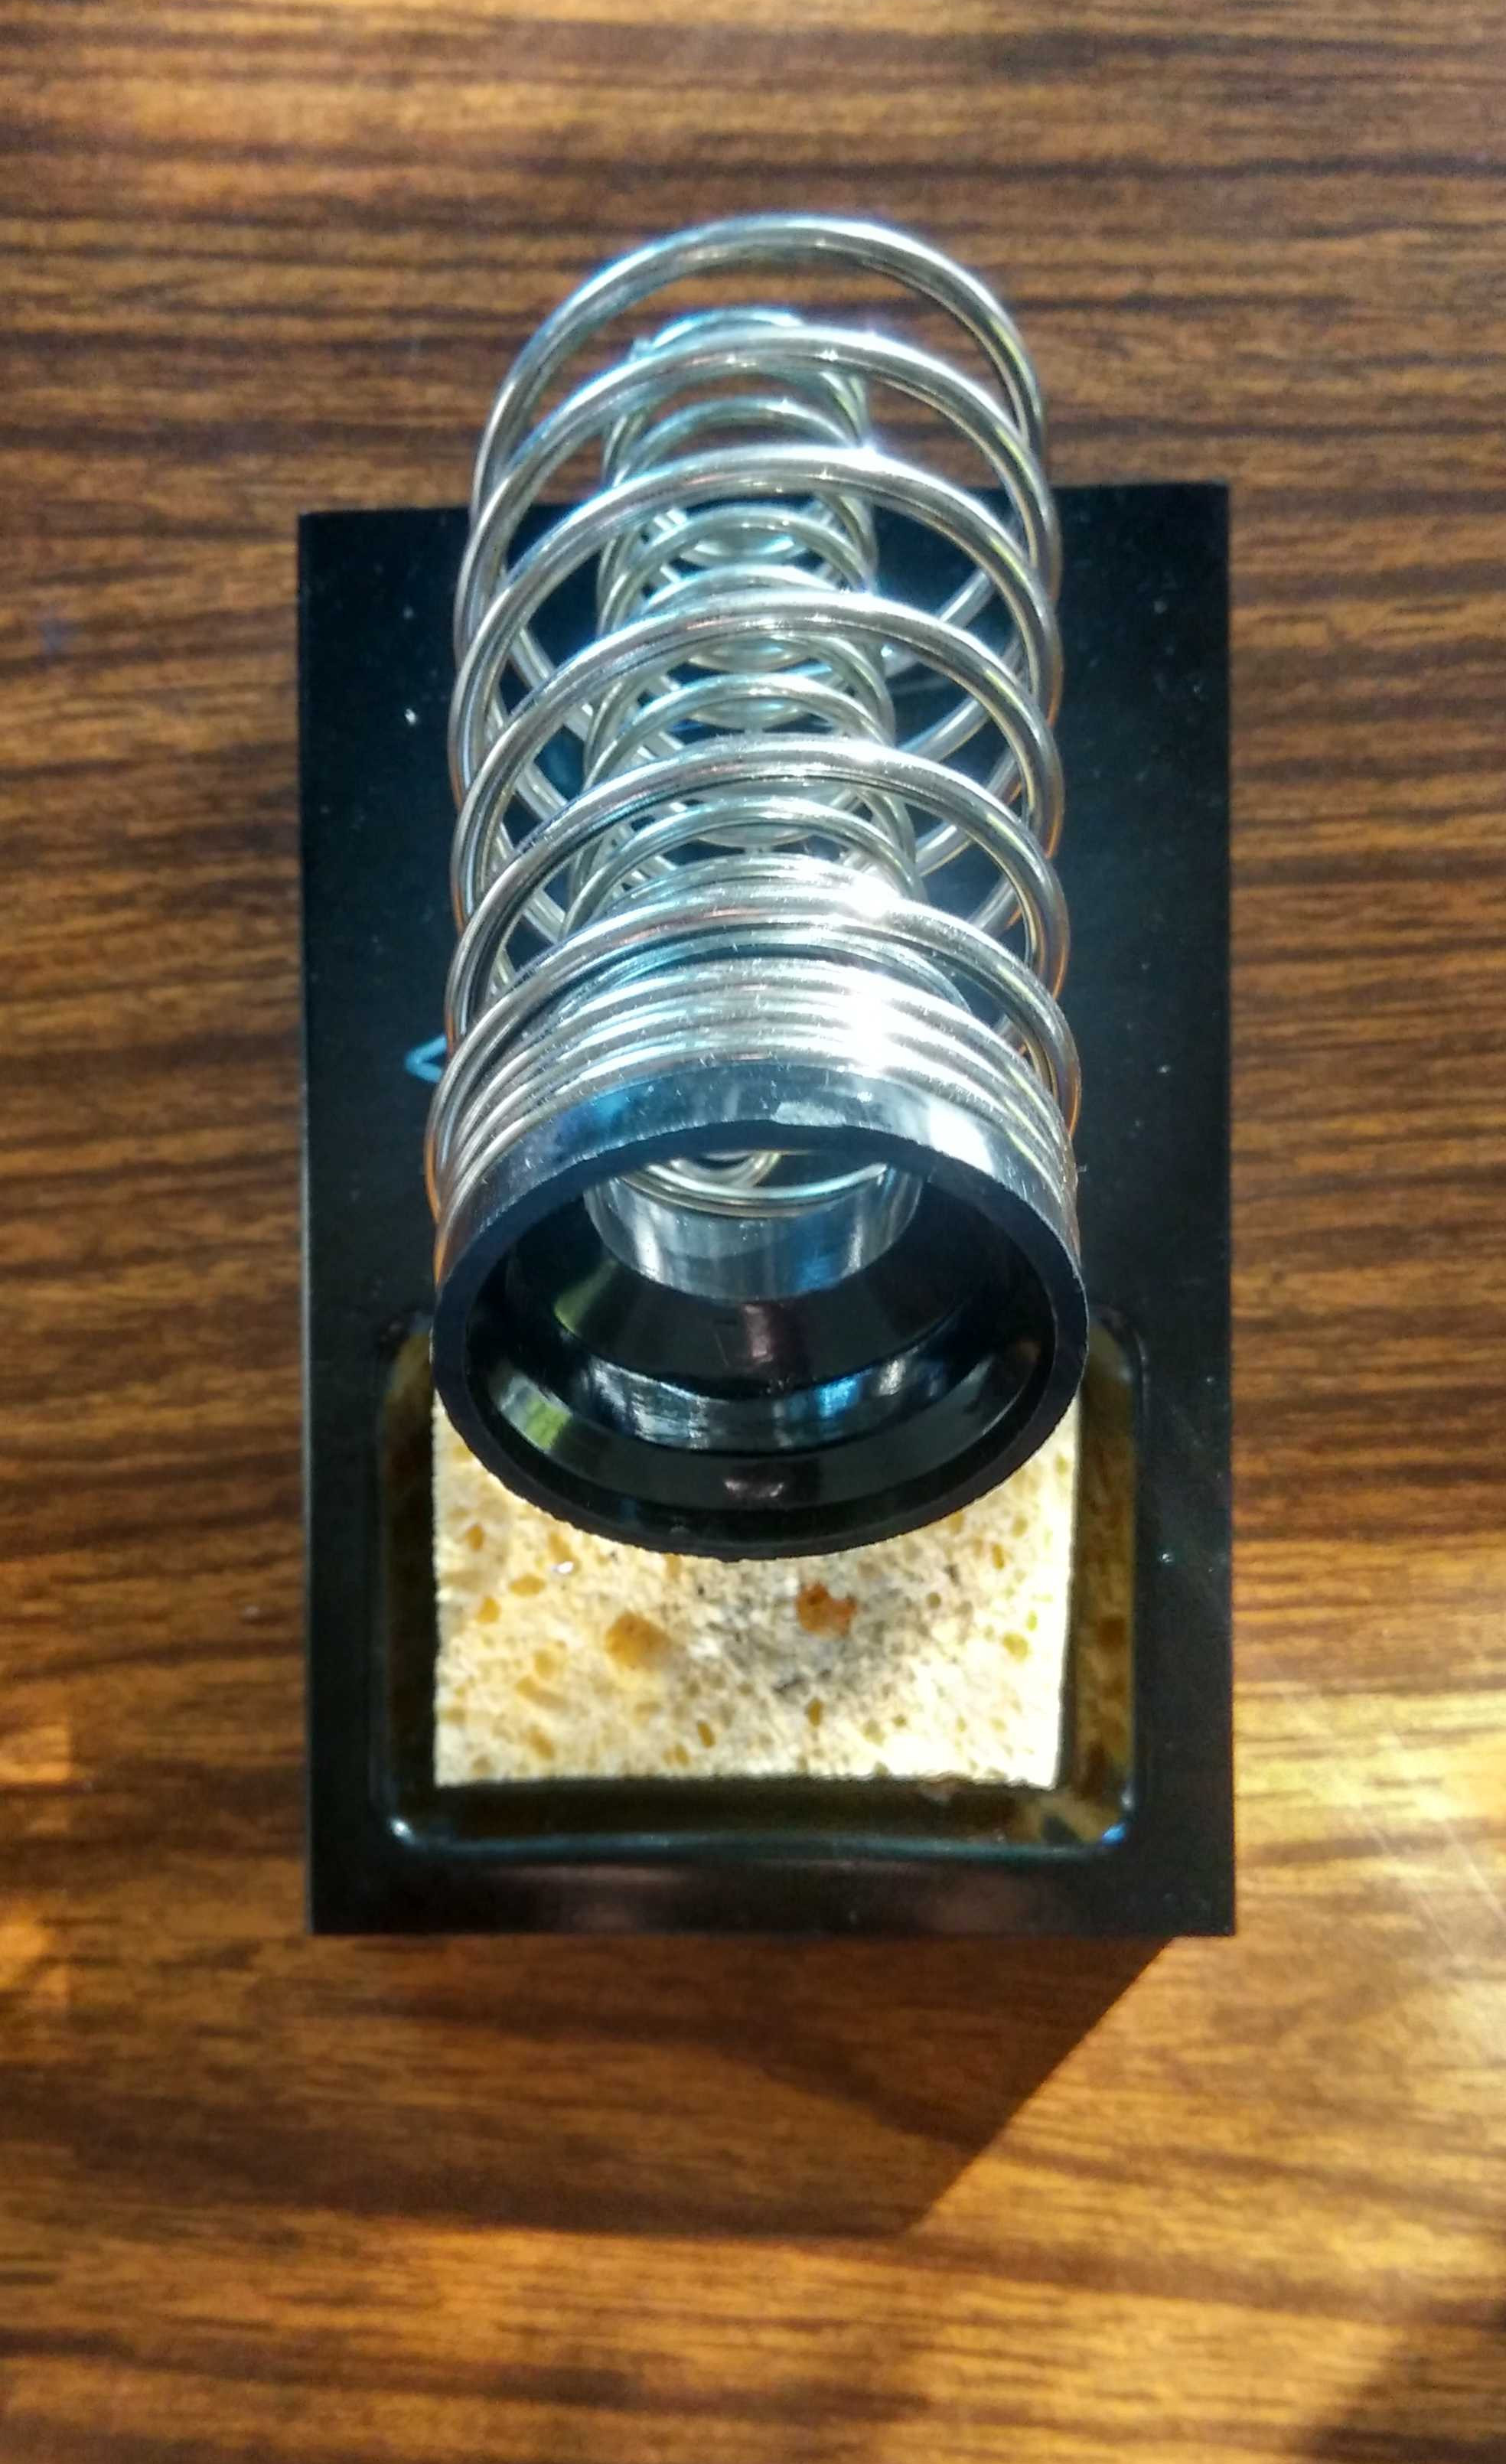 Figure 1. Soldering Iron Holder
A really heavy stand will prevent it from moving around your table, which is really something you don't want for a hot soldering iron. Do note that before you start, you will want to wet the sponge first. Clean the tip of your iron by brushing against the sponge lightly to remove any excess solder on your iron.
 Figure 2. Solder
For solder I recommend Kester, which melts and flows really easily. I am using leaded solder, which also flows better than unleaded solder. Depending on where you are doing your soldering, choosing between leaded and leaded solder is important. You might want to get a roll of solder rather than a tube. A tube is really useful if you want to move around, often, but I find that a roll of solder is a much better investment in terms of value. I didn't have a stand to hold my solder, so I decided to cut a strip on the side of the box the solder came in and thread the solder through there. This reduces spaghettification of the solder over time.
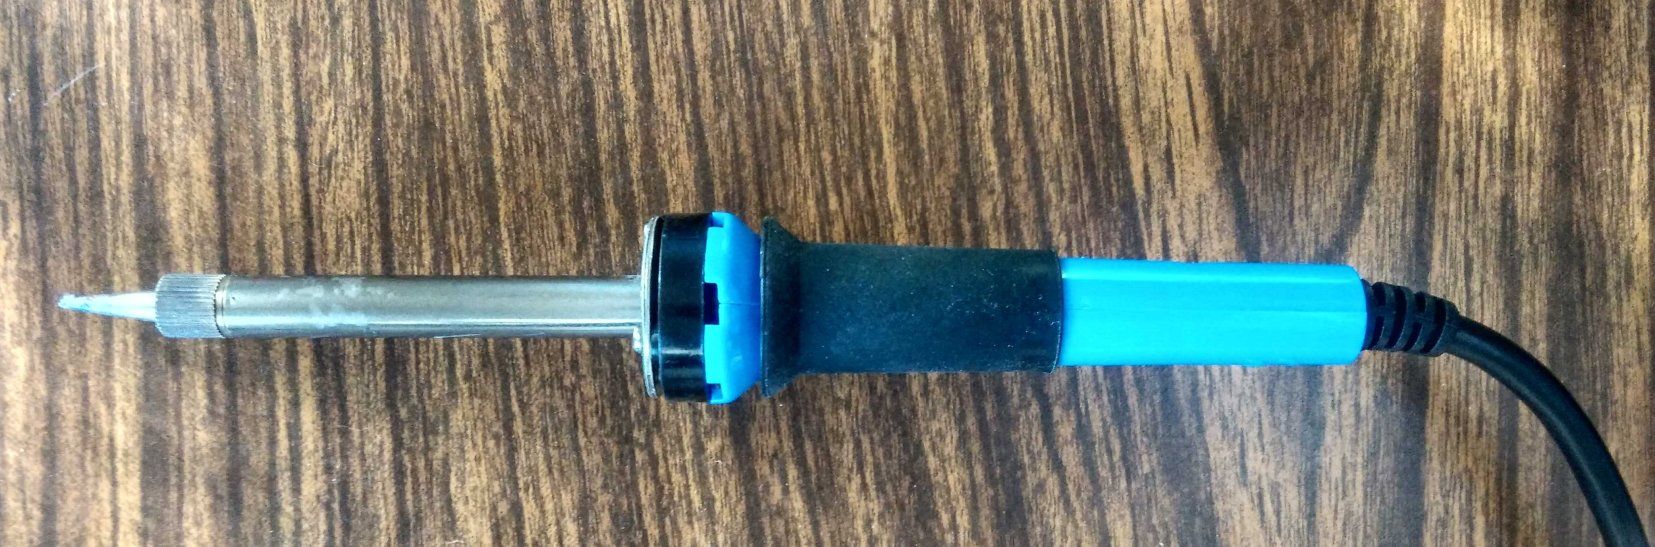
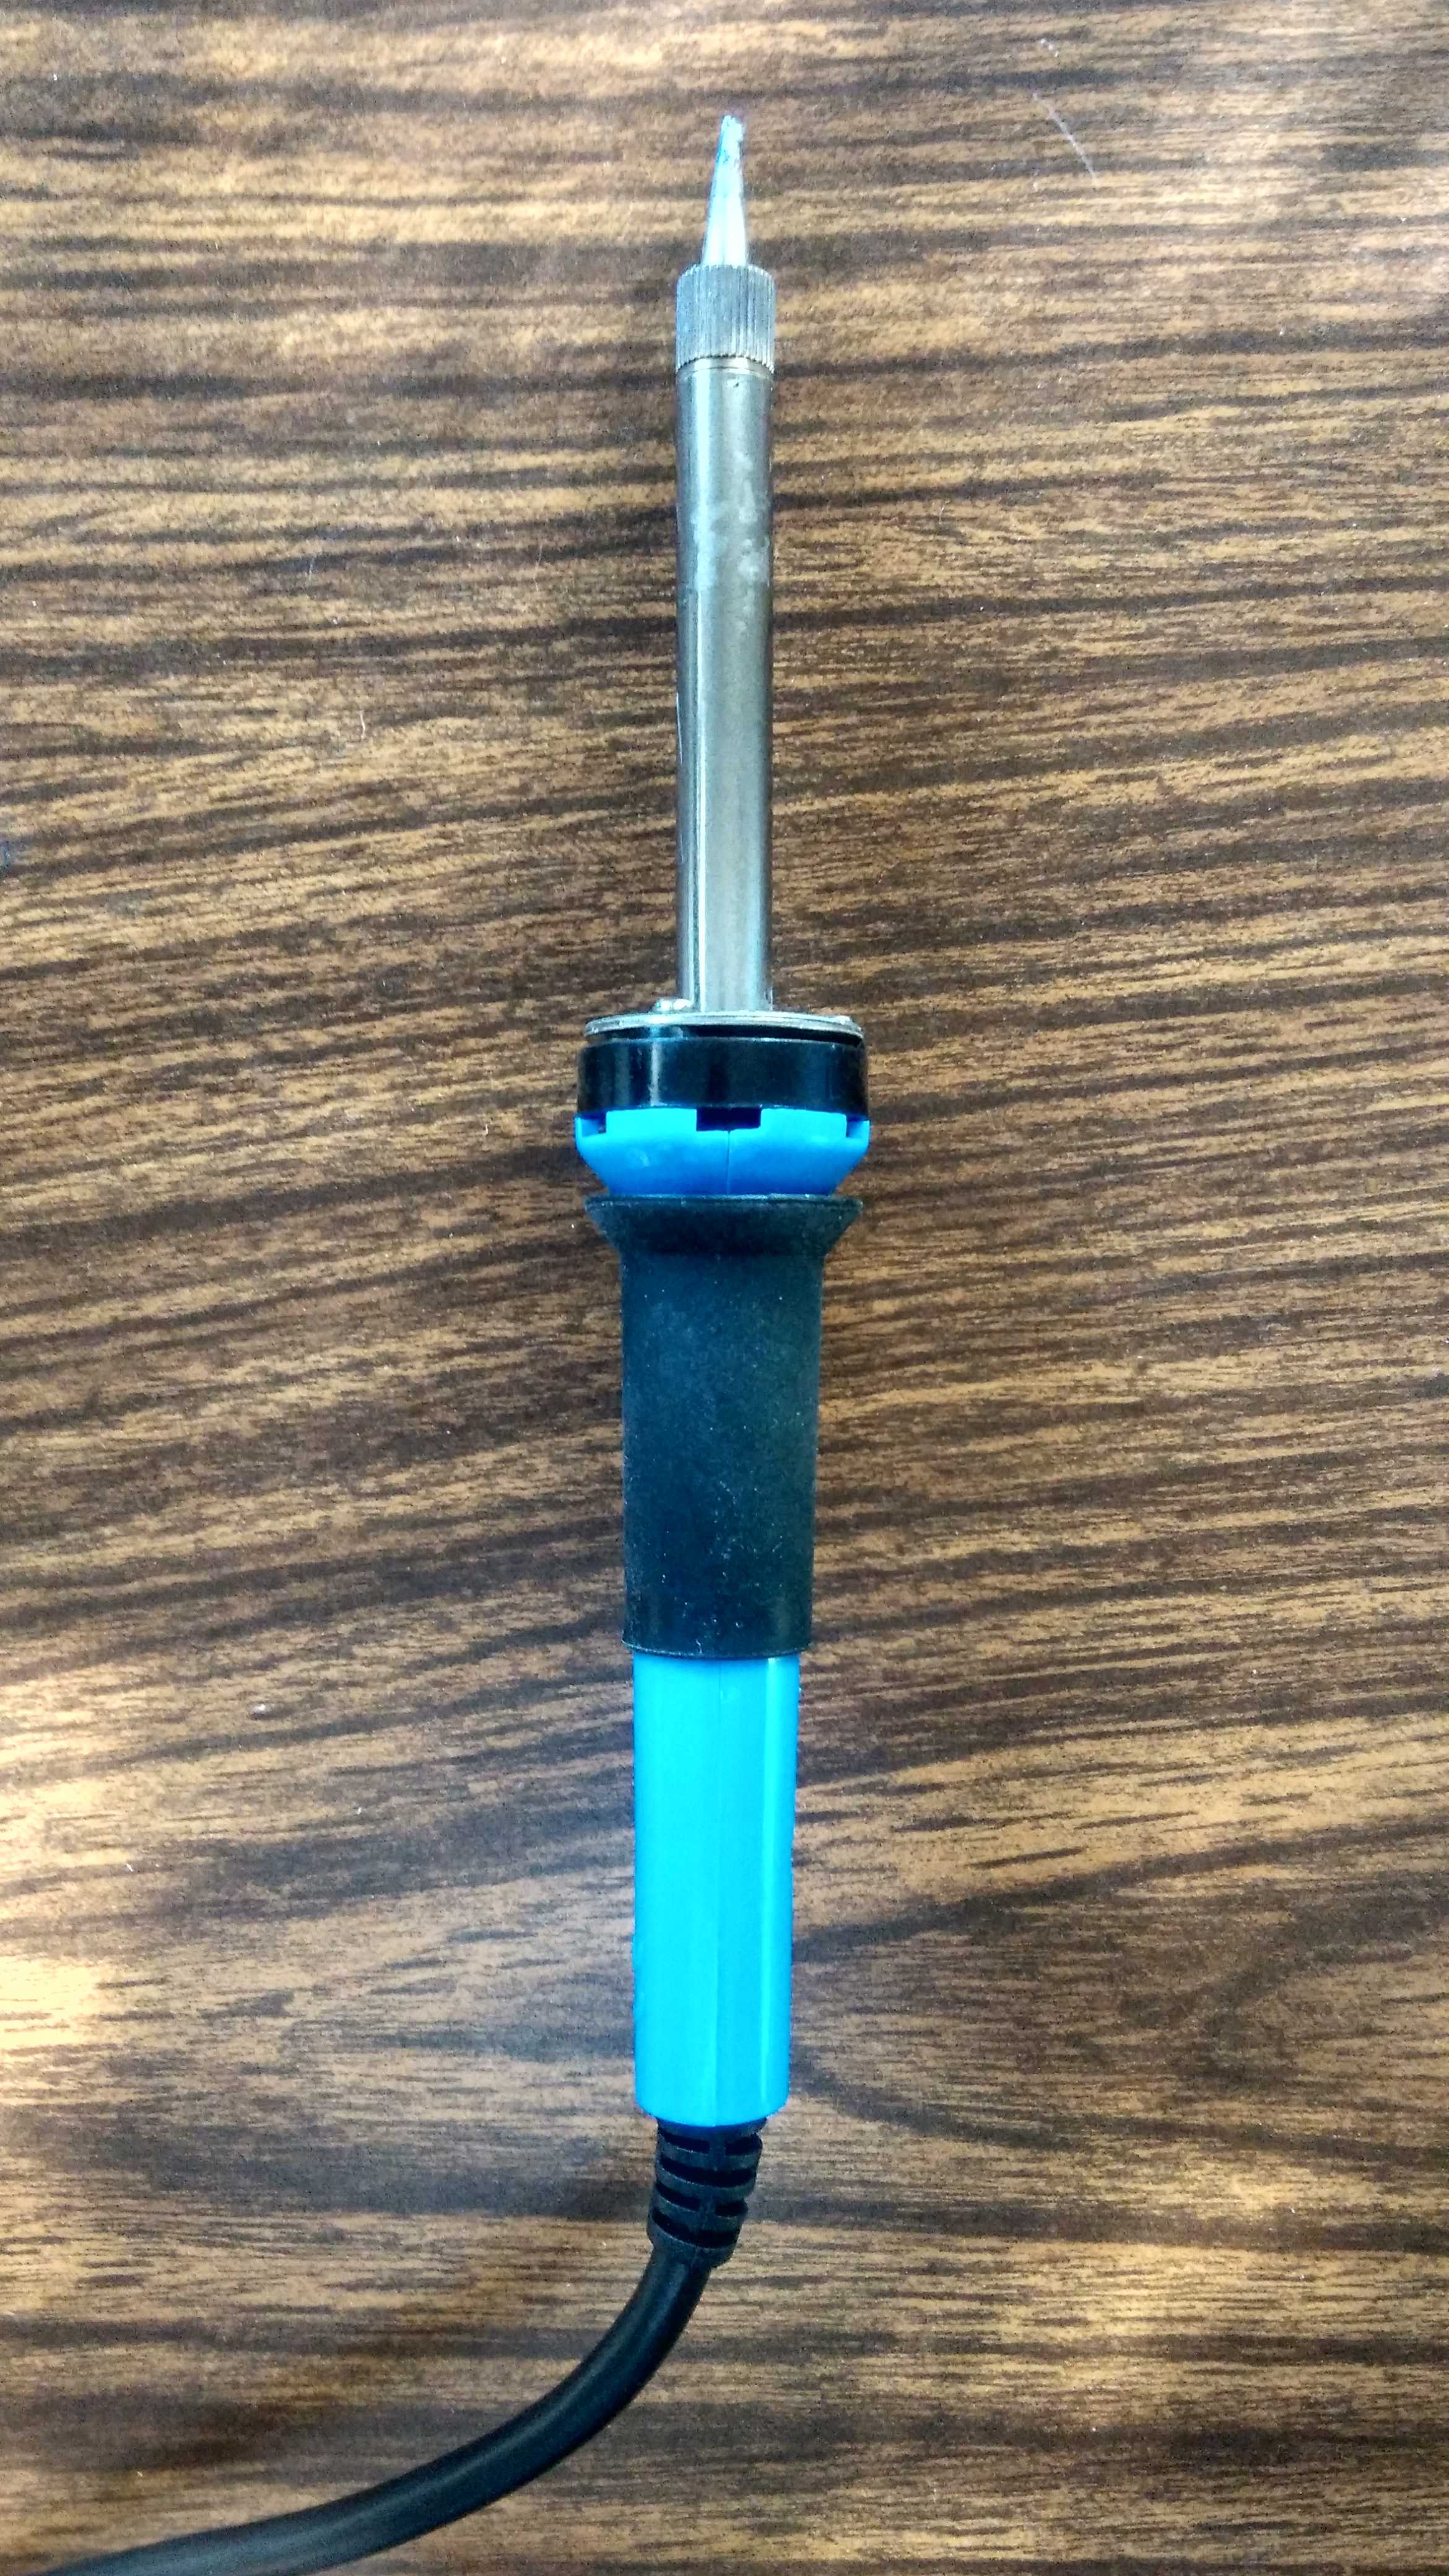 Figure 3. Solder Iron
For now you can use a cheap iron. Practice for a while and when you feel like you are doing a good amount of soldering, upgrade to a temperature controlled iron, it really makes a difference in terms of the ease of use. I use an Elanco soldering iron which has a hot side on its tip. This means that I have to angle my soldering, which makes it slightly inconvenient.
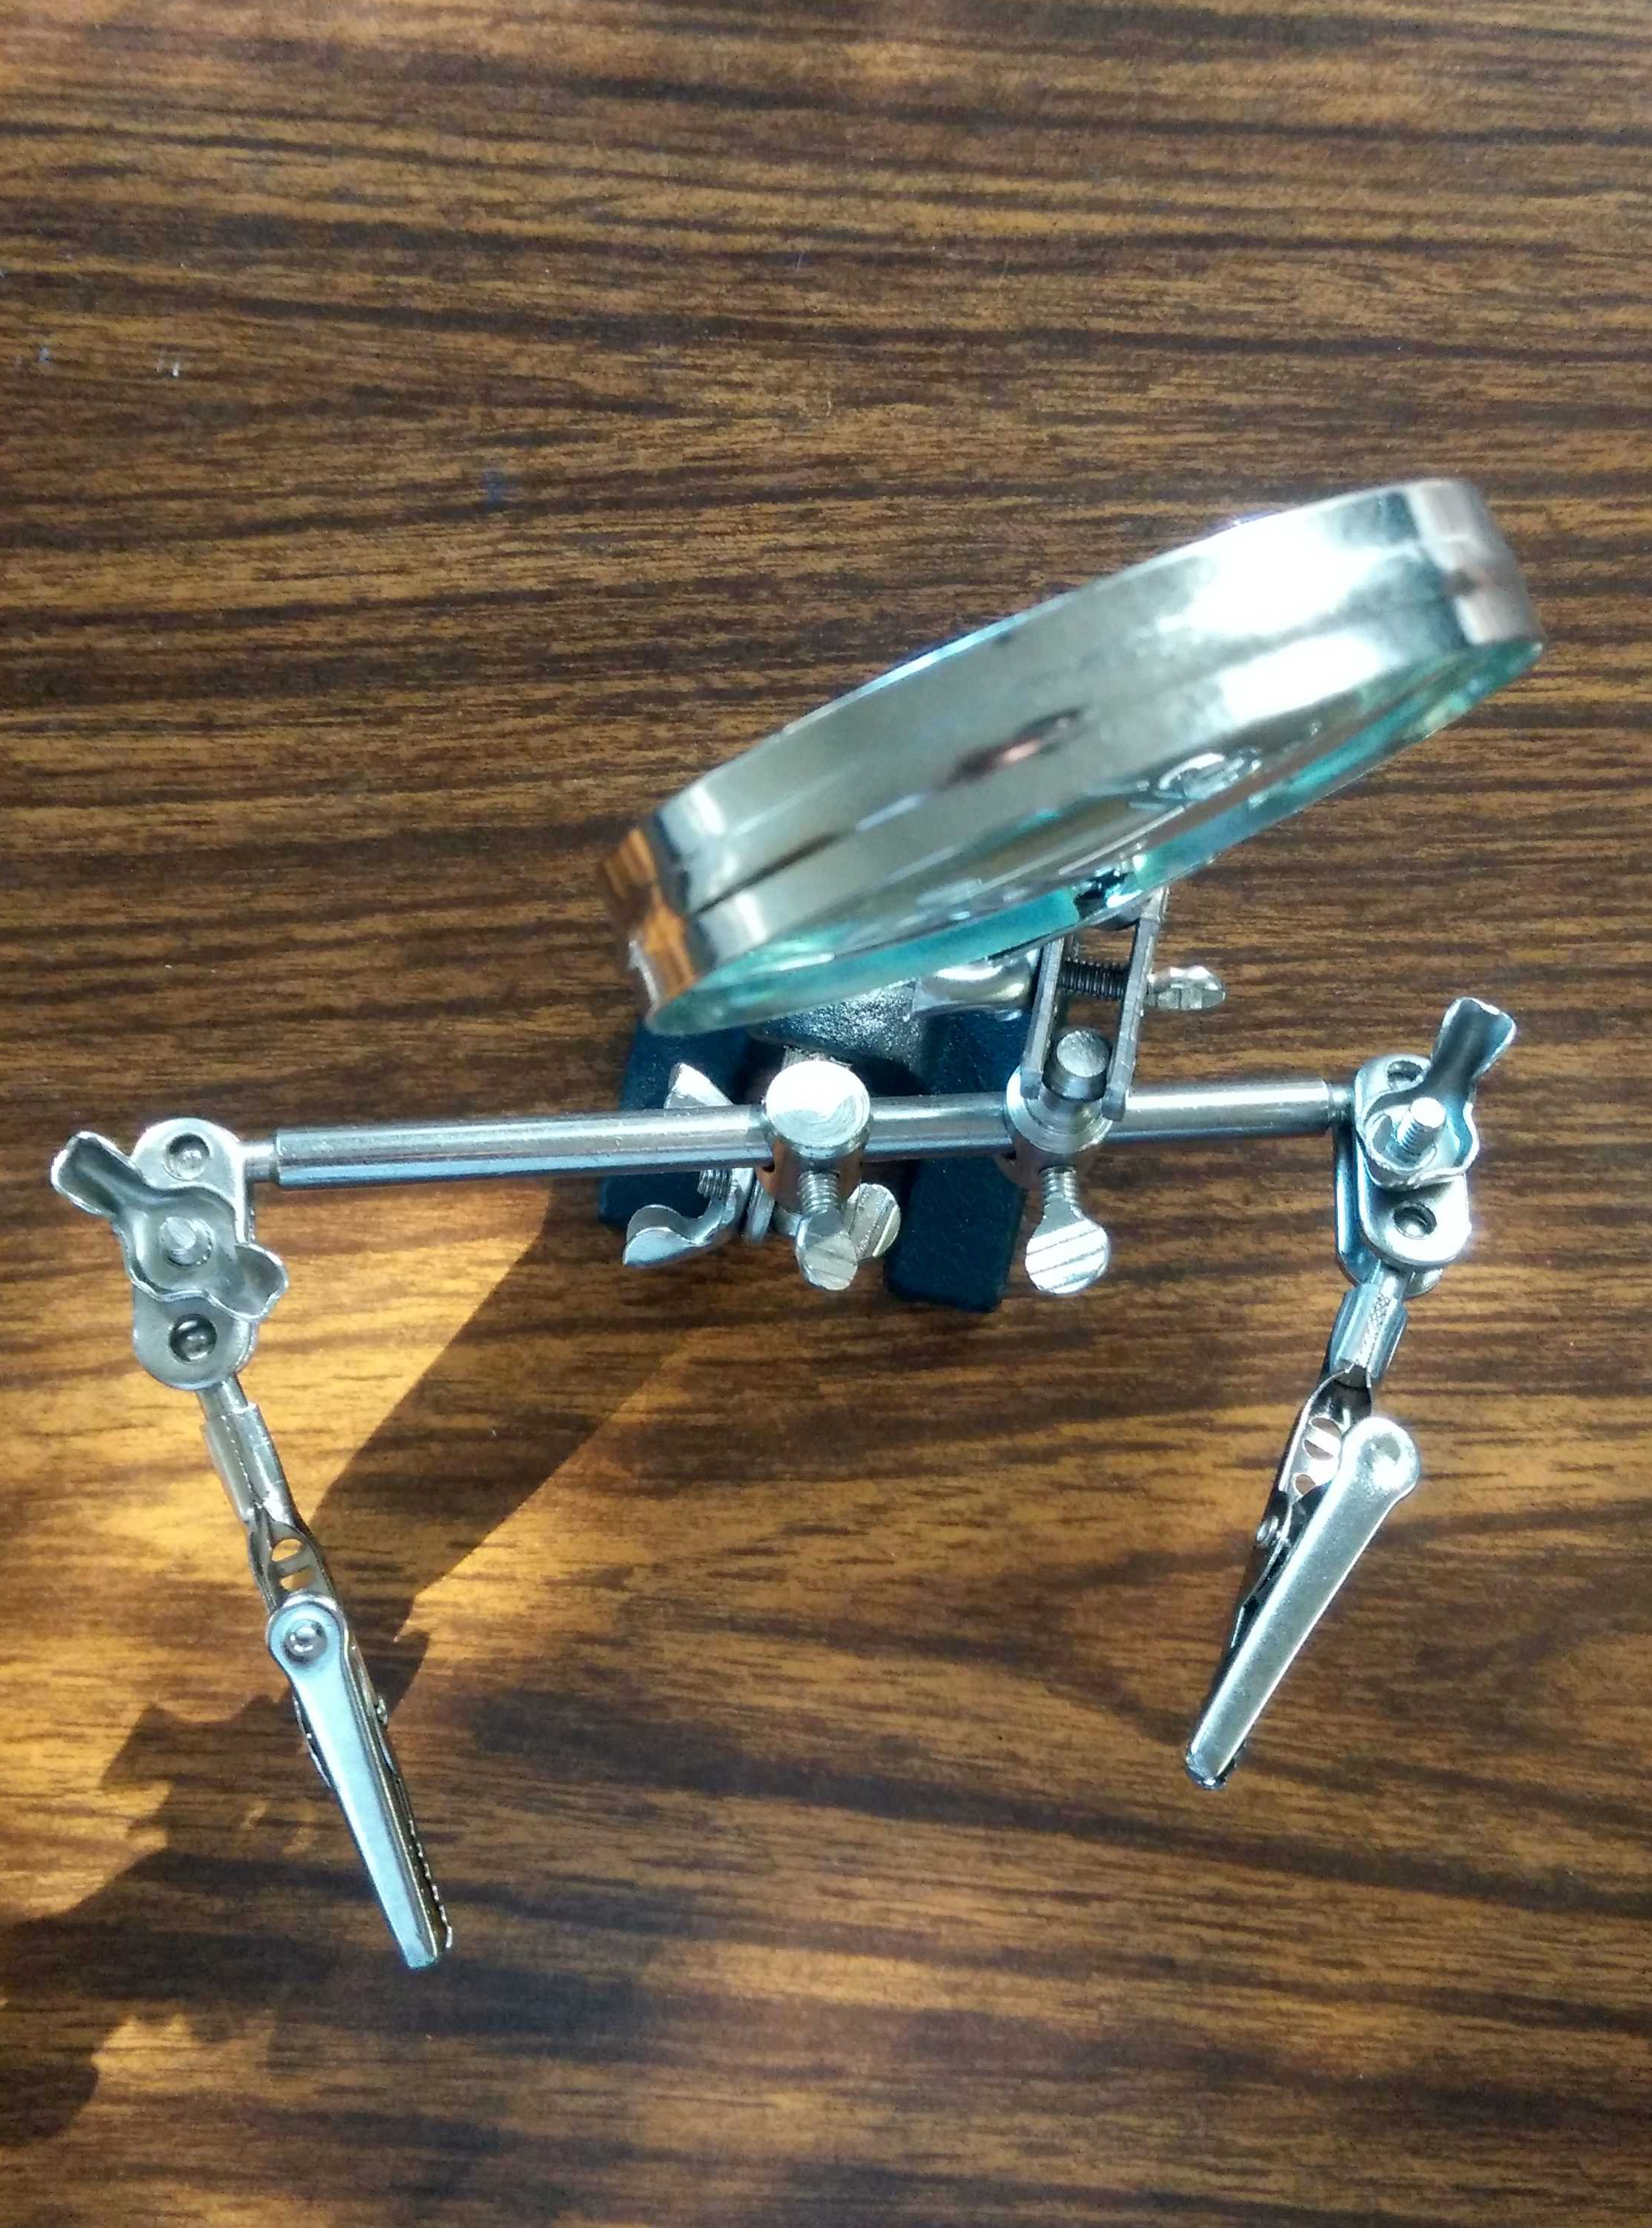 Figure 4. Mr Handy
While not essential but certainly very helpful is a holder of sorts. Mr Handy is a common device found on many soldering stations to help hold components in place while you solder components together.
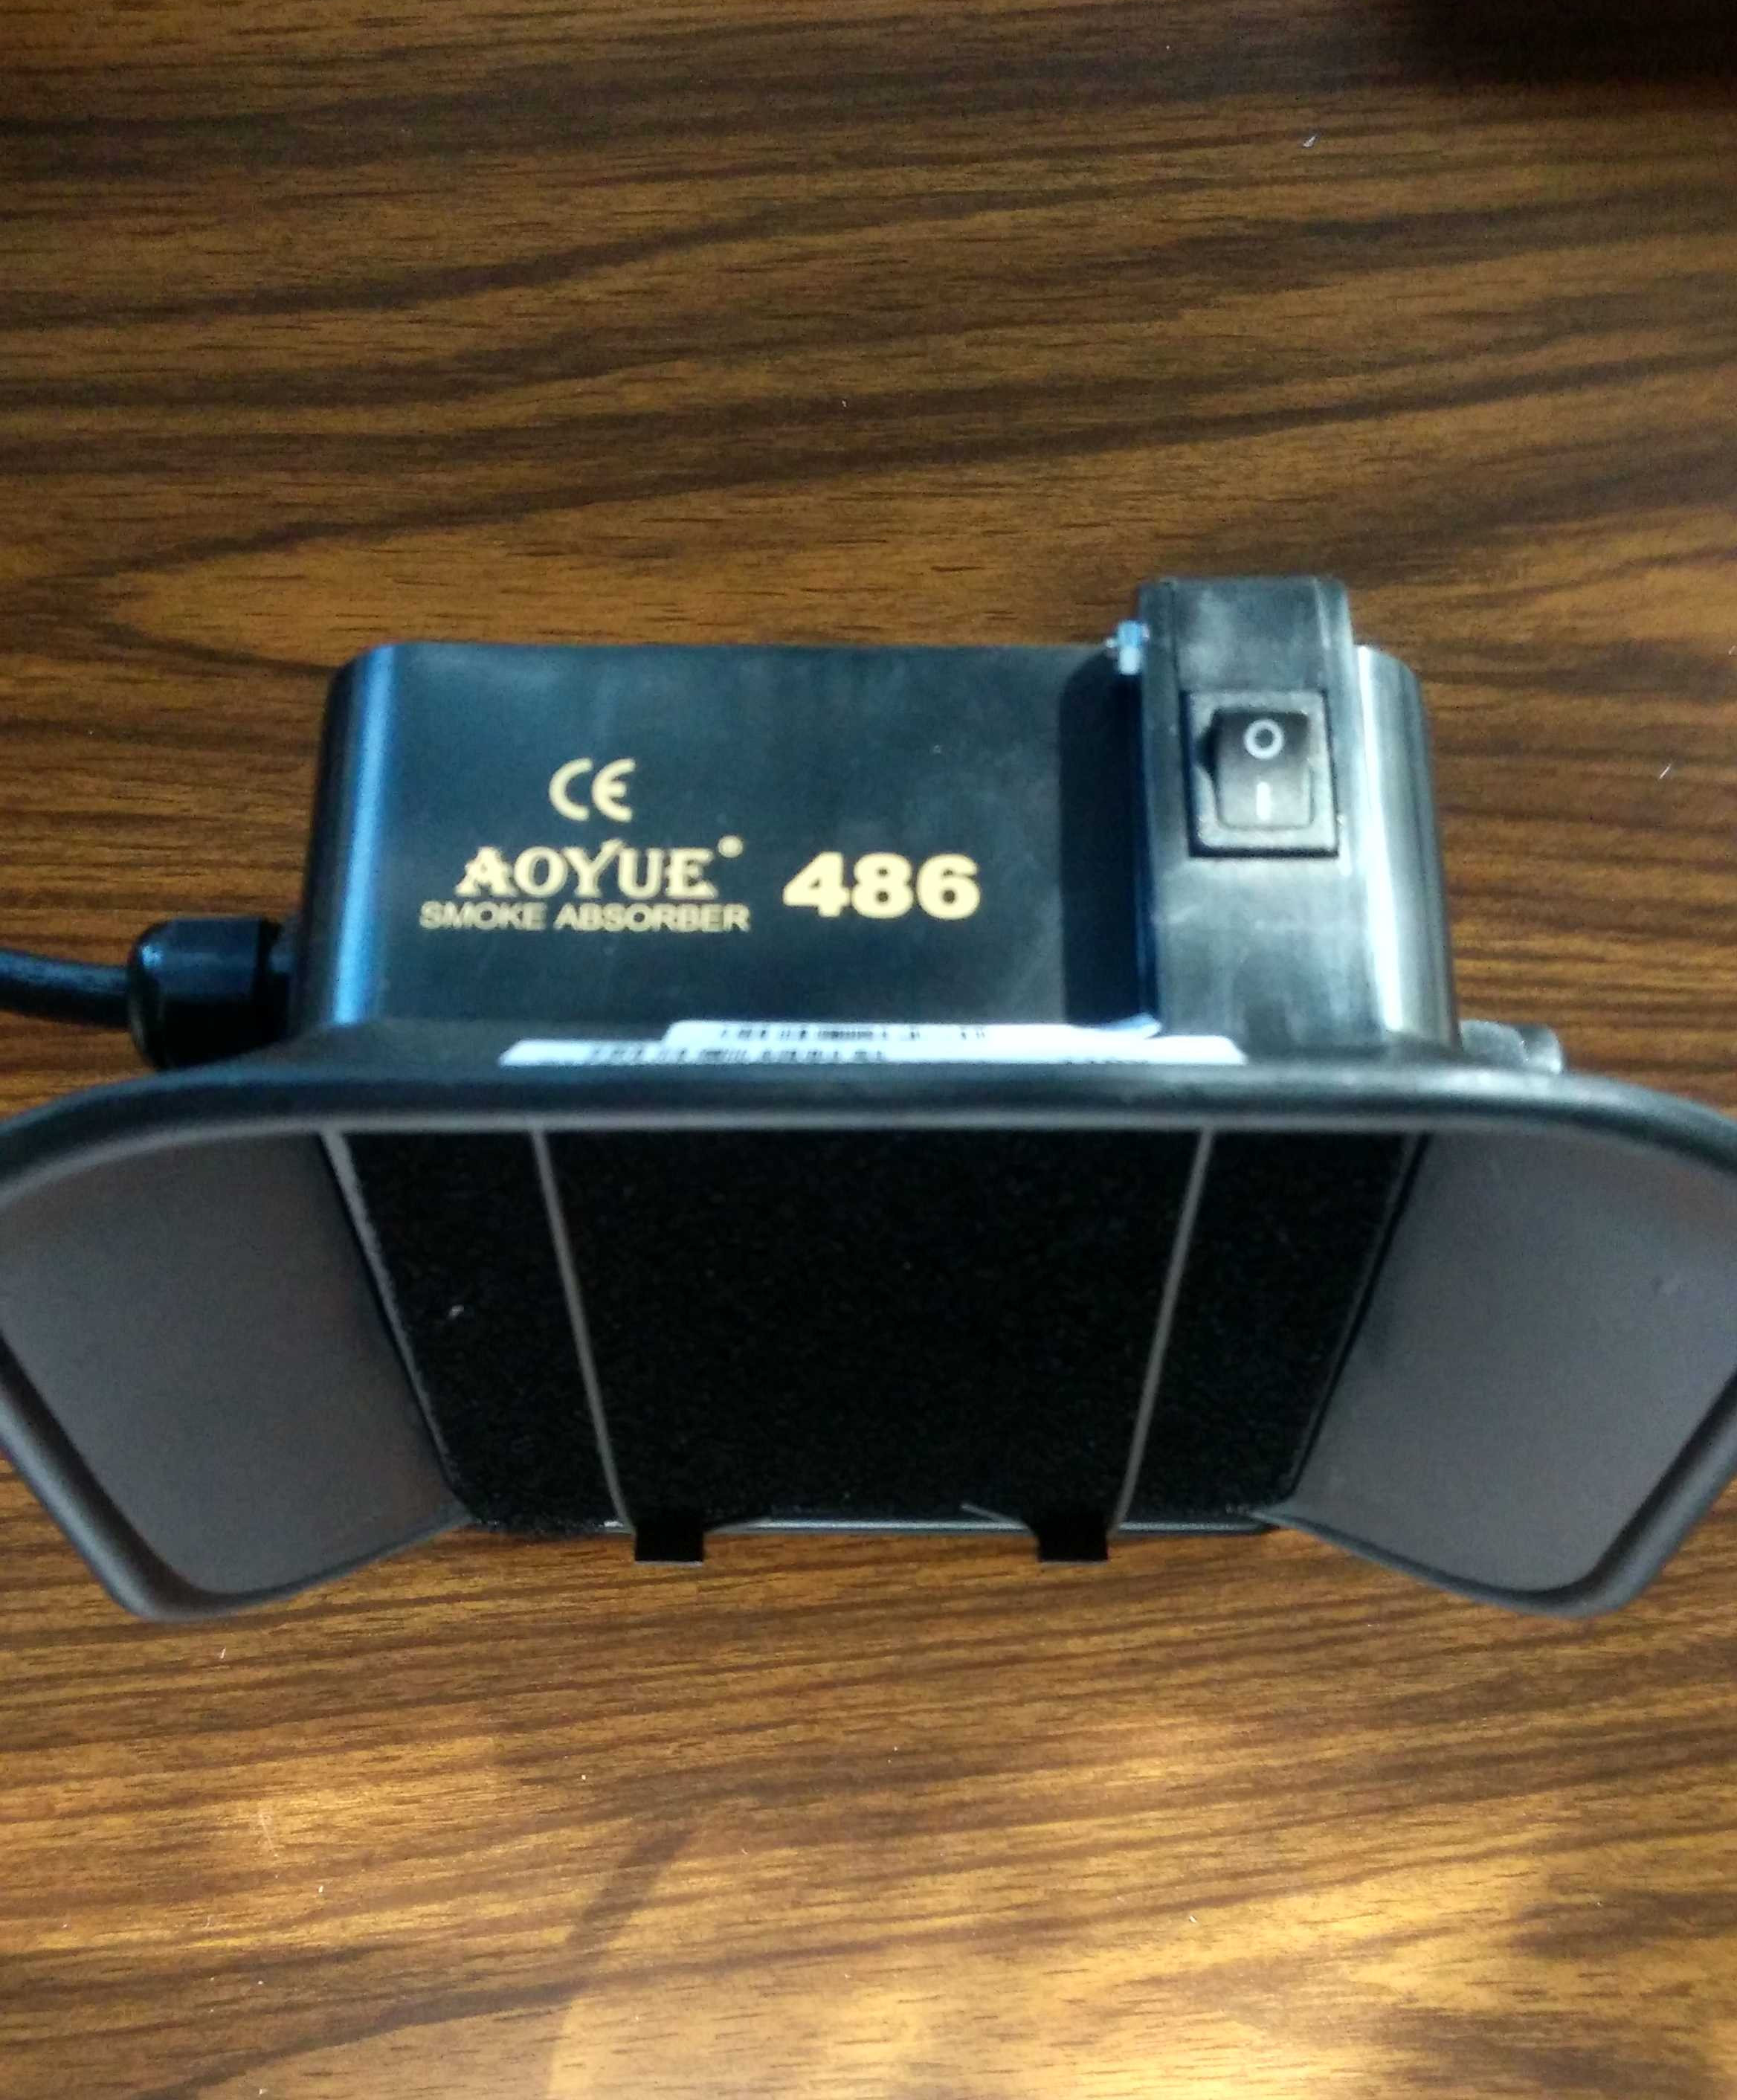 Figure 5. Soldering Exhaust Fan
You can substitute this fan with a normal fan but having a proper fan will help to reduce the amount of solder fumes, especially if you are worried about the lead. Remember that most of the solder fumes are from the resin that helps the solder to flow, however, I find that it often pays to be safe.
Wires
Wires! Wires everywhere! Most likely you'll have some wires that came with your Arduino set. They are good to work with but at times you wish you had some shorter wires, or wires that you can install permanently. In this case, there are two types of wires that you have to be aware of: solid core and stranded.
Solid vs. Stranded
Solid core wires are really good for plugging into breadboards, whereas stranded, as its name suggests, isn't. However, the advantage of stranded wires are that they are better for applications that require a lot of movement as they are more flexible.
Sizes and Cutting
The gauge recommended is 22AWG, which I find to be the best all rounded. It plugs into a breadboard easily, and is an easy size to handle during soldering. Note that when you cut the wires, you want do do so diagonally such that they have a bit of a point to them. This allows you to plug them into the breadboard easily. When you get wires, be sure to get a few colours to work with. Having the same coloured wire for everything can get confusing really quickly.
You can get the Hook-Up wire box set from Adafruit to get started quickly.