Paracord LED Bracelet

This project is a combination of a paracord bracelet and Adafruit's LED Friendship Bracelet by Becky Stern which can be found here. The problem that I had with the original design was that the batteries were falling out easily and it was slightly awkward in fitting them in.
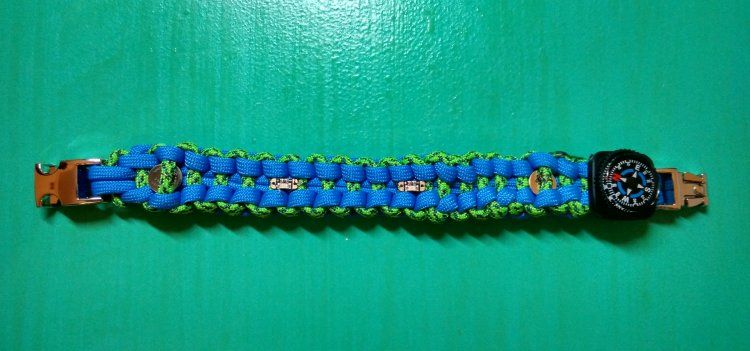
The advantage that this particular paracord design has over the original is that it has two rails on each side that help to keep the battery in place and can be easily tightened. The original design which called for magnetic clasps was a bit expensive so I opted for metal buckles instead. Do note that with this integration, you'll have to remove the electronics if you want to use the bracelet as a paracord bracelet.
I personally made it a bit bigger and use it as a night signal when I am riding my bike. I hold it out when I want to turn left, because that is when I have to cross lanes.
Knowledge Required
- LED Friendship Bracelet (electronics with paracord)
- Paracord Bracelet (jagged ladder weaving method)
Materials Required
- Conductive thread
- Sewing needles
- Metal buckle
- Paracord
- Adafruit LED sequins
- CR1025 batteries
Method
-
Start off with the jagged ladder method and make one or two steps to hold the shape in place. Next fit in a battery at the desired holding location before continuing the steps. Be sure to leave a little slack so that you can pry the cords apart enough for a needle to go through.
-
Finish the braid but do not tie off yet. Remove the batteries.
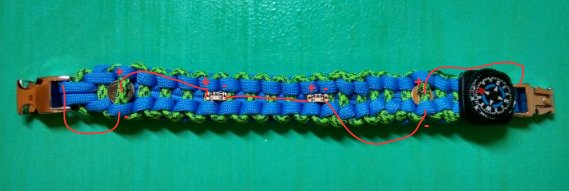 Figure 1. Circuit schematic
- Refer to the circuit diagram. This is how you must wire the circuit up. Start by pushing a needle with conductive thread through the double strands that serve as a backbone of the piece and knot the end of your thread. Next, loop through the metal buckle a few times to ensure a good contact. The location of the backbone is the double strands you see on the inside face of the paracord bracelet. You will want to run your threads through here.
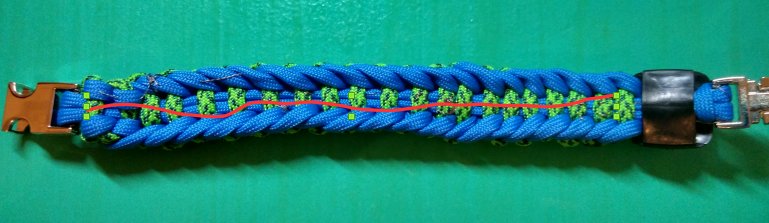 Figure 2. Location of Backbone
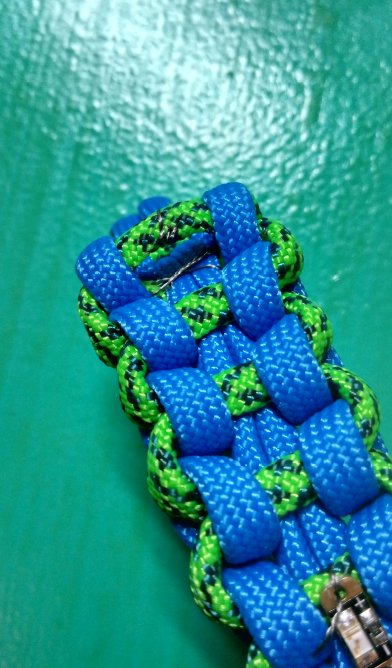 Figure 3. Battery contact placements
- Start sewing to the battery holder point, using the backbone to ensure that your wires are organised and concealed. Come out along the sides and start wrapping the backbone strand such that there is a conductive surface. Tie off when you are done.
Caution: Make sure that you don't sew into the top parts of the holding position. When you pry the holder position apart, there shouldn't be any strands crossing upwards.
-
Start the top contact by sewing through and looping around the top thread that would hold the battery in place. Exit on the side, making sure that it is on the opposite side from any exposed thread from the bottom to avoid any short circuits. Thread it such that you exit on the backbone and then use the backbone to hold your thread by threading through it down the braid. It helps to hold the thread in place and it doesn't come out as loose thread when you bend your paracord bracelet.
-
Repeat this step for each of your LED's and battery holders. Ensure that the LEDs are in the correct direction at each step by testing the circuit.
-
In general you want your batteries to be facing upwards because I find that it makes a better fit and does not slip out as easily.
-
Clip your creation together and slip it on!
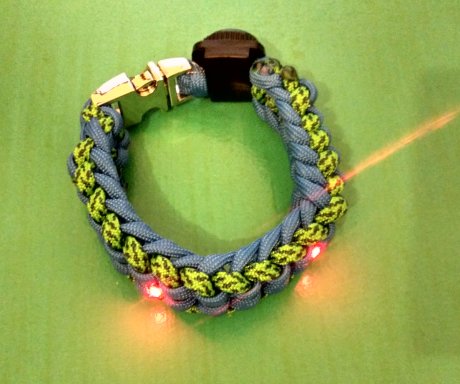 Figure 3. Lit Paracord Bracelet