Building a wireless controller
How to build a simple wireless joystick controller for Arduino.

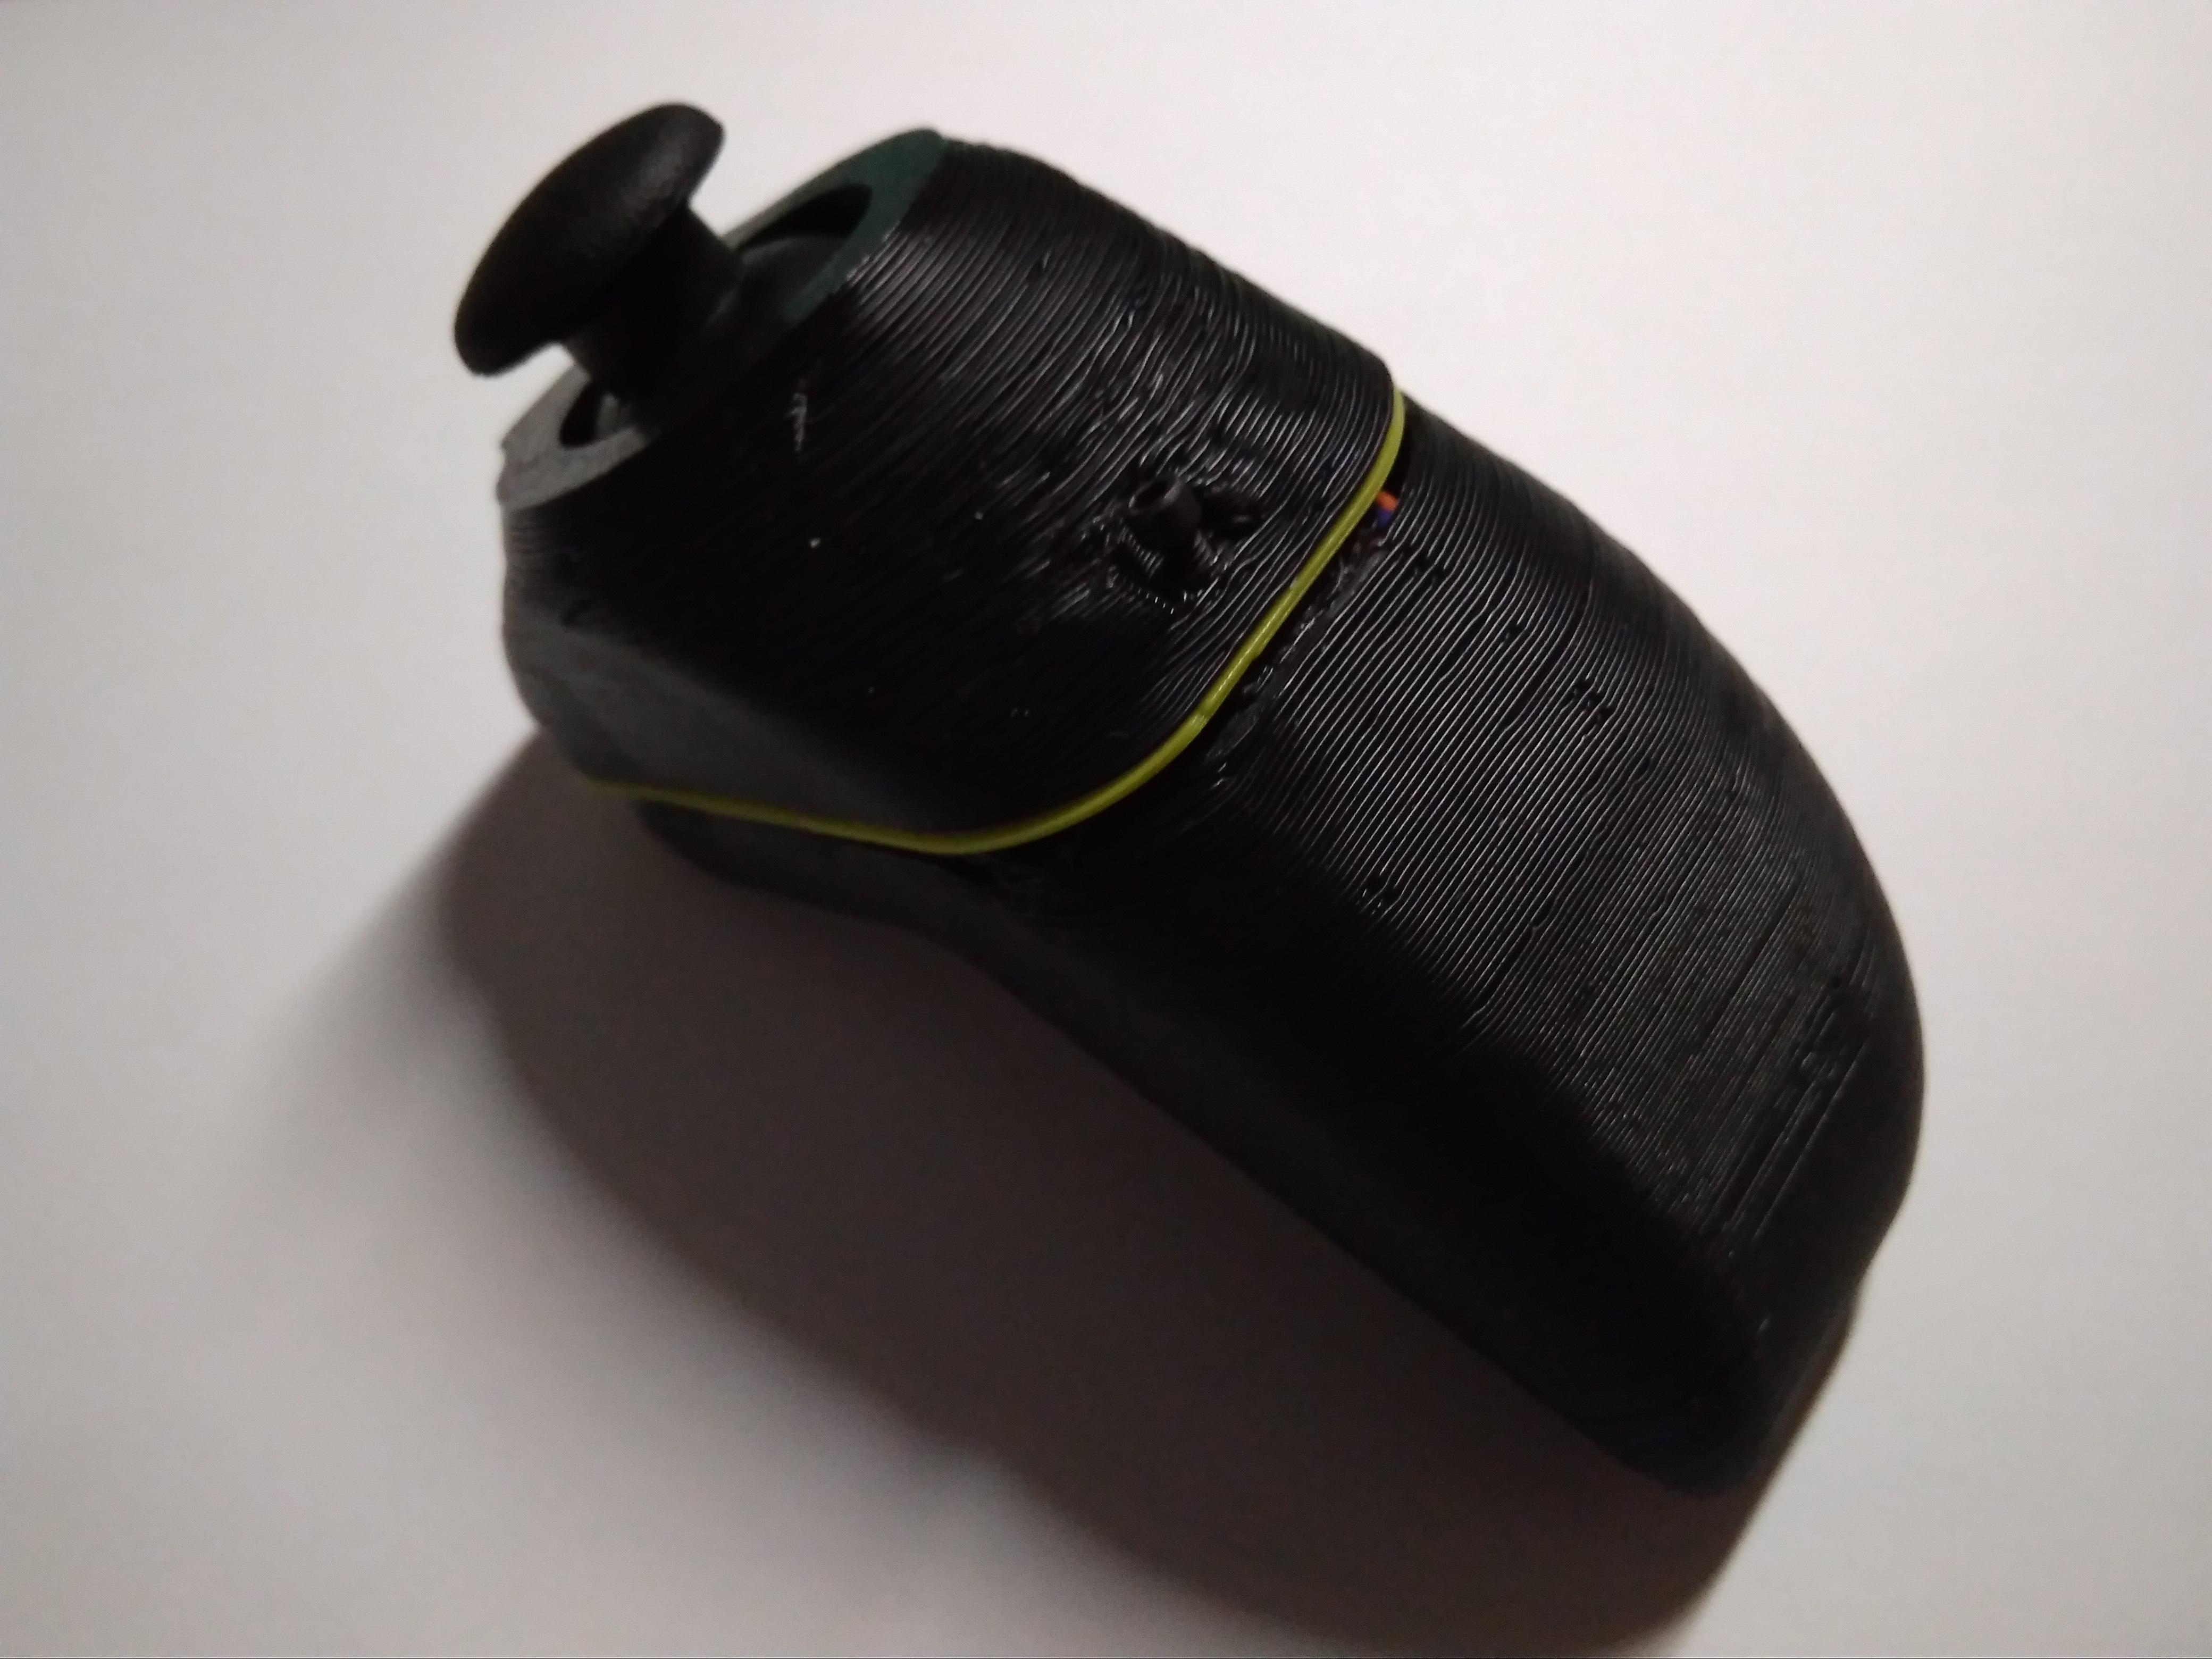
Let's build an Arduino wireless controller in a Wii Nunchuk 3D-printed case with an nRF24L01!
Motivaton
I had a few joysticks lying around and I wondered if I could find a use for them. I was recently experimenting with nRF24l01 radio chips and they seem to be the most reliable way to send small packets of information wirelessly. I prefer them over the 433Mhz radios which I found to be too unreliable even from the distance of 1m.
However, I didn't have the time to design a case, and I shelved this project until Ferjerez published his controller to Thingiverse.
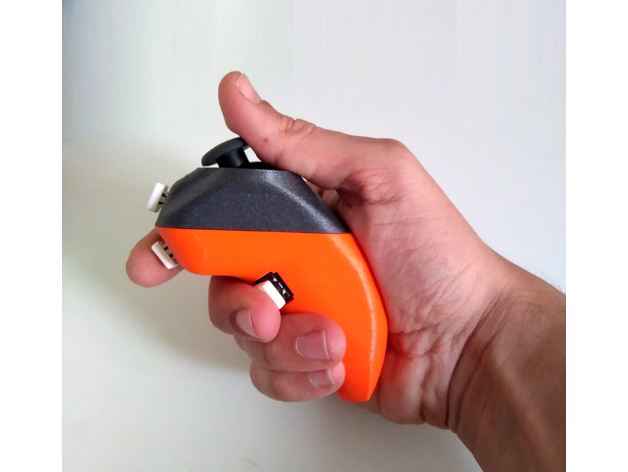
I particularly like this design because it is ergonomic, and has three additional points for input in addition to the joystick. The handle gives additional space for a microcontroller and a radio to be stored. They will have to be powered by a battery.
Once the controller is complete, it will be able to broadcast commands to any nRF24 devices in range. Further improvements include adding more room for a larger battery, increasing the space on top to add a screen for more options.
Hardware

- 3D printed case
- nRF24l01
- Arduino Pro Mini 3.3V
- Lithium Ion Battery
The 3.3V is picked because we want to power the nRF24 without requiring an extra power source as the nRF24 is quite finicky about the power supply.
Adafruit also provides a small LiPo hat for the Pro Mini 3.3V, which was used to connect the LiPo battery
I used a small (105mAH!) Lithium Ion battery because there is not much space in the case.
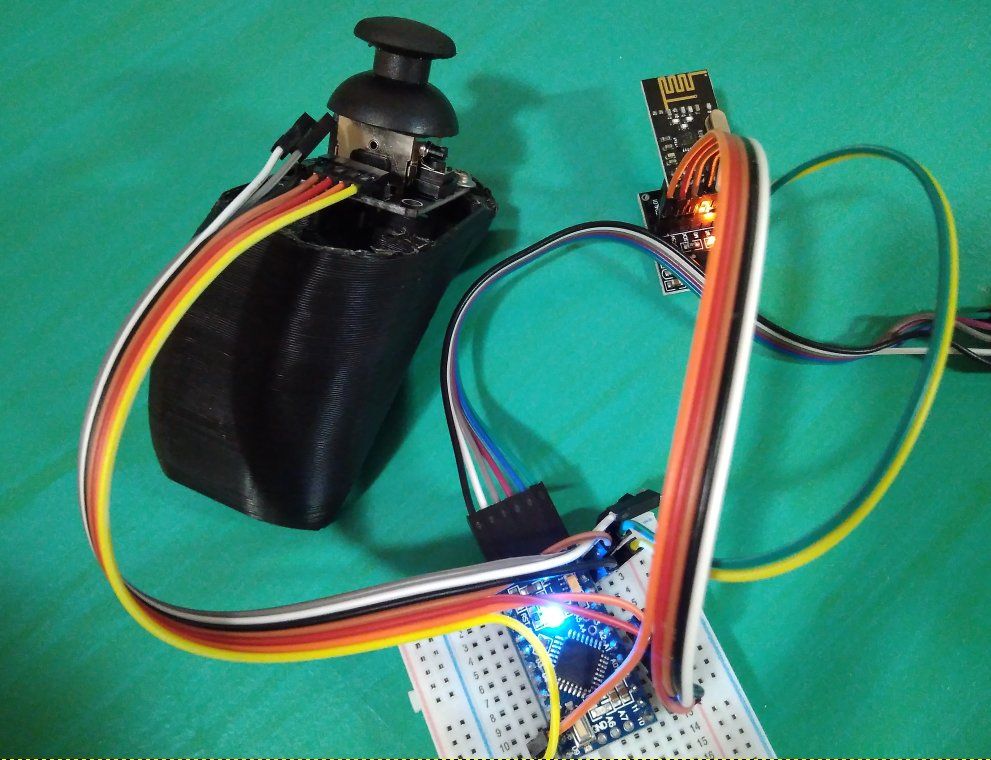
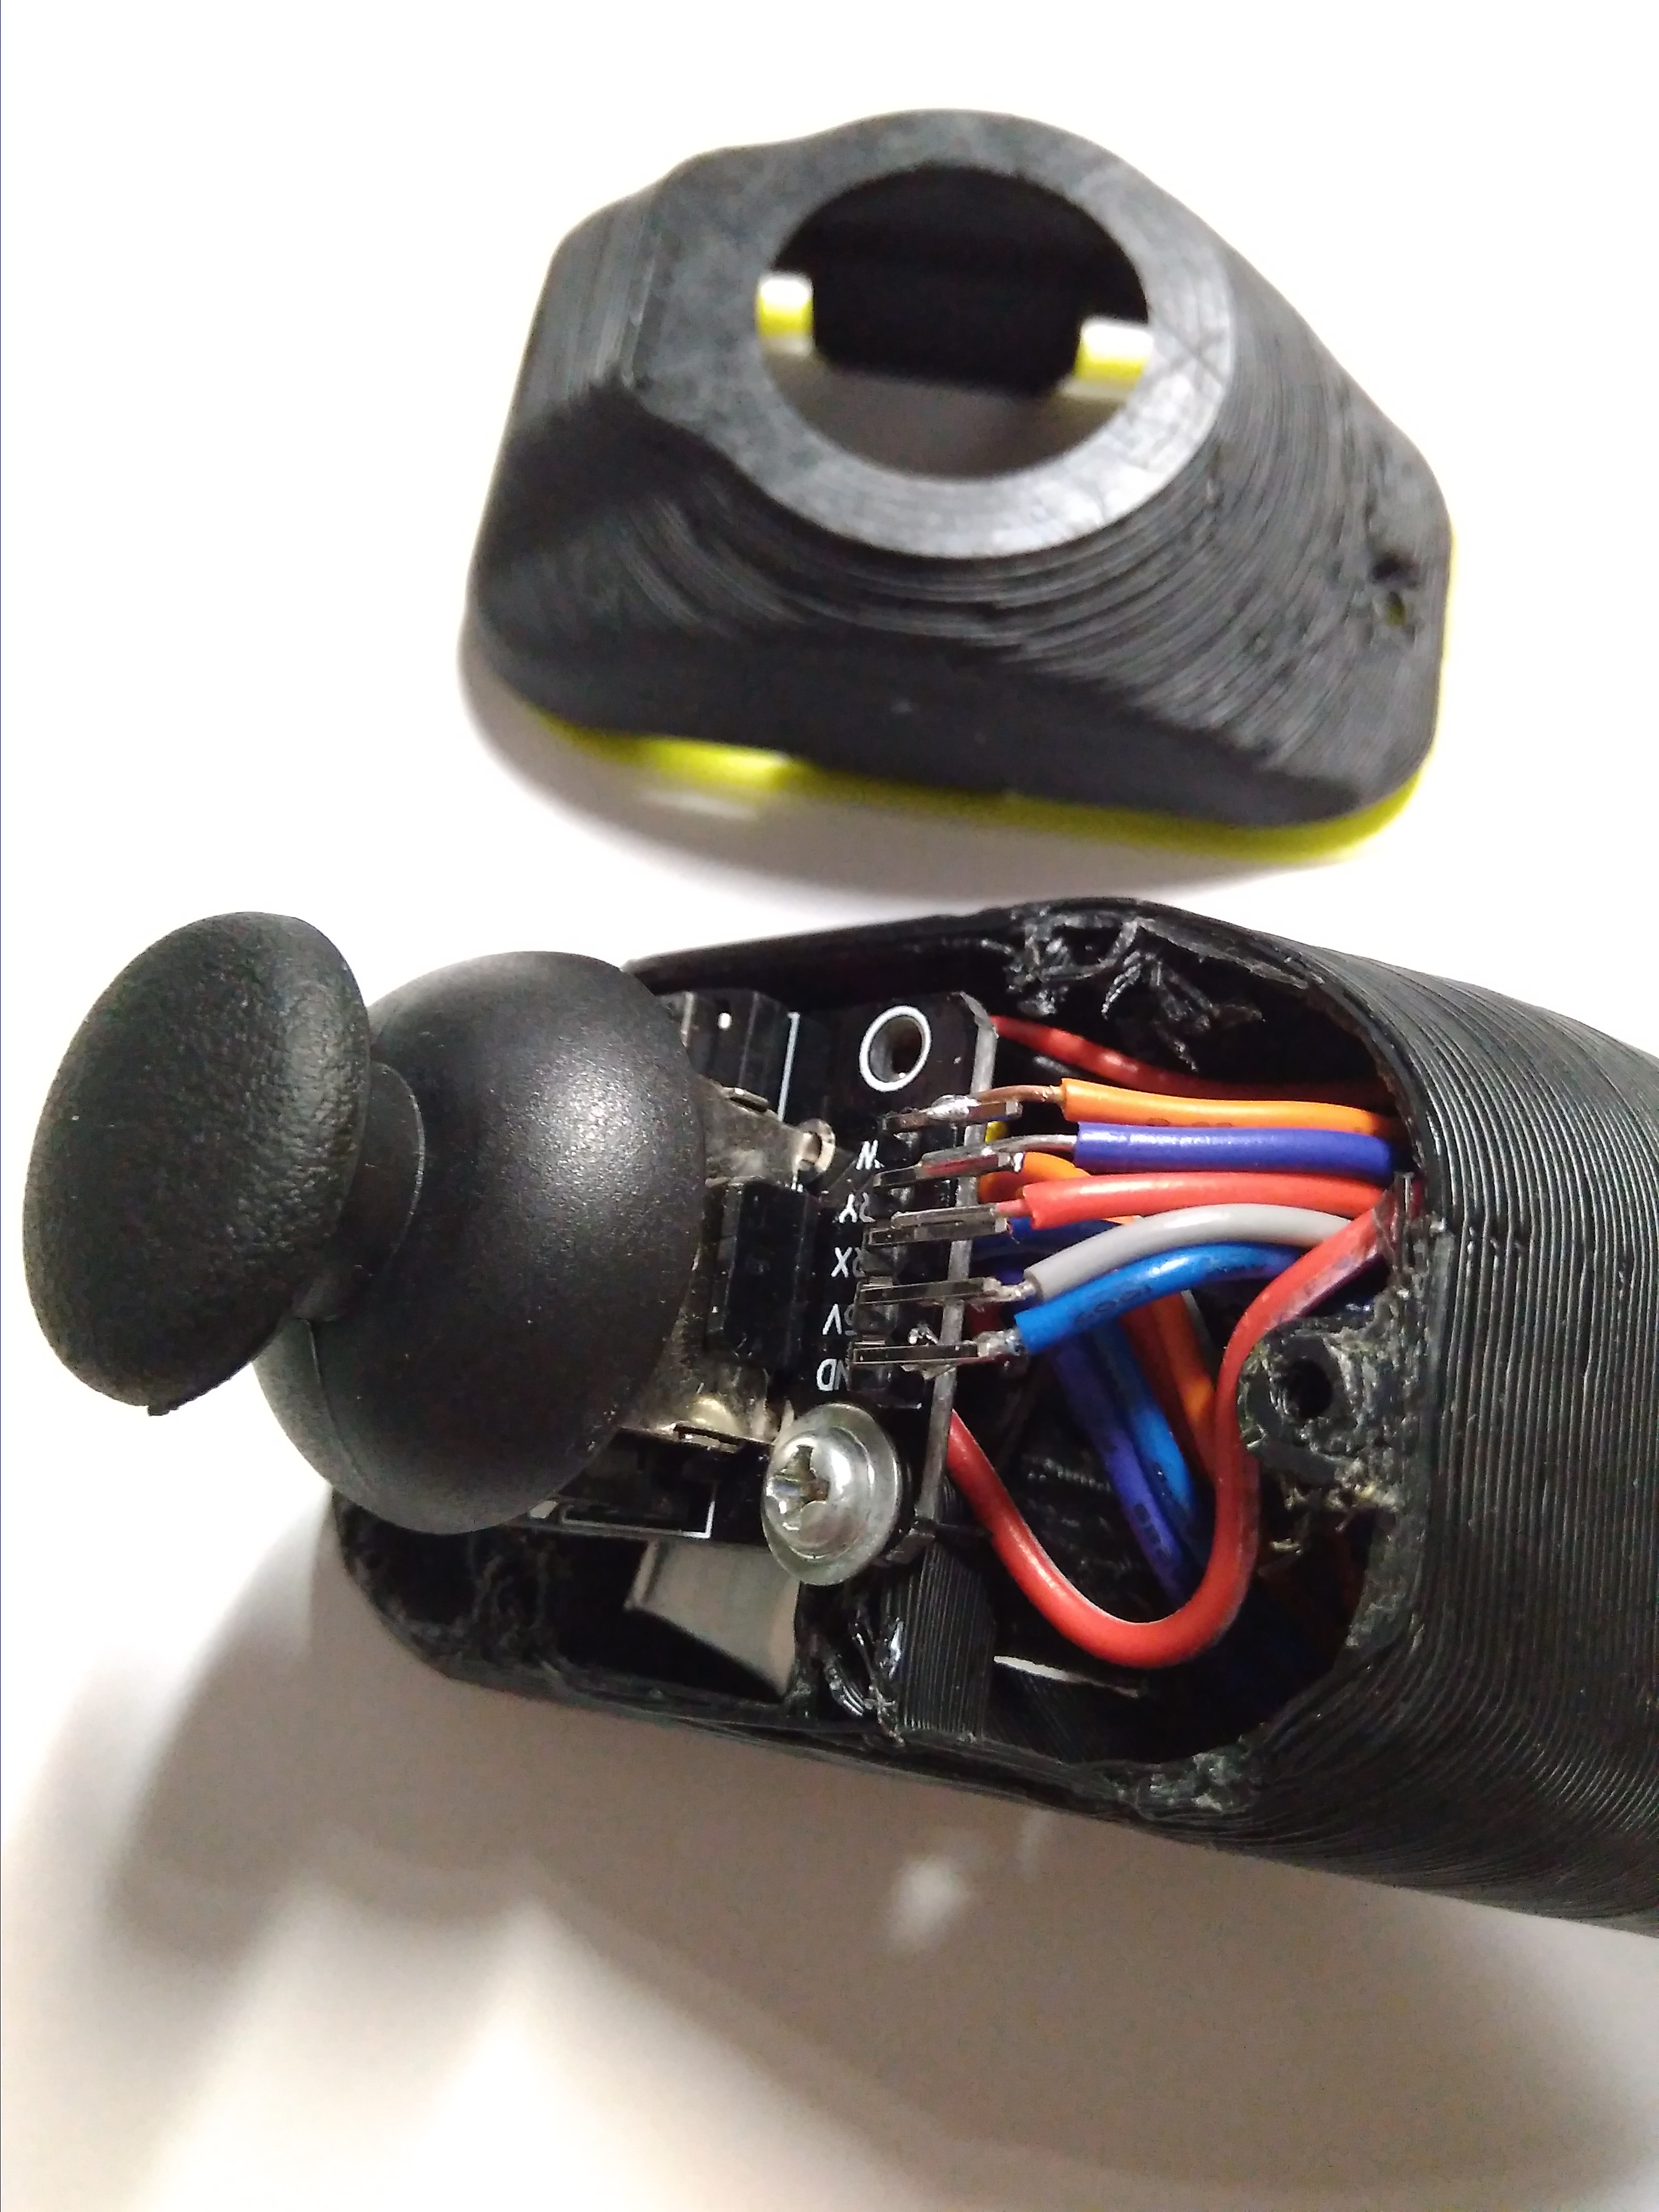
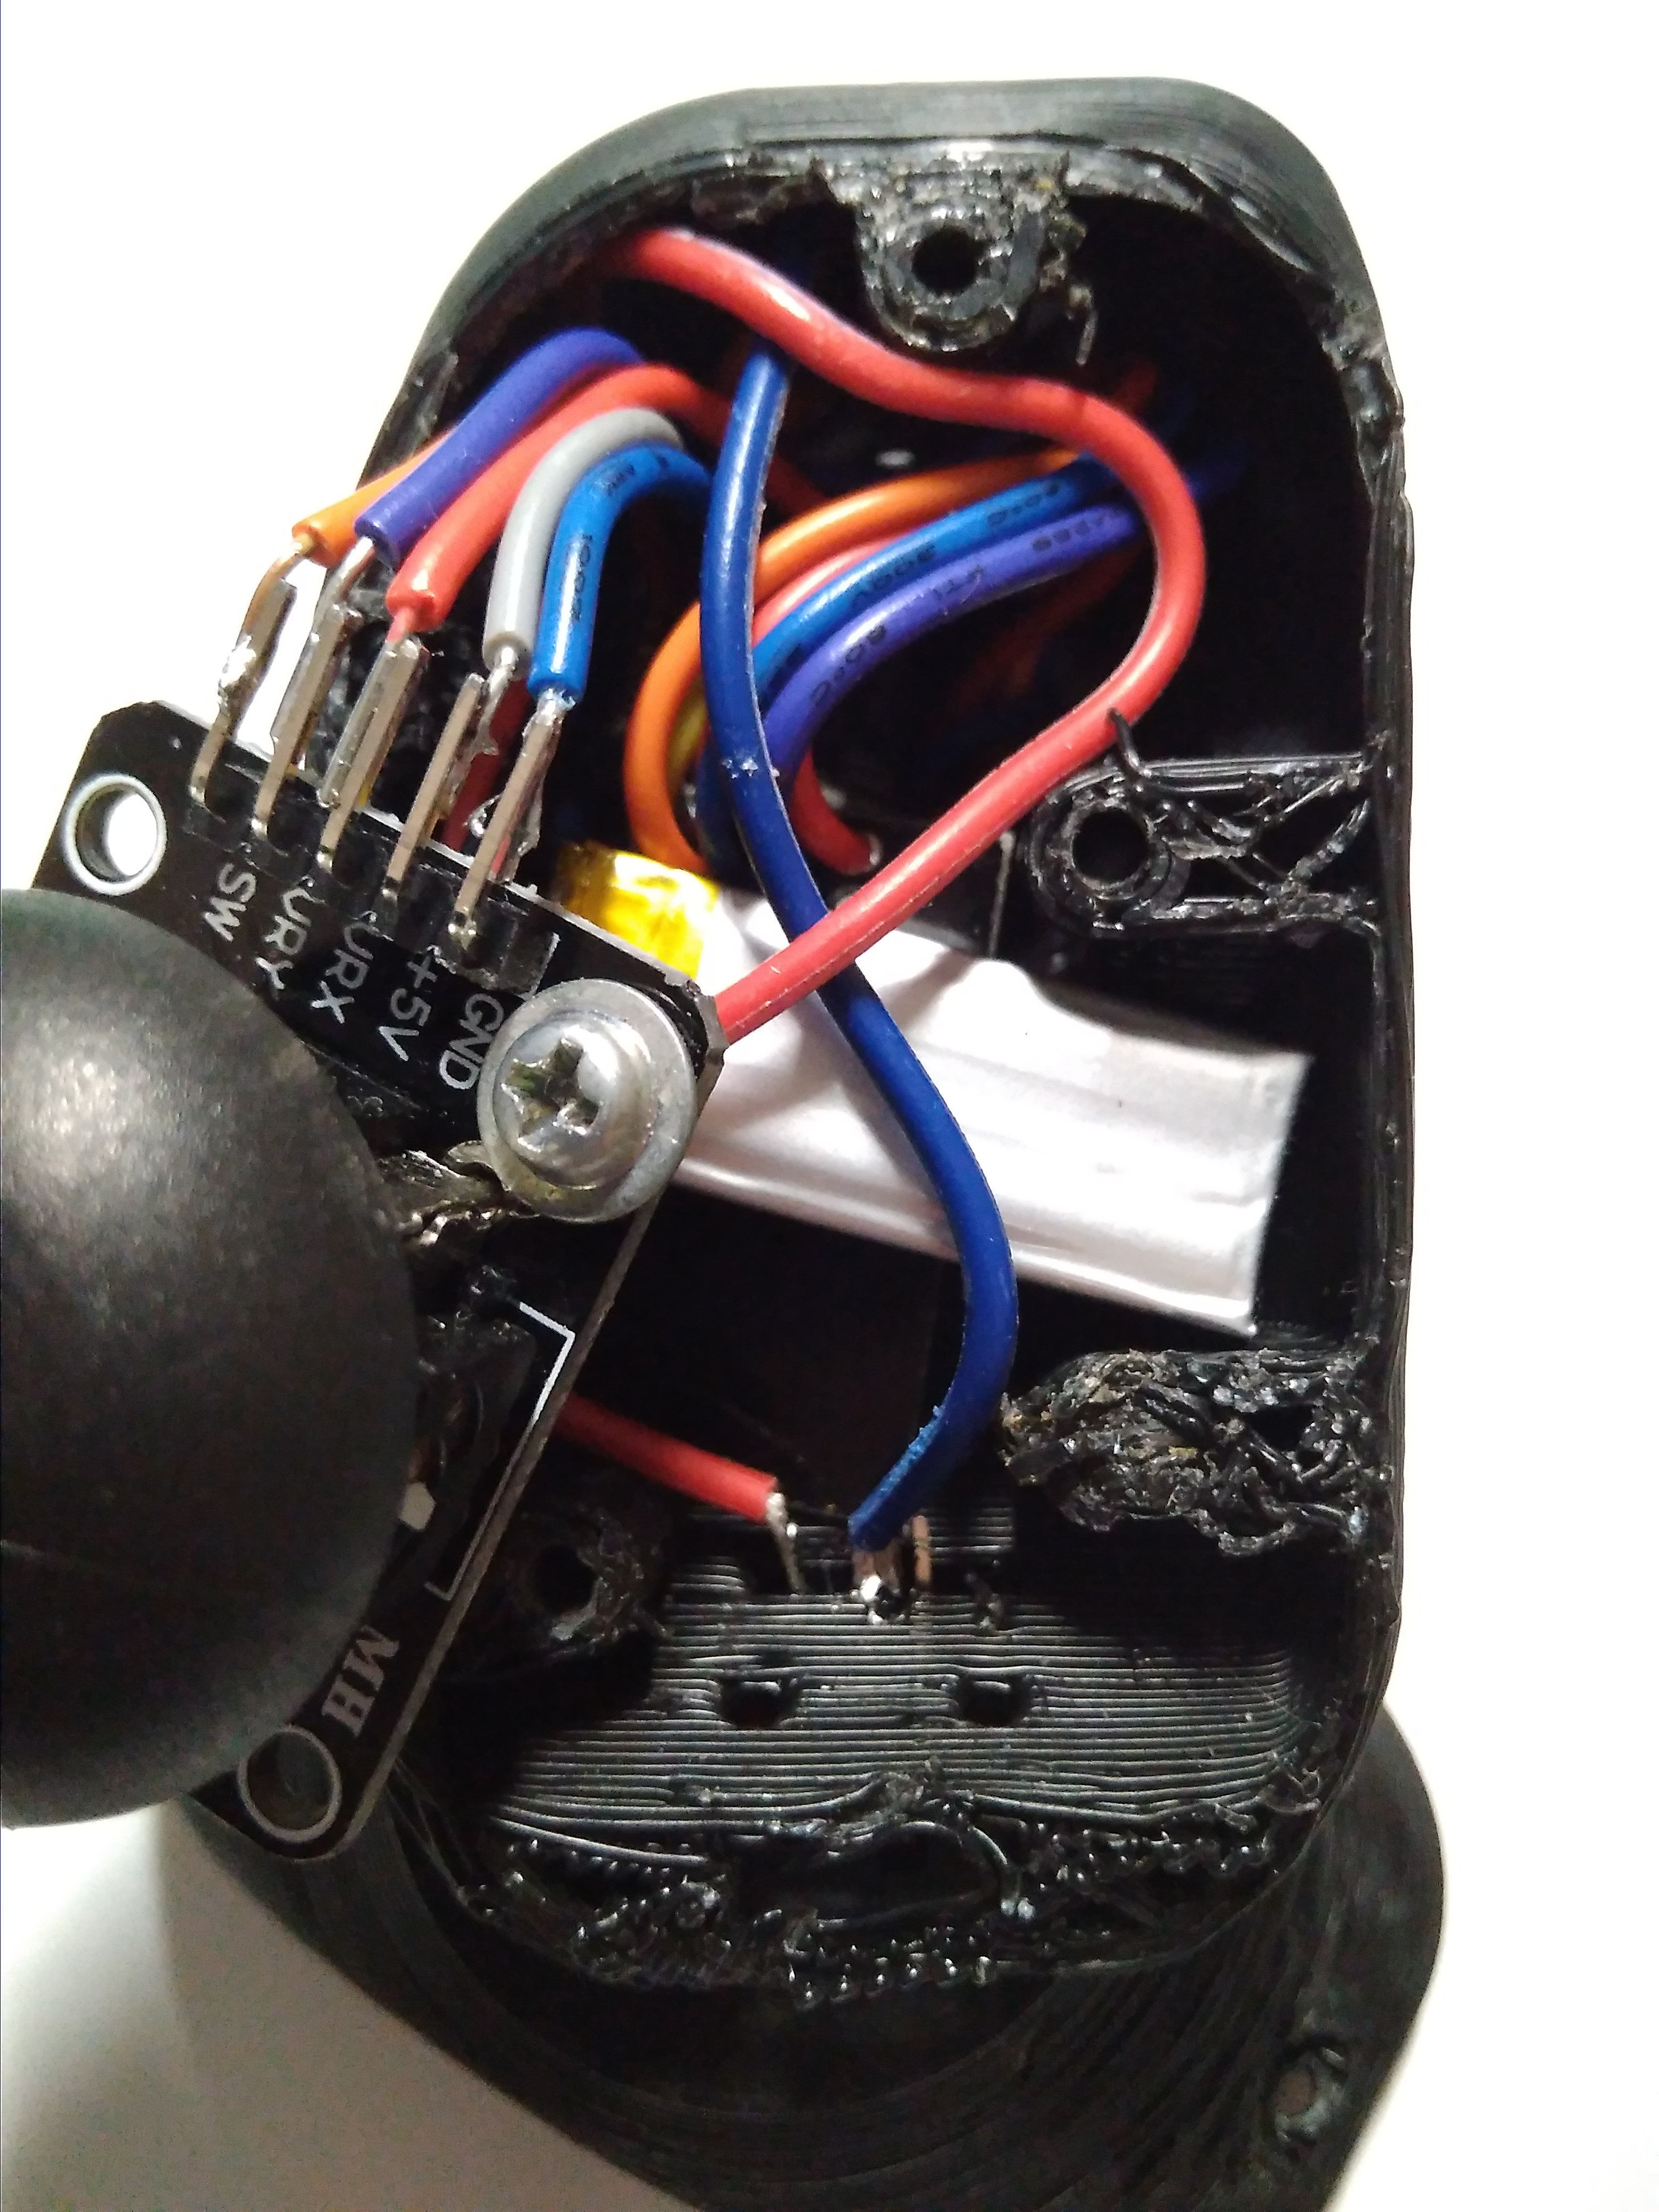
The radio is placed below the Arduino joystick and the LiPo sandwiched between the joystick and the radio. The power strip (made out of a small stripboard) is put into the handle, along with the Arduino Pro Mini, it just barely fits.
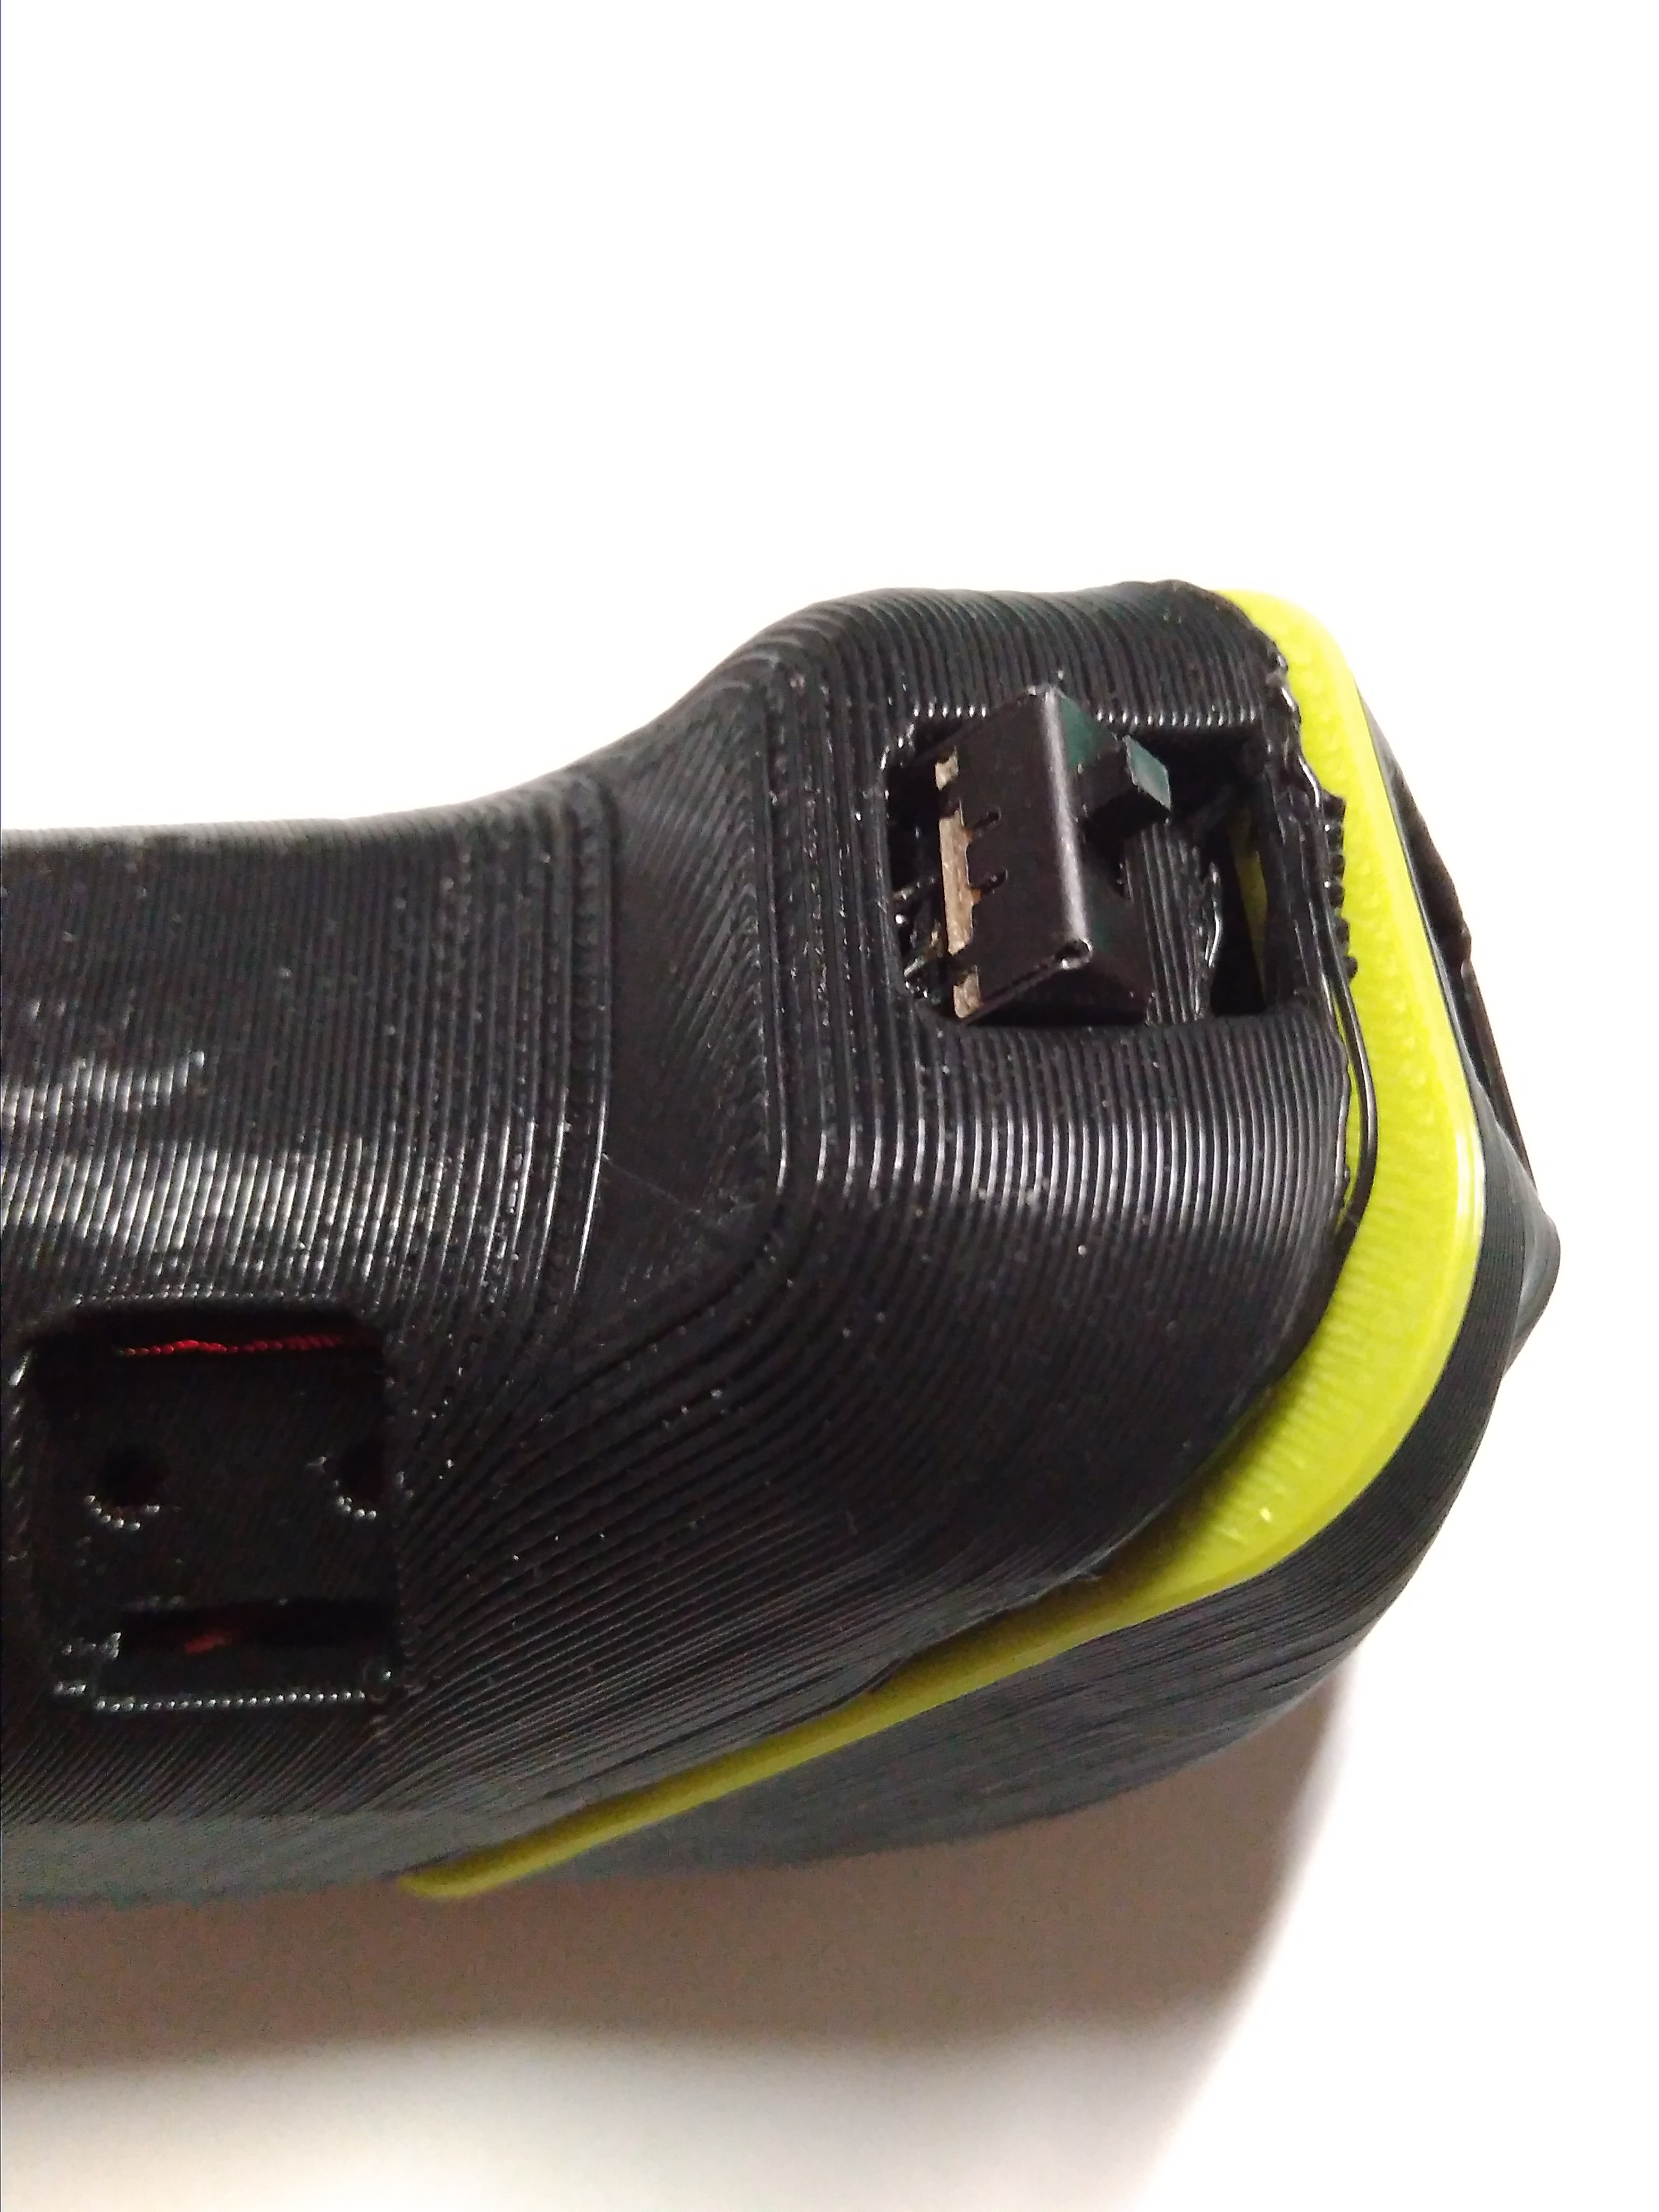
Instead of a button, I added a switch to power on and off the Arduino Nunchuck.
Opening the cap gives us the following mess of wires:
Proof that it works:

Software
The software runs off Radiohead's library and can be used with the MySensors library.
The controller sends the state of the joystick at a given interval. It would be more desirable to do it with interrupts, but since the ATMEGA328P only has two interrupt capable pins, scanning is instead done to take the snapshot of the joystick state at each point in time before sending it to a receiver station.
Improvements
Use the SAMD21, which has the same footprint, but has interrupt capabilities on all pins.
AWG24 wires were a little too big and stiff for this purpose, so a thinner wire might be a better choice the next time.
A hole should be cut in order to charge the board. As of this time, the case has to be opened to get at the LiPo battery within.