BreatheDot: A Portable Battery-Powered Meditation Aid
Calm down, refresh, and focus with this little tool. A Hackaday Prize Finalist!

Calm down, refresh, and focus with this little tool. A Hackaday Prize Finalist!
Background
There is a class at the university that teaches the basics of how to go from concept to design for an electronics project, from the breadboarding, to the soldering, and the manufacture and debugging of a PCB.
As it is with nearly all electronics projects, a blinking LED is the always the first port of call, a test of your basic understanding of the device. So I designed a flasher, which evolved into a device to assist anxiety, and won a Hackaday Prize.
Design 1: Flashy
My first design was a low-powered LED flasher. The inspiration came from Extreme LED throwies. I wanted a smaller and more compact design, and since I knew how to use Eagle CAD, why not? I threw together a design in a few hours and shipped it off to OSH park to fabricate. This is an Op-Amp that compares the voltage and stores the charge in a capacitor before discharging it in a flash of light through the LED every two seconds.
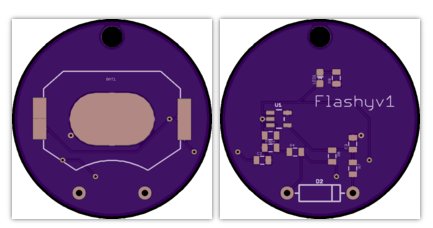
Figure 1. Flashyv1
One really nice thing about making small boards is that production runs are extremely cheap. This cost me approximately five dollars with free shipping. However, it took about three weeks after I sent it in before I had the products in hand.
There were improvements to be made. The battery that I was using was a 20mm CR2032, which has a large amount of charge (225mAH), but also takes up a significant amount of space. You can see that most of the board is blank.
I decided to move towards using a microcontroller with a smaller battery after this run. I wanted some measure of control over more LEDs, as well as miniaturizing the board.
Design 2: Blink and Breathe with an ATTiny85
I used an ATTiny85 as the chip. I had a few Digispark clones on hand and the really nice thing is that they come with all the supporting circuitry that is required to program them. Hence, I don't need to provide headers for programming on the final board. They can be bought in the form of Digispark clones from China for really cheap ~$1, which is a little crazy because the microcontrollers themselves cost $1 from Digikey.
I redesigned the flashy to have four LEDs because I had a specific purpose in mind for it. The inspiration came from Quietkit box breathing method where you regulate your breathing to four seconds. The idea is to use the LEDs to show the times that you are supposed to be breathing in and out.
This was the first design that I banged out in two hours:
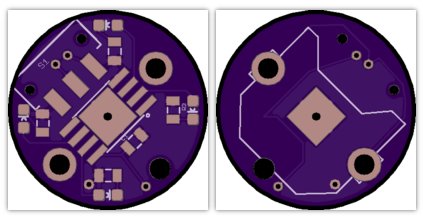
Figure 2. Misaligned LED
However this design would make anyone's eye twitch. The LEDs were misaligned and off-center. However there was no other way I could find to fit them and a switch on the board. There were two problems with this design:
-
The ground plane for the battery was on both sides. This limited the room that I had for routing.
-
The switch that I used the footprint for was discontinued.
Always check that the parts you are using are in production. The nice thing about this board was its smaller size (using a smaller battery), I was able to have it manufactured under the swift option for $5. That meant that I was able to get it in a week instead of three, which is a pretty great deal.
Minor Improvements
I then designed an improvement even as these boards were shipping:
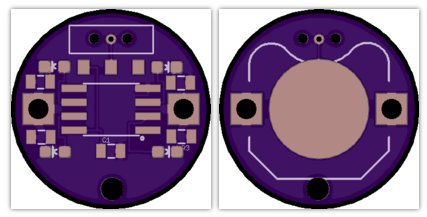
Figure 3. Pendant of Tranquility
This is a much nicer design visually and I changed out a couple of components. The switch is smaller and actually in production, and there is no ground plane on both sides of the battery holder.
With regards to programming I first programmed the ATTiny85 on its original board. Then I removed it and resoldered it back onto my board. It will retain its original program, so it will continue to blink the light.
This worked as expected. However I overestimated the capability of the CR1220 battery as it was 35mAH @ 100uA, which is far below the current draw that I required. Couple that with four LEDs, it is simply too high a current draw. I managed to get one circuit of two working, but it blinked for about 5 times before it gave out.
So lesson learned, don't design improvements as it is being manufactured since you will probably have to make changes.
Design 3: Increased size
I then decided to switch back to CR2032 batteries because they can sustain a much higher current draw, and have almost 8 times greater capacity than a CR1220. I found the smaller design to be harder to hold.
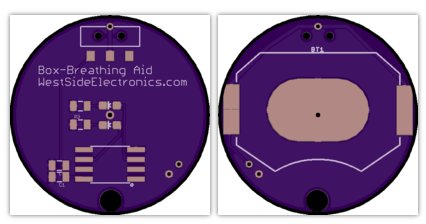
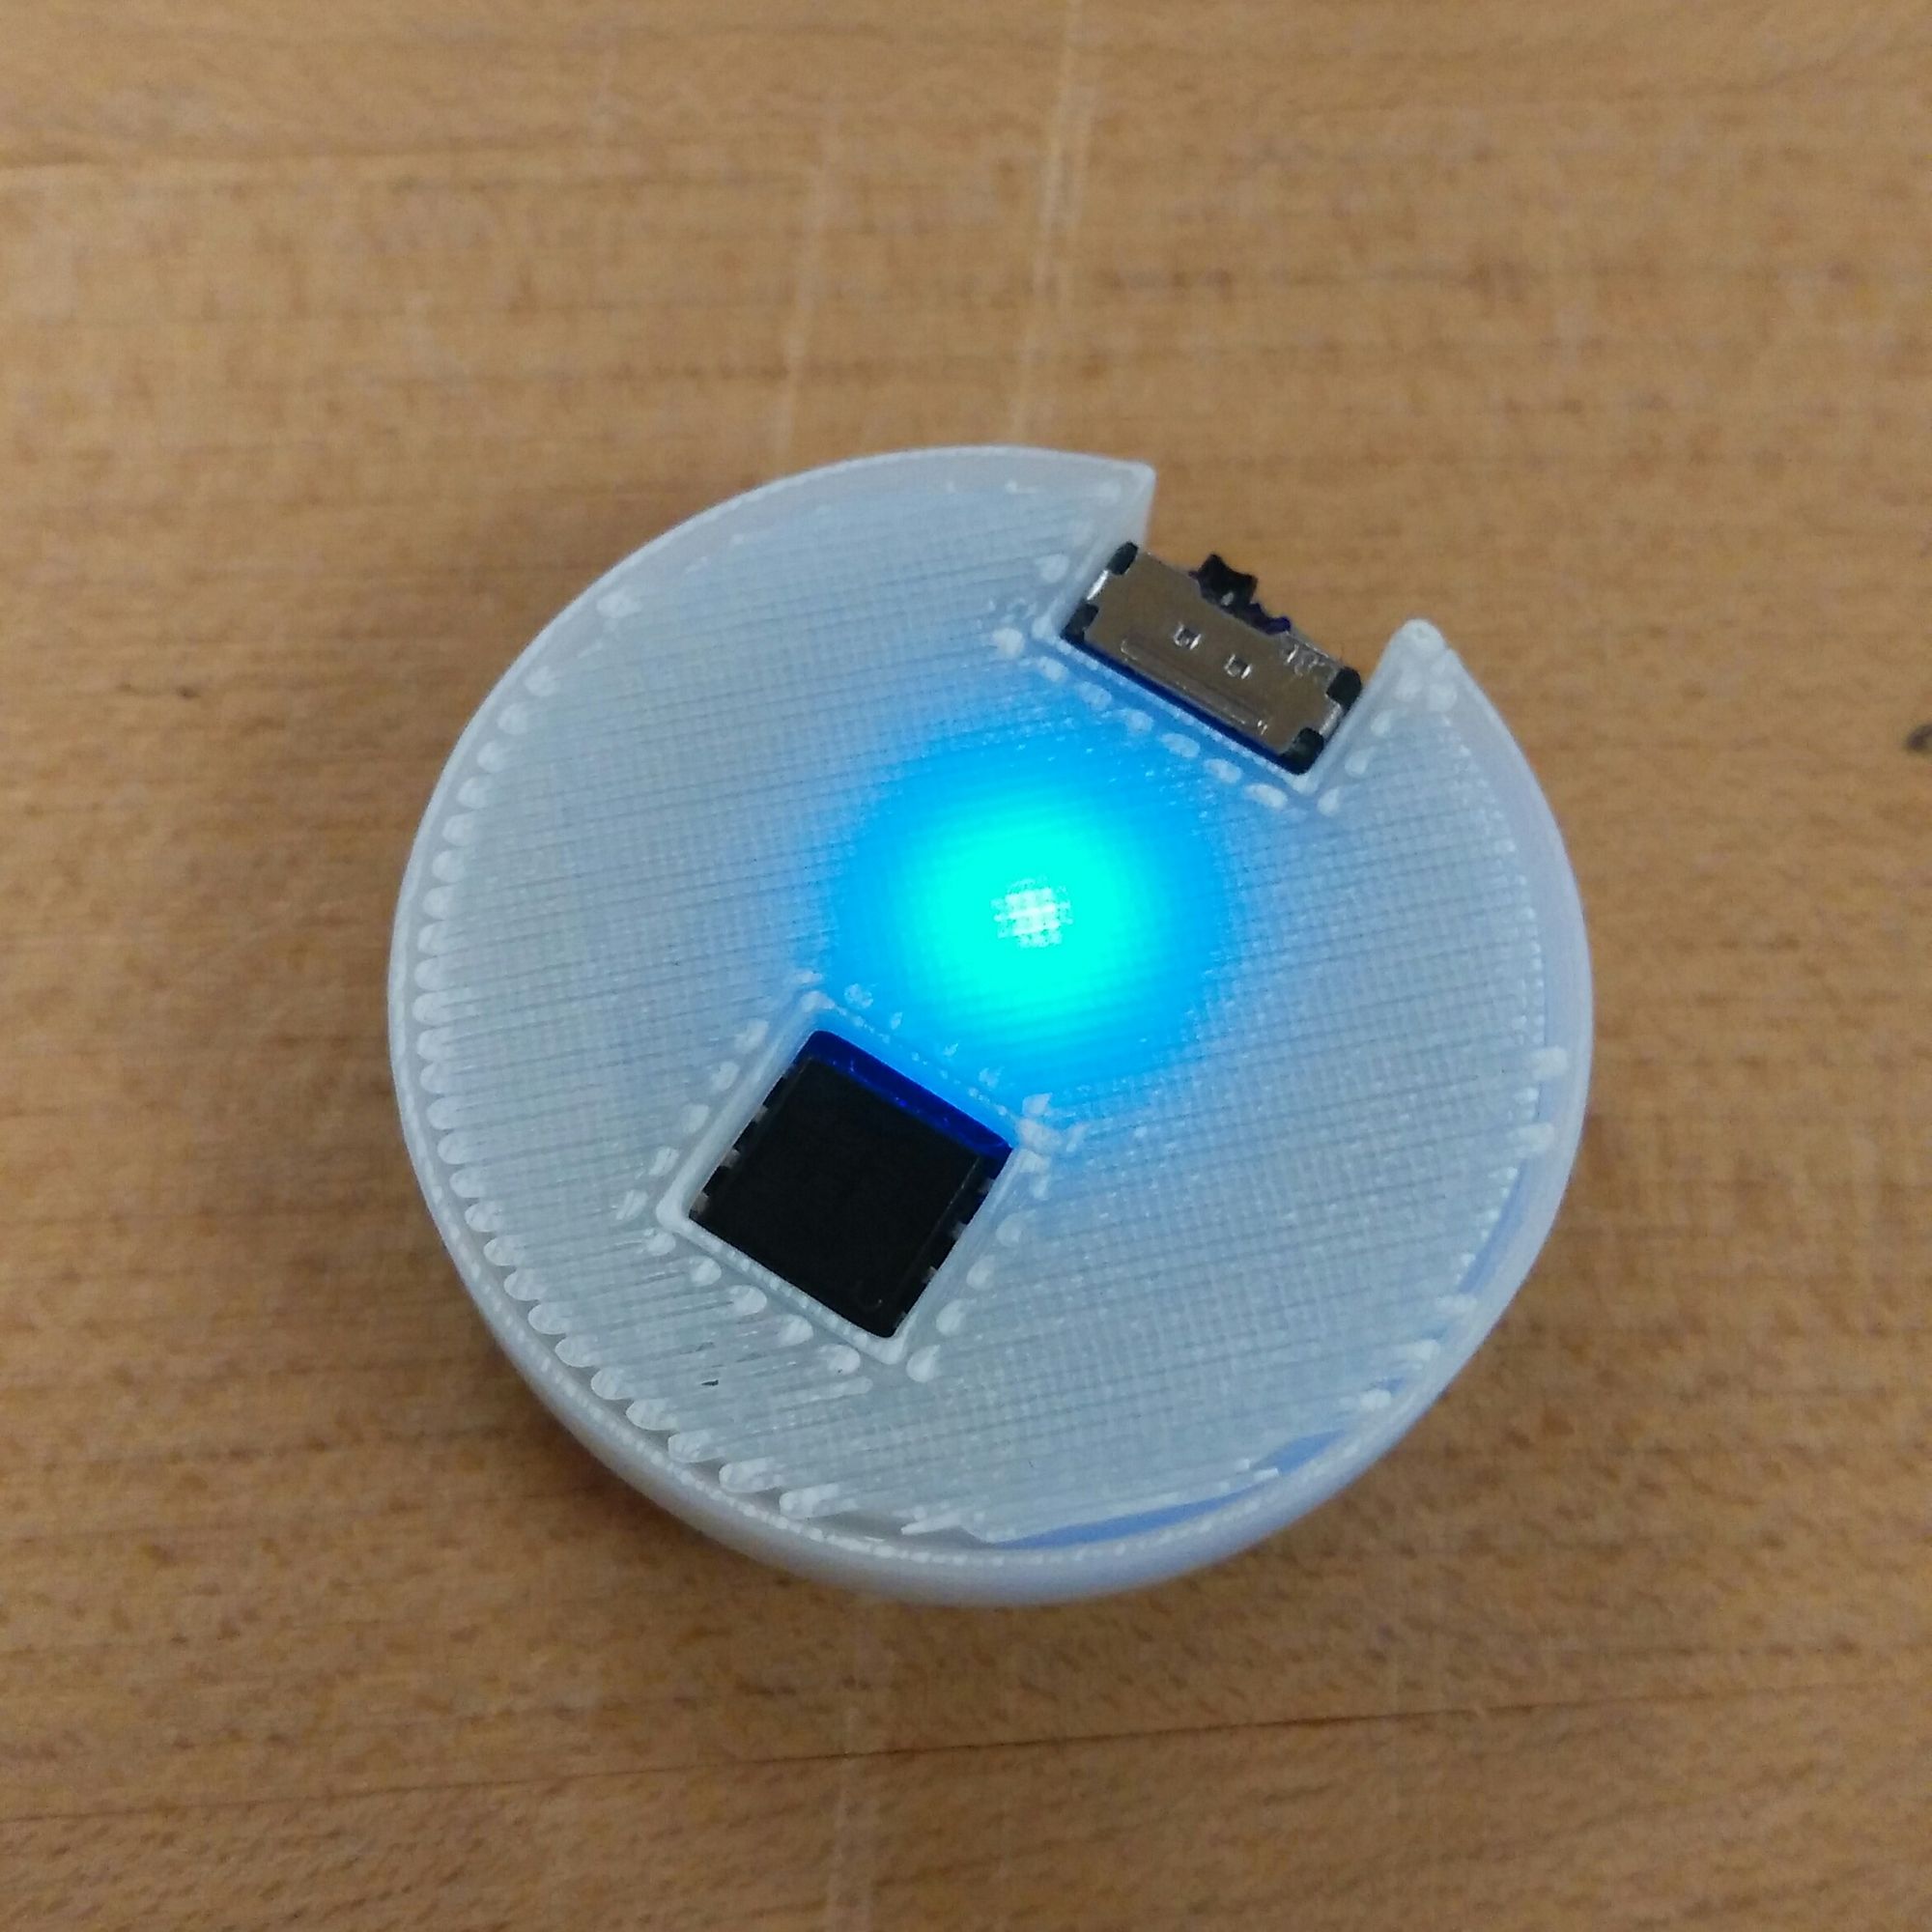
Figure 4. BreatheDot v1.0
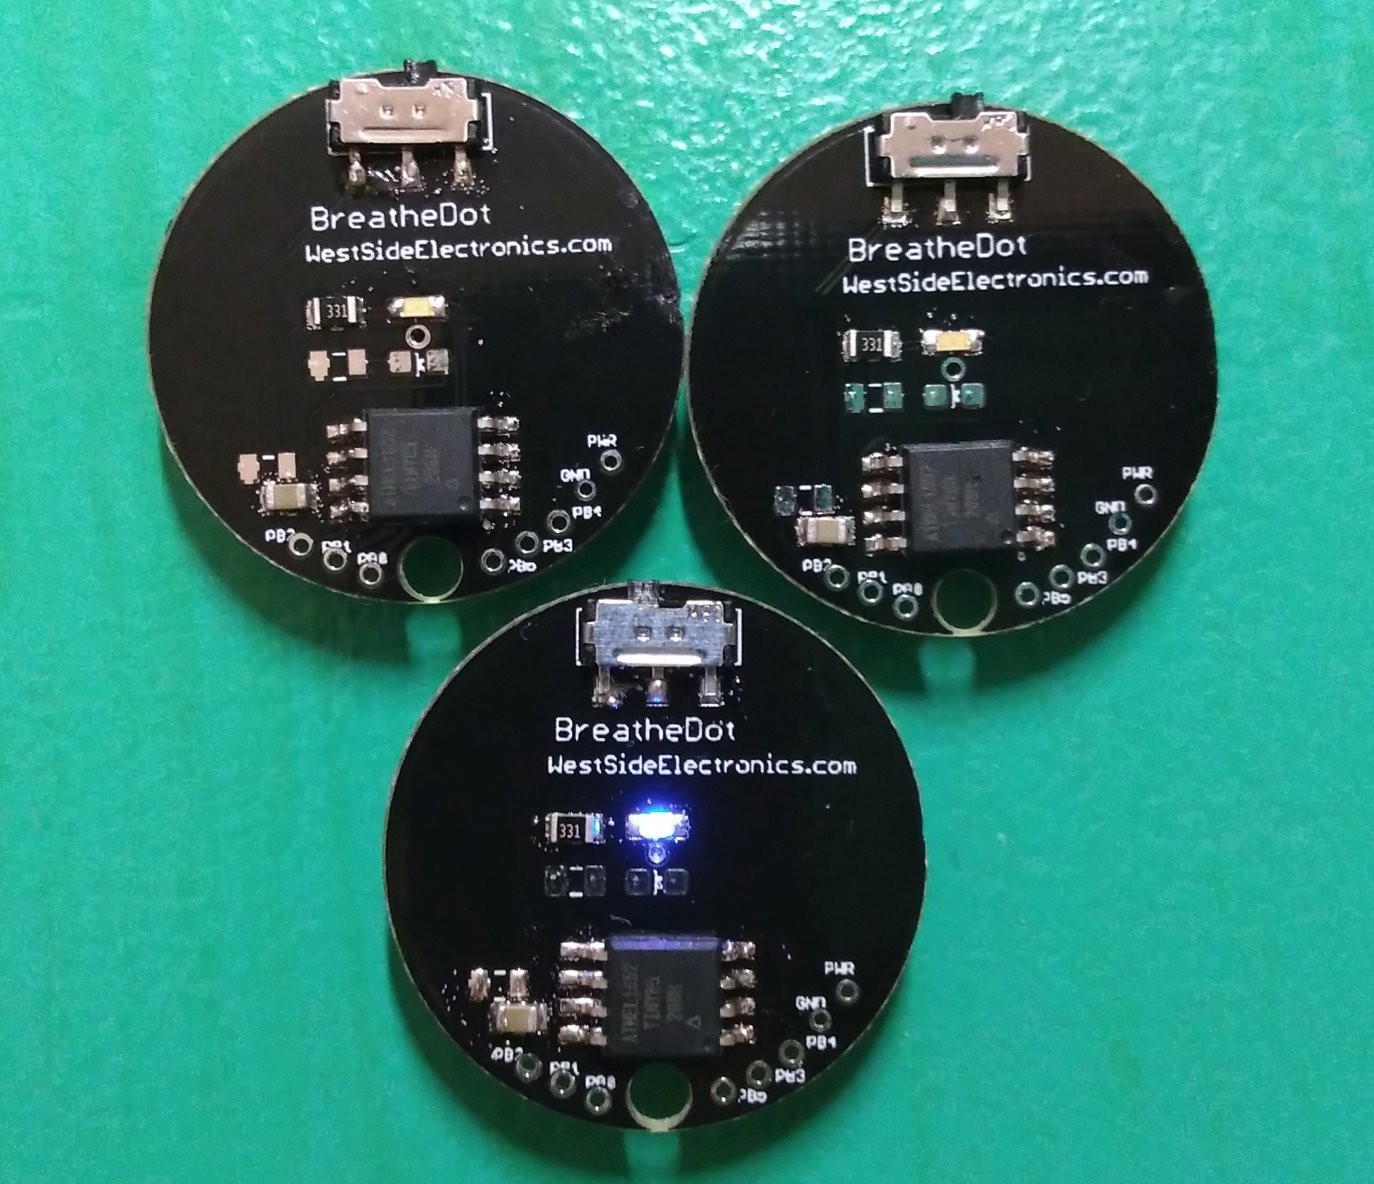
I was able to use these boards for more than 26 hours and I place the battery life at 30 hours. I was pretty pleased with my designed footprint for the switch because it was a perfect fit. While there are two places for an LED, I decided to only use one because it reduced current draw and was bright enough for my purposes.
I added a 3D printed enclosure for the PCB and made it a friction fit. It protects the components as well as beautifies the PCB which can look a little bare when the components are soldered on.

I added some chamfers to the edges of the 3D printed enclosure. They are hard to see because it is white, but it is subtly easier to hold.
I updated the design to allow limited debugging with some vias, which was quite a bad idea as I had to tension the wires before anything could be read. Some test pads might have been a better idea.
Design 4: RGB LEDs
However, I have been noticing how people usually comment on Neopixels being pretty, so I wondered if I could add a WS2812b LED onto the board. The problem is that these LEDs require a lot of power. Luckily, I had an earlier design that tested the feasibility of powering WS2812b LEDs with CR2032 batteries. I was able to power 10 such LEDs over an hour with 2 CR2032 batteries providing 6V.
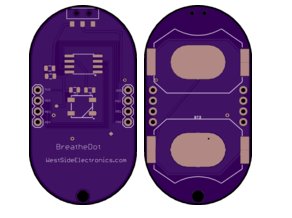
Figure 5. BreatheDot v2.0
The bottom of the board can be used to add a sensor or a button. A diode might be needed to reduce the voltage to the microcontroller (which is rated up to 5.5V).
I was able to run this board without any problems, but people commented that it looked like an insect, and the footprint is much larger. It is a little unwieldy, so I designed a replacement by using a single cell and a smaller RGB LED.
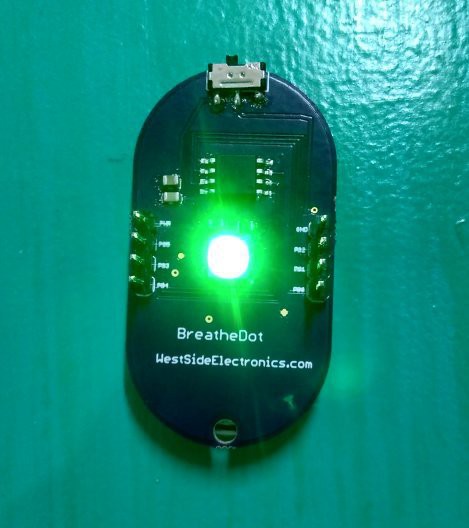
Design 5: Smaller with RGB LEDs
While not specced to run at 3V, it can still do so, and the same is true with Neopixels.
The smaller RGB LEDs were slightly more difficult to solder on as the orientation is hard to determine from a single glance. However, once on, it is very pretty.
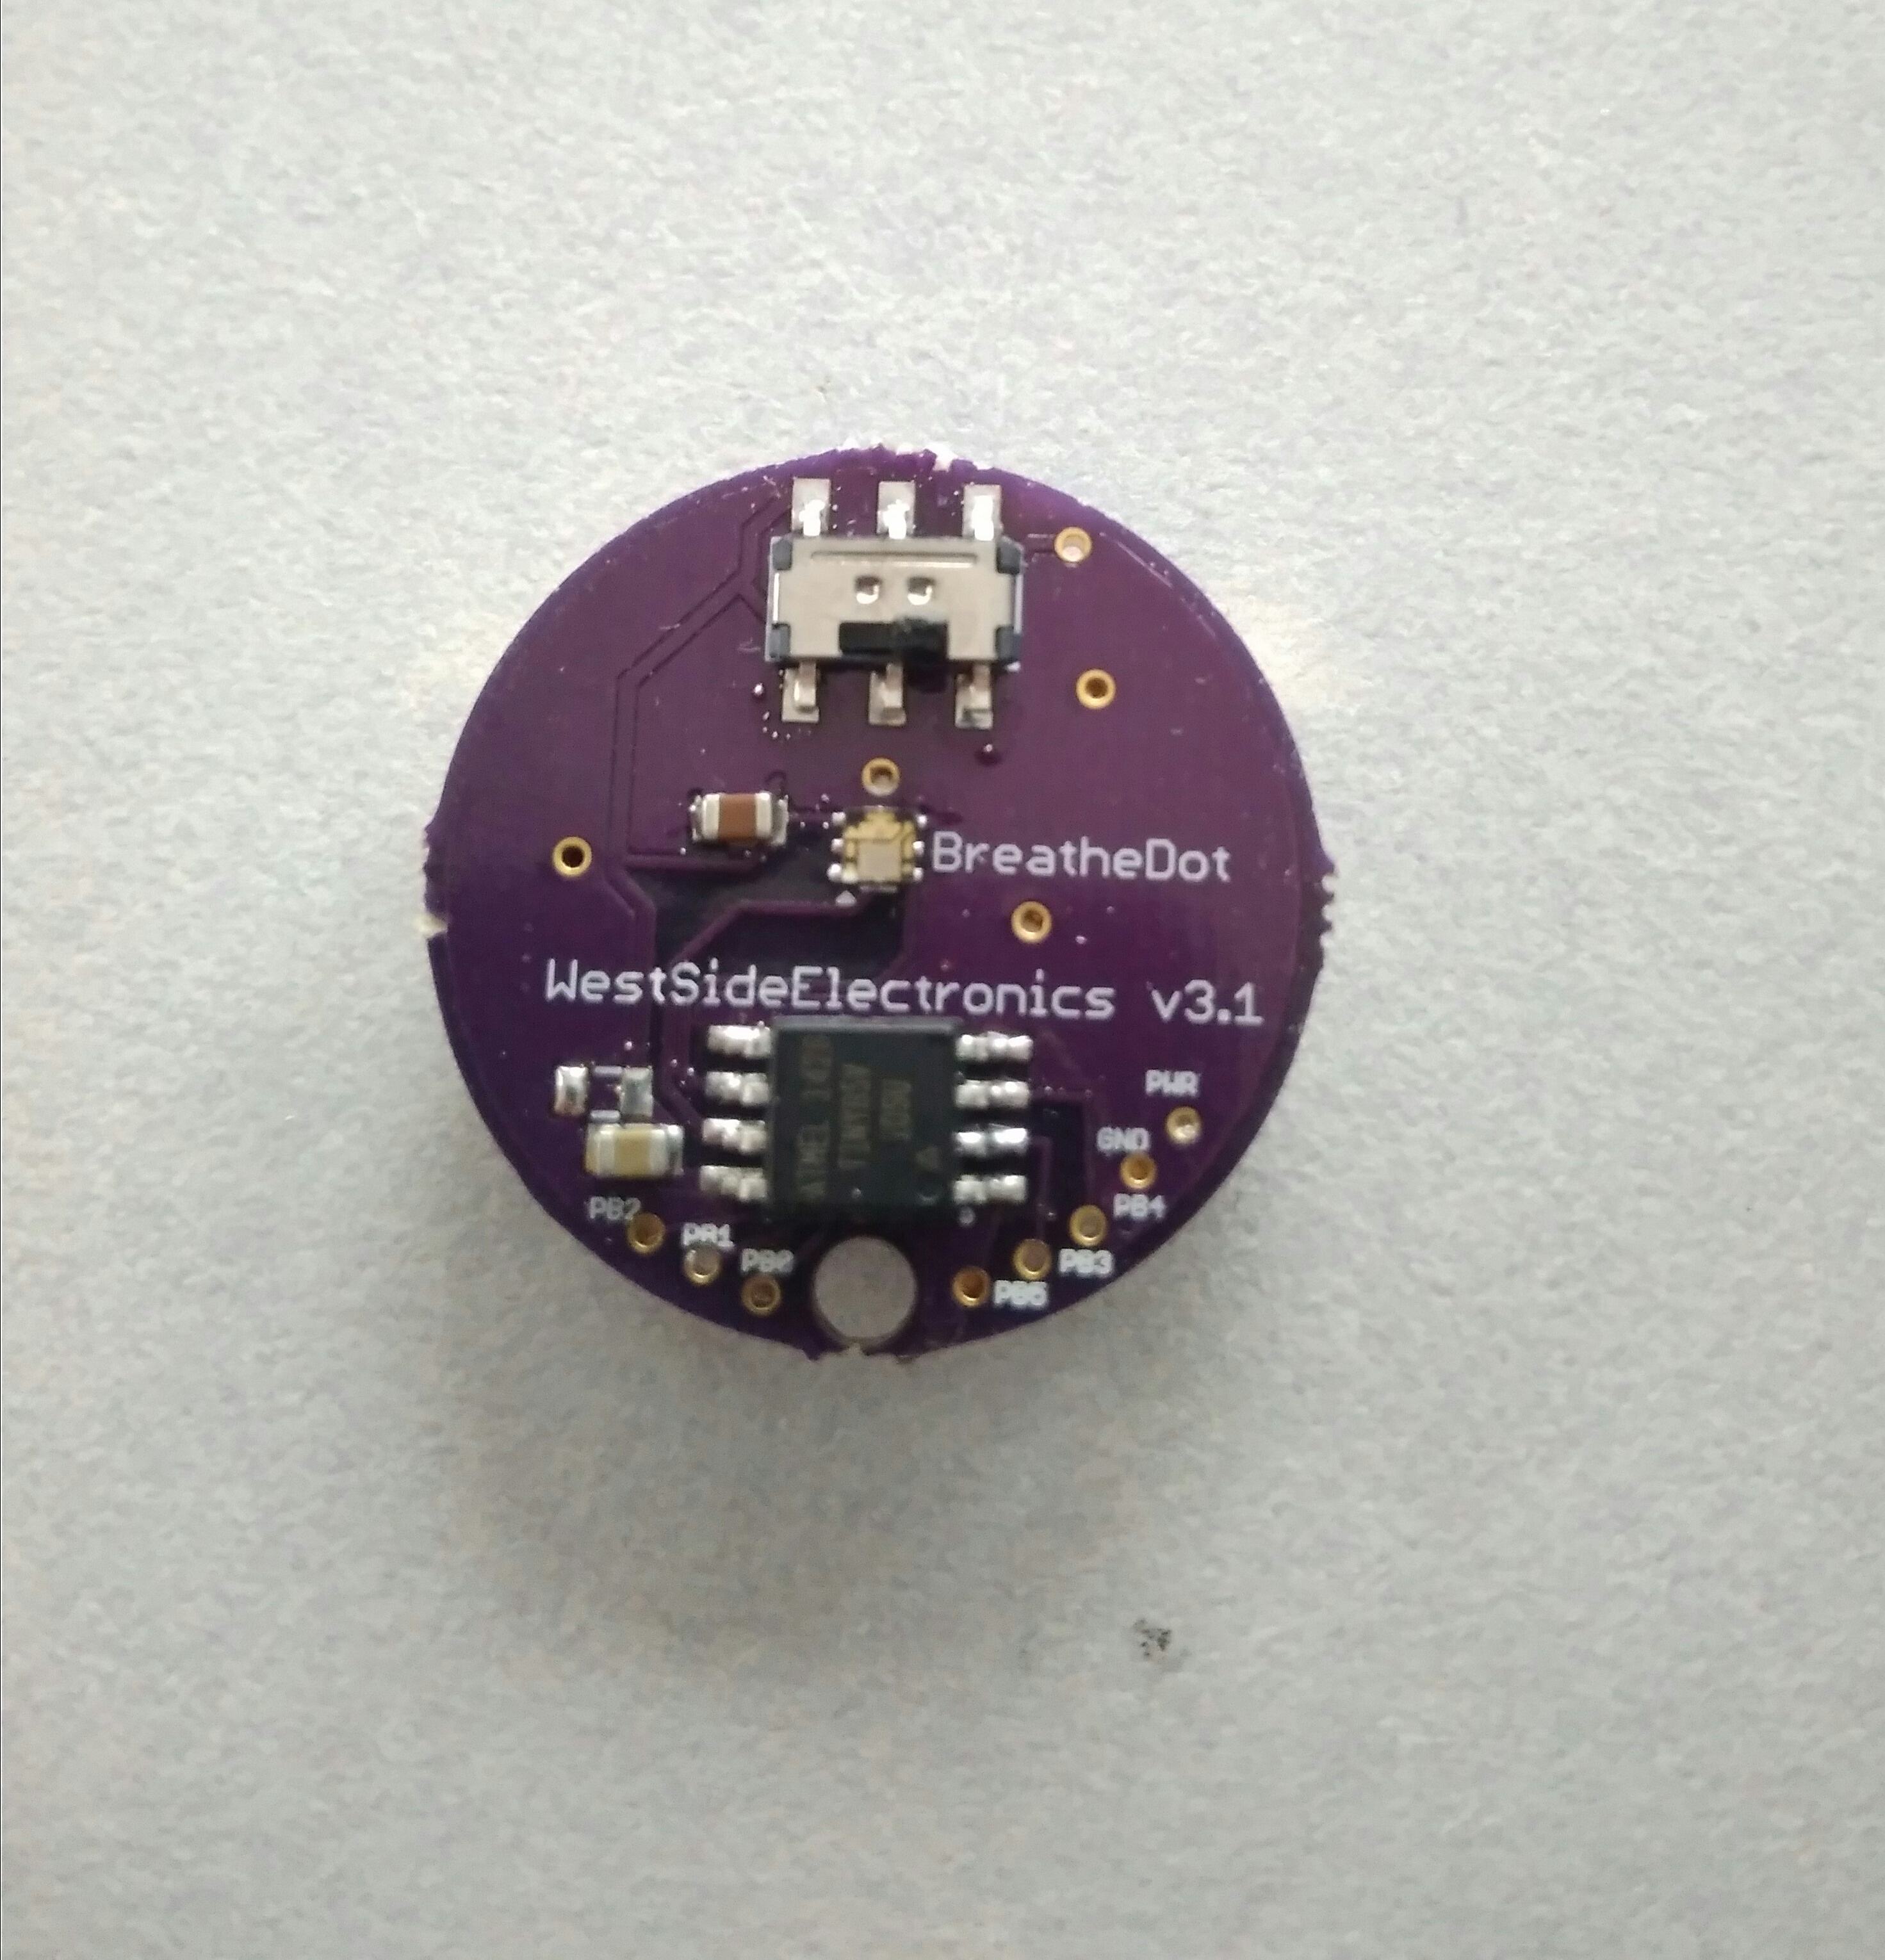
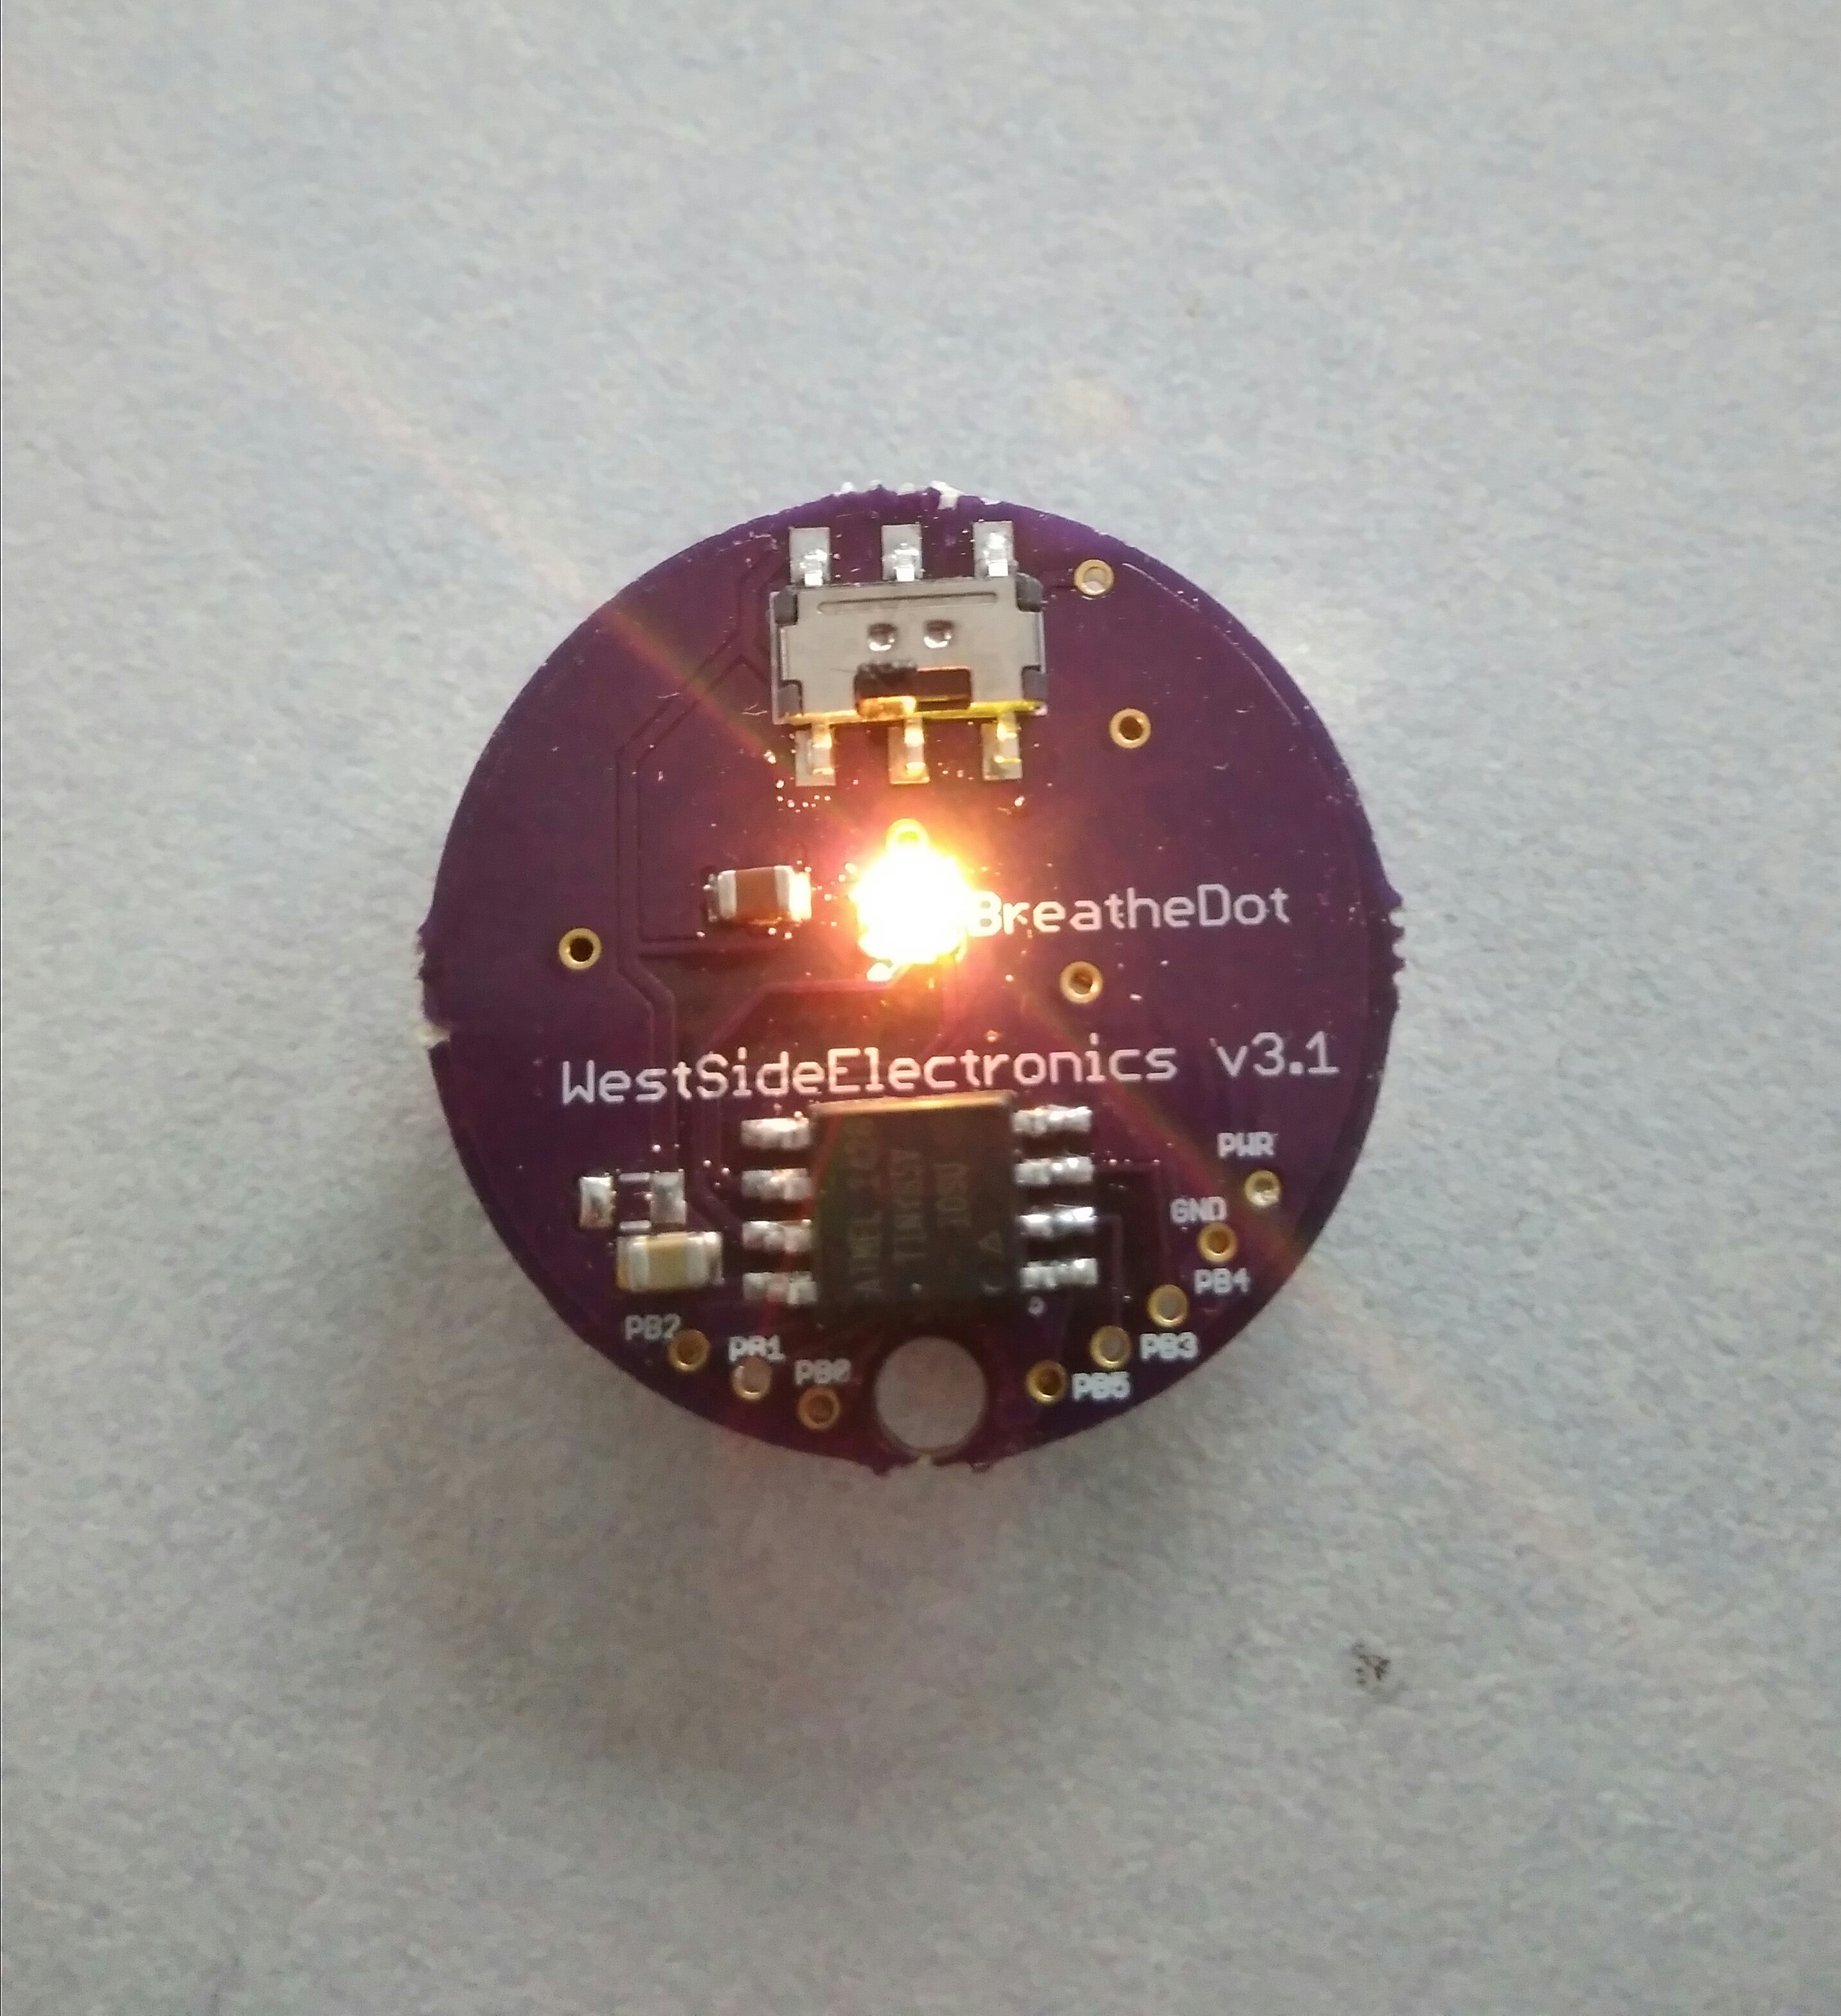
I changed the type of switch to one that is more easily spotted as I've had multiple people asking me where the switch was. While the previous switch could be used, it was not as convenient because of it's short profile. That has been fixed with this switch.